How to Remove Coffee Stains from Mugs Without Bleach

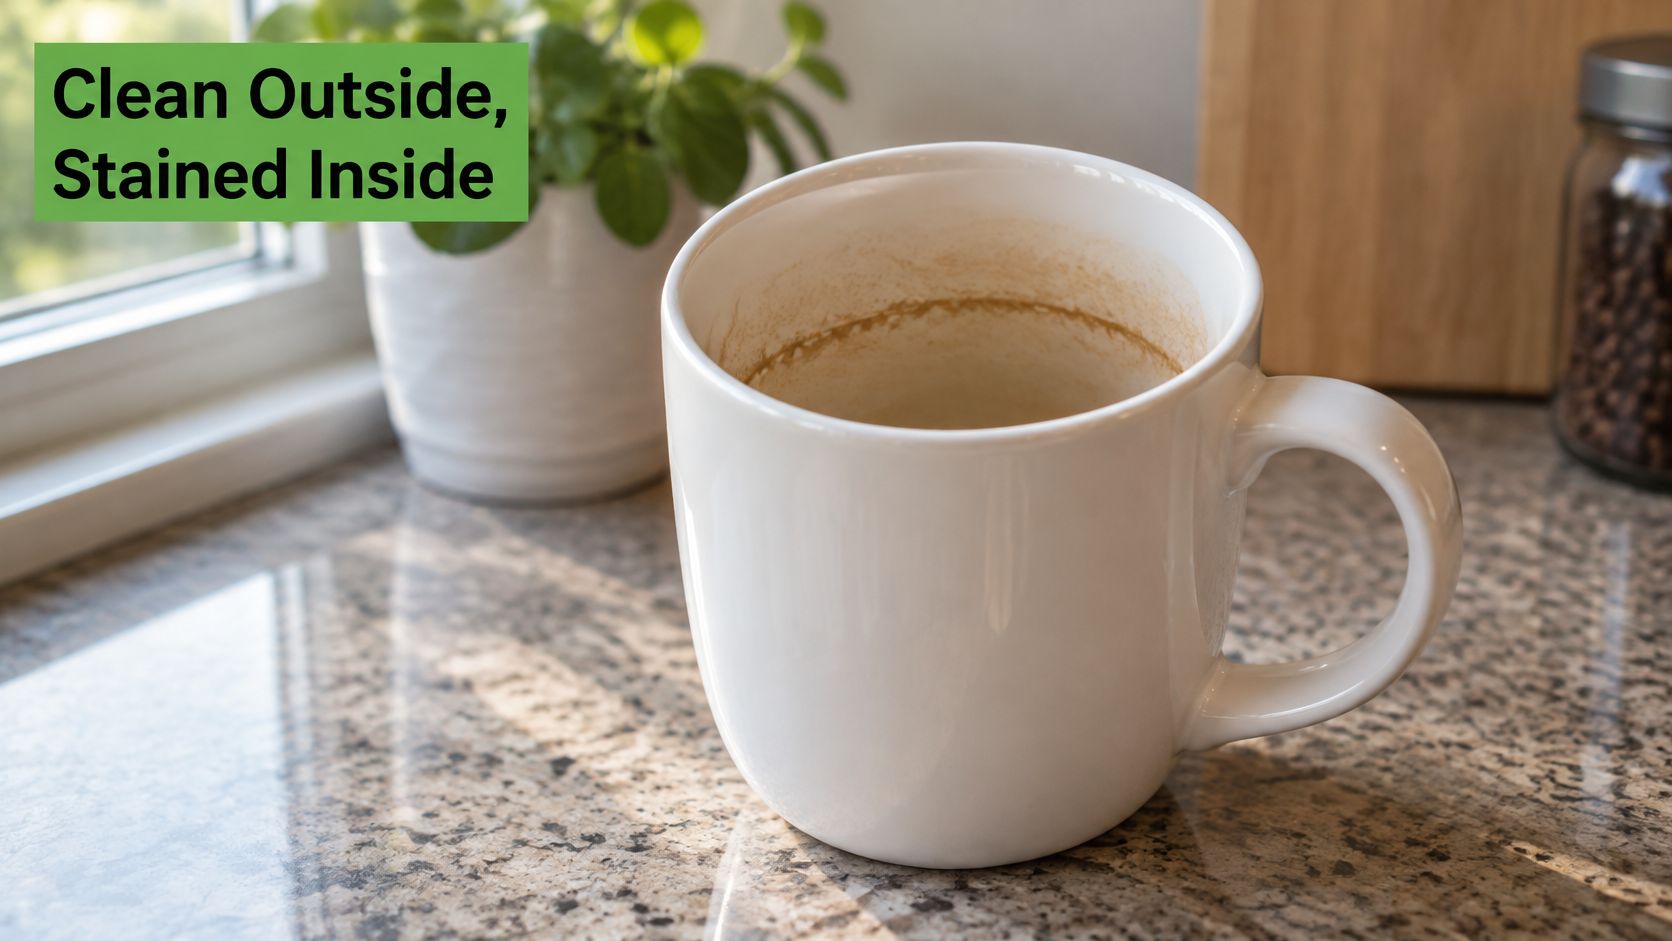
Your favorite mug looks clean on the outside, but there's a brown ring inside that survives every ordinary wash. You reach for a scrubber, then hesitate because you don't want to ruin the finish.
The best way to remove coffee stains from mugs is to identify the material first, then use the least aggressive method that works. A clean cup isn't much of a win if you've scratched the glaze, faded the decoration, or damaged a travel mug's seal.
Table of Contents
Match the Cleaning Method to Your Mug Material
Coffee leaves more than loose grounds behind. Tannins and chlorogenic acid can cling to ceramic surfaces and produce yellow-brown discoloration. Coffee's mild acidity can also contribute to surface wear over repeated exposure, making the condition of the finish important.
In a controlled ceramic-material study, coffee caused measurable optical changes, and 30 days of cleaning reduced those changes in the tested materials. Glazed and polished specimens also responded differently, with polished surfaces showing greater changes in roughness and appearance. These weren't household mug trials, but they support a useful principle: protect the surface rather than trying to scour every mark away.
Cleaning Method by Mug Material
Check the underside for care instructions, inspect the interior under good light, and look for decoration that extends over the rim. A glossy appearance alone doesn't establish scratch resistance.
| Mug material | Start with | Strongest method to try | Avoid |
|---|---|---|---|
| Glazed ceramic or porcelain | Baking soda paste | 3% hydrogen peroxide spot test, then a 10–15 minute cover | Chlorine bleach, steel wool |
| Glass | Baking soda paste | White vinegar rinse for mineral film | Steel wool, scouring pads that scratch |
| Stainless steel interior | Warm soapy water and a soft cloth | Baking soda paste rubbed along the grain | Chlorine bleach, which can pit the metal |
| Unglazed clay or terracotta | Warm water and a soft brush | Gentle baking soda paste, only if the maker permits it | Long soaks, vinegar soaks, since porous clay absorbs liquids and pigment |
| Painted or decorated mug | Warm soapy water and a soft sponge | Baking soda paste on an unprinted area only | Peroxide, abrasives on the design |
| Gold or metallic rim | Warm soapy water only | None, stop here | Abrasives, vinegar soaks, peroxide |
| Travel mug lid and silicone gasket | Remove and wash separately with dish soap | Baking soda paste on the gasket | Bleach, or leaving them attached to a soaking mug |
“Strongest” means the upper limit worth considering, not a required next step. Unglazed pottery deserves particular caution because absorbed cleaner can be harder to remove than the original mark.
Protect the Surface Around the Mug
Work over a washable tray rather than spreading cleaner across the counter. A method suitable for porcelain may not suit the surface beneath it, so use material-specific care when you clean laminate countertops.
Practical rule: Start gently, test discreetly, and stop if the surface loses gloss or color transfers to your cloth.
If you can't identify the material or test it safely, stick with warm soapy water.
How to Remove Fresh and Set-In Coffee Rings
Most ordinary rings respond to a thick baking soda paste and light pressure. The objective is to loosen the deposit, not grind through it.
Use plain sodium bicarbonate, a soft cellulose sponge or microfiber cloth, and fragrance-free dish soap. Skip the scrubby back of a kitchen sponge if you're unsure how abrasive it is.
The Gentle Paste Routine
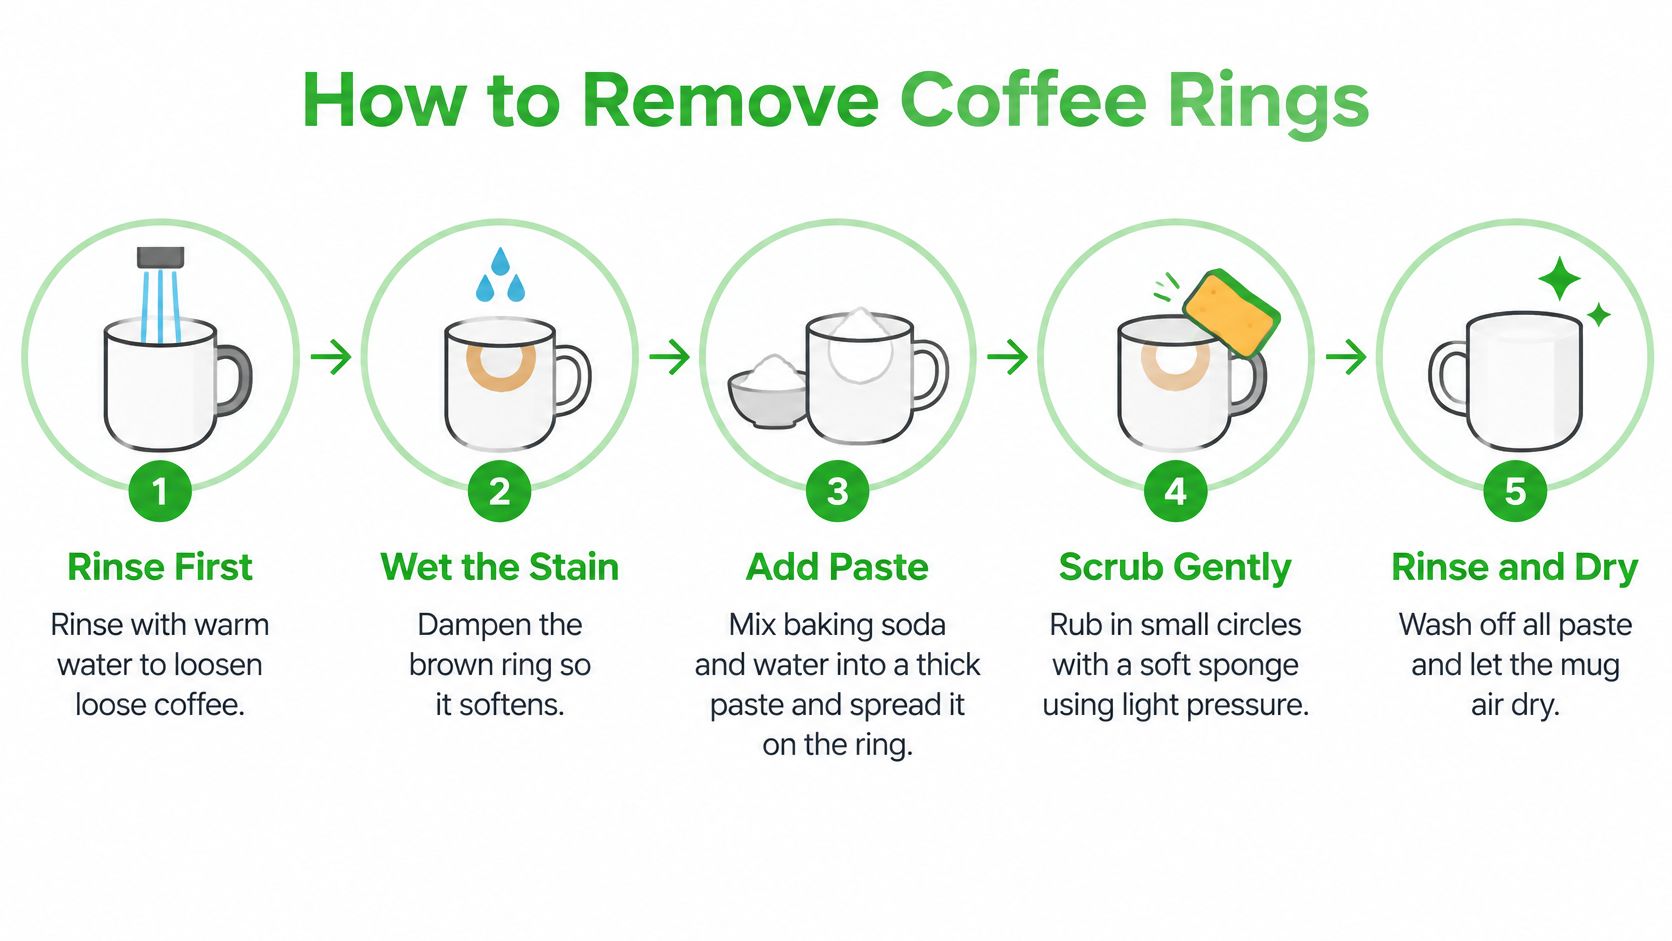
Wash away loose oils and residue before treating the remaining brown mark. HowStuffWorks' coffee-stain guide supports damp baking soda as a follow-up to ordinary washing, using approximately 1 teaspoon and gentle rubbing for about 60 seconds.
Rinse with warm water. Empty the mug completely and rinse away loose coffee so you aren't rubbing debris against the finish. Avoid sudden temperature changes with glass.
Wet the stained area and make the paste. Add the baking soda and a few drops of water until it resembles toothpaste. A runny mixture slides away from the ring; a dry powder encourages unnecessary pressure.
Rub with a soft sponge or microfiber cloth. Use light circles and support the mug securely rather than gripping its handle while pressing hard. For older rings, Times of India's household-cleaning guide describes roughly 30–60 seconds of rubbing and a 5–10-minute dwell before gentle scrubbing.
Rinse thoroughly, then wash with dish soap. Tip the mug while rinsing so water reaches the bottom curve and the underside of the rim. Soap removes remaining coffee oils; rinsing clears the powder.
Dry and inspect under good light. Look at the inside wall, rim, and base rather than judging the mug while it's wet. Water can temporarily hide faint film and changes in gloss.
Baking soda works primarily as a mild abrasive and alkaline buffer. It helps lift coffee deposits without bleach or ammonia, but it isn't scratch-proof just because it's a familiar kitchen ingredient.
Escalation Ladder for Set-In Coffee Stains
A stubborn ring calls for a controlled progression, not a cupboard full of cleaners. Only move forward if the mug's material and condition allow it.
| Level | Method | Dwell time | Stop when |
|---|---|---|---|
| 1 | Repeat the baking soda paste, rubbed gently | 5–10 minutes, then light rubbing | Film lifts on the sponge and the rinse runs clear |
| 2 | 3% hydrogen peroxide, glazed ceramic or porcelain only, no chips | 10–15 minutes covered, wiped with a soft sponge | Stain lightens, or any sign of glaze change appears |
| 3 | Replacement, not another method | Not applicable | Glaze is chipped, cracked, or the stain remains after two rounds |
At the paste level, allow contact time instead of increasing pressure. If the cloth picks up brown residue and the finish remains unchanged, you're making progress. Don't chase a faint shadow with a steel scrubber.
At the peroxide level, be selective. The Spruce's mug-cleaning guidance describes ordinary 3% hydrogen peroxide for approximately 10–15 minutes on compatible, unchipped glazed ceramic or porcelain. Spot-test first, cover the stained area with the liquid, wipe gently with a soft sponge, and rinse several times with warm water.
“Cover” means wet the stain with peroxide, not seal the mug with its lid. Keep the mug upright somewhere children and pets can't reach it, and don't use this treatment on metallic decoration, uncertain finishes, or porous clay.
At the stopping point, accept the material's limit. A mark that remains unchanged may be absorbed discoloration, mineral-associated residue, or worn glaze rather than removable coffee film. More scrubbing won't repair a damaged surface.
What Doesn't Help
Pressing harder can dull a finish before the stain disappears. A steel scrubber can leave permanent scratches, while an incomplete final rinse can leave a chalky taste in your next cup.
Vinegar has a different role from baking soda: it's more useful for mineral film than for a typical brown coffee ring. If you're comparing acid treatments for a compatible, undecorated mug, Cartograph Coffee's guide to vinegar ratios for coffee stain removal offers additional context. Don't treat an acid rinse as permission to soak porous pottery or metallic trim.
Never combine peroxide, vinegar, chlorine bleach, or ammonia cleaners with one another. Use a single method at a time and rinse the mug completely before changing treatments; Otesse's mug-cleaning safety guidance specifically warns against mixing chlorine bleach with acids or ammonia because hazardous vapors can result.
Fizzing isn't proof of cleaning power. Mixing baking soda and vinegar can neutralize the ingredients while producing an impressive-looking reaction.
A second light pass is kinder to the mug than a hard scrub.
Clean the Lids and Gaskets Most Mugs Hide
A travel mug can look spotless while its lid still smells like yesterday's coffee. Before treating the cup again, open the lid mechanism and check the parts that coffee touches.
Hidden-Residue Checklist
- Silicone gasket under the lid: Remove it if the design permits, wash it with warm soapy water, and use a soft brush to clean its groove.
- Sip spout and inner channel: Open the slider or valve as directed by the manufacturer, then brush accessible channels without forcing sealed parts apart.
- Straw and tip: Separate detachable pieces and use a narrow straw brush that reaches through the full passage.
- Handle seam: Wipe where the handle meets the body with a small soft brush, keeping exposed joints or damaged areas out of prolonged soaking.
- Base ring: Clean around the bottom edge with a damp cloth, paying attention to removable rubber pieces and manufacturer restrictions.
- Lip below the rim: Run a soft cloth around the inside ledge where residue can remain after a quick rinse.
- Plain silicone or rubber gasket: Use a gentle baking soda paste only if the part is unprinted and its care instructions allow it.
Dry Before Reassembly
Rinse each removable component separately and leave the pieces apart until they're fully dry. Stretching a gasket back over a damp lid can trap moisture and stale coffee residue in the groove.
For stainless-steel components, skip chlorine bleach entirely because it can corrode or pit the metal. Don't submerge an assembled insulated mug and assume the liquid will reach every hidden channel.
Office kitchens and shared travel mugs need particular attention here: people may wash the visible cup every day without separating the seal. Keep each mug's components together while drying so lids and gaskets don't get swapped.
Clean the lid when you clean the mug, not as an afterthought at the end of the week.
Stop Coffee Stains Before They Set
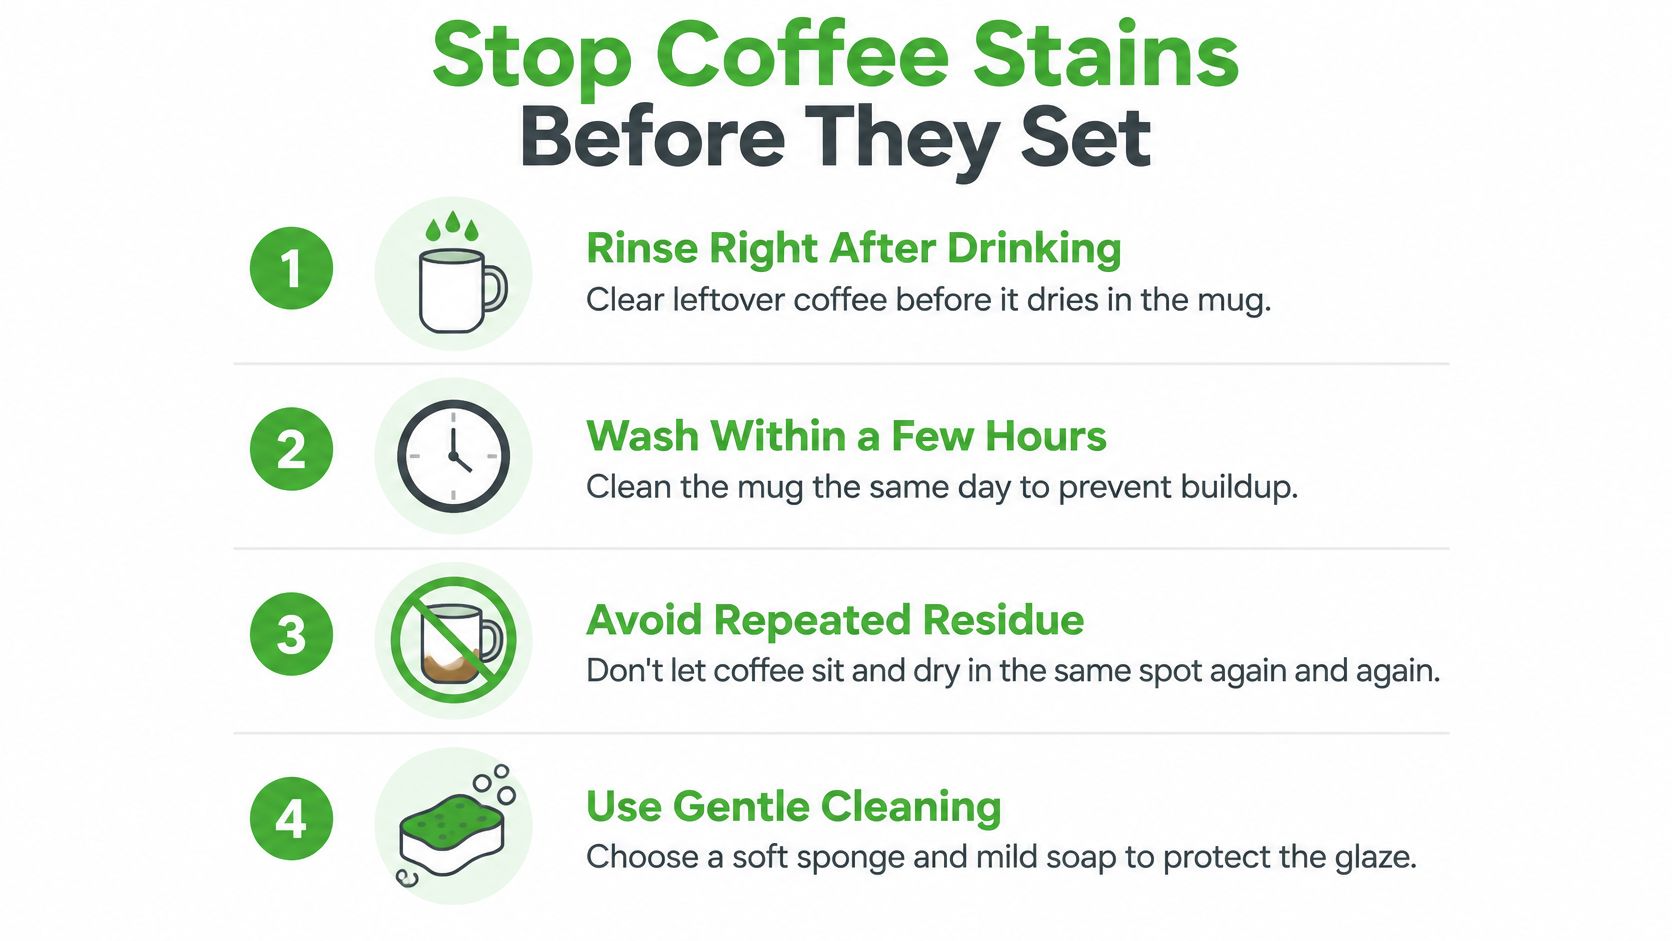
Prevention is mostly about interrupting the dry-and-refill cycle. A little coffee left at the bottom dries onto the wall, then gets rewetted when the next cup goes in.
The Takeout's explanation of coffee-cup staining connects tannin buildup with prolonged contact, particularly on porous or textured interiors. Prompt rinsing leaves less residue to remove later, which also means less abrasive cleaning.
Make the Easy Habits Convenient
- Rinse after finishing: Aim for within an hour or so rather than leaving the mug beside your laptop until evening.
- Empty before bed: Don't leave leftover coffee sitting overnight, especially in a favorite mug with a textured interior.
- Keep gentle tools handy: Put a soft sponge beside the fragrance-free dish soap so the steel scrubber isn't the easiest thing to grab.
- Dry before stacking: Let the interior and base dry completely before nesting mugs or closing a cabinet around damp drinkware.
- Catch faint film early: Give compatible daily-use mugs a gentle weekly baking soda wipe rather than waiting for a dark ring.
For busy Dallas families, a dedicated mug shelf and a labeled travel mug can make ownership and washing responsibilities clearer. The same setup works for a Plano household juggling school mornings or a Frisco home where coffee cups collect around workstations.
Separate Mineral Film From Coffee Residue
In hard-water areas of Dallas–Fort Worth, pale chalky film can resemble a stubborn stain or make a brown deposit harder to read. A brief white vinegar rinse can help on compatible glass or stainless steel, followed by thorough washing and rinsing.
Don't automatically add more abrasive cleaner when a mark looks white rather than brown. Match the treatment to the deposit.
Check dishwasher detergent labels for chlorine ingredients and fragrance additives rather than assuming every formula is suitable for a fragrance-free household. Hand-clean a set-in ring with the paste method; reserve the dishwasher for routine washing of dishwasher-safe mugs, not as a substitute for stain treatment or lid disassembly.
Make the coffee station part of your deep-cleaning kitchen checklist. Wiping the mug shelf and drying rack keeps freshly washed cups from landing on old drips.
When to Retire a Mug and When to Call Gmaids
A coffee stain alone does not mean a mug is worn out. Keep using it if the mark lifts after a couple of gentle attempts and the glaze stays intact. Stop using it for drinks if the glaze is chipped or cracked, the print is flaking, discoloration returns quickly after proper washing, or an odor remains after the lid parts are cleaned and dried. More scrubbing cannot make damaged glaze safe for drink service.
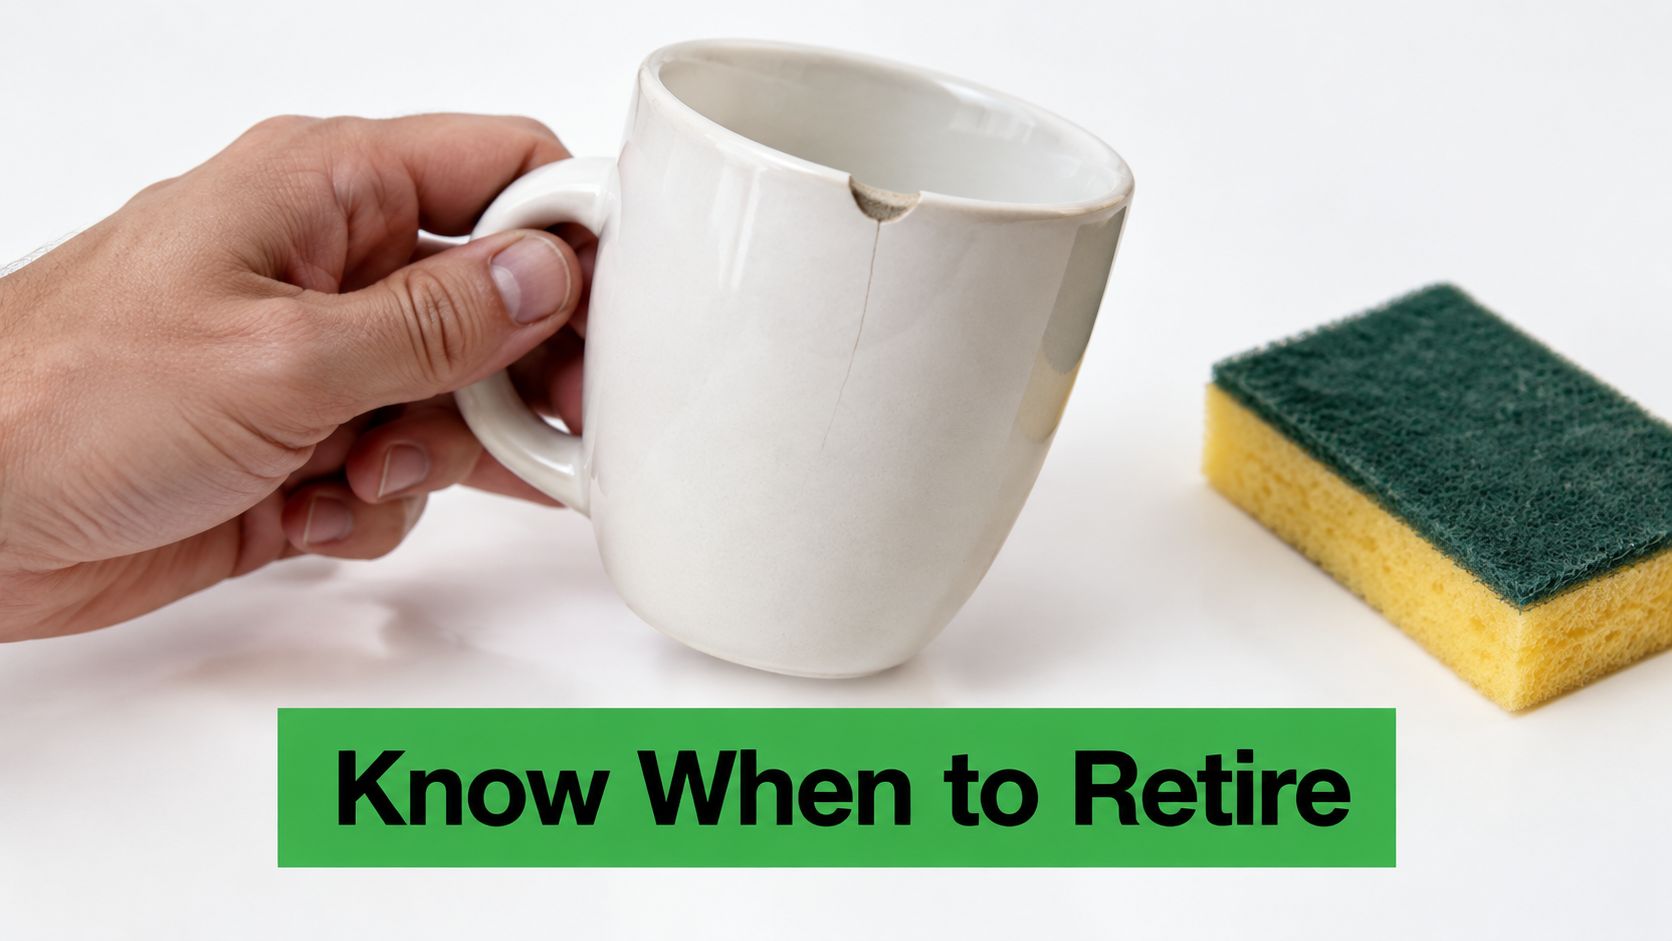
Keep the Sentiment, Replace the Drinking Vessel
If a stain has settled into worn glaze, stop escalating the treatment. Keep a sentimental mug for pens or another dry use instead.
Replacing a horse-themed favorite? Browse drinkware that reflects your equestrian story, then check the care instructions and interior finish as carefully as the design.
Know When the Job Is Bigger Than Drinkware
- Home coffee station: Choose deep cleaning when spills and buildup extend to counters, cabinet fronts, and the surrounding area.
- Shared workplace kitchen: Office cleaning can provide regular care for a Dallas break room beyond occasional mug washing.
A cleaning service can address the surrounding space, but it cannot repair cracked glaze or make a damaged cup suitable for drinks again.
Gmaids provides residential and commercial cleaning across Dallas–Fort Worth, including deep cleaning and office cleaning. The company has served the area since 2004, with trained, background-checked, and insured Certified Cleaning Teams® using non-toxic, fragrance-free products without bleach or ammonia. Visit Gmaids for a quote or call 214-997-6918.


Ready for a healthier, cleaner home?