Deep Cleaning Kitchen Checklist: 9 Non-Toxic Room Tasks
It's Saturday morning in your Dallas kitchen. The counters look fine, but there's a sticky film above the stove, grime tucked into the refrigerator seal, and a dog bed beneath a dusty cabinet top. Wiping the island won't reach any of it.
A kitchen deep clean starts higher than the counter because grease and dust settle on everything below. Start at the hood and upper ledges, work down through appliances and food-preparation surfaces, and leave the floor until the end. Give ceiling fixtures and vents an early pass too, even though their detailed instructions appear later in this list.
This deep cleaning kitchen checklist follows that working route, with fragrance-free, plant-derived and mineral-based options where they make sense. The biggest priorities are removing greasy residue, keeping dirty tools away from food-contact surfaces, and avoiding unnecessary fumes around kids and pets.
Gather your supplies before opening cabinets:
- Cleaning tools: Microfiber cloths, a soft detail brush, non-scratch pads, a plastic scraper, and a vacuum with a crevice attachment.
- Cleaning products: Fragrance-free dish soap, a surface-compatible degreaser, and a cleaner approved for your flooring.
- Safe setup: A stable step stool, washable gloves, and a cooler for refrigerated food.
In Plano new-construction homes and established Lakewood kitchens alike, dust and cooking residue need different treatment. Capture loose dust first. Then wash away grease rather than covering its smell.
Table of Contents
- Keep Maintenance Separate From Sanitizing
- Choose Products for the People Who Live There
- Match the Service to the Job
1. Degrease the Range Hood and Replace or Clean Filters
Run a clean cloth across the hood's underside. If it drags instead of gliding, you're dealing with an oily layer that a quick stainless-steel polish won't remove.
Switch off the hood and let the lights cool. Remove washable grease filters according to the manual, then soak them in hot water that's safe to handle with fragrance-free dish soap. Scrub gently with a soft brush, rinse, and let them dry completely.
Match the Method to the Filter
- Metal mesh or baffle filters: Wash only as the manufacturer permits. Strong alkaline cleaners can discolor some metals.
- Charcoal or carbon filters: Replace disposable versions rather than trying to wash away absorbed residue.
- Hood surfaces: Apply degreaser to your cloth, not into switches, light sockets, or motor openings. Wipe stainless steel with the grain and dry it.
Say your hood sits above a frequently used skillet burner. Clean the underside and nearby cabinet edges, not just the visible front, because splatter reaches beyond the cooking surface. During Dallas's long AC season, use the hood while cooking rather than relying on open windows.
For additional exhaust-maintenance context, consult this kitchen exhaust safety guide, while keeping your appliance manual as the authority for removable parts.
Label check: Fragrance-free means synthetic scents are left out entirely. Unscented isn't the same thing; an unscented product may still contain masking fragrance.
2. Clean the Inside of the Oven
A burnt smell when the oven heats often means a spill needs removal, not that the kitchen needs an air freshener. Start with the oven off and completely cool, and remove the racks before touching the cavity.
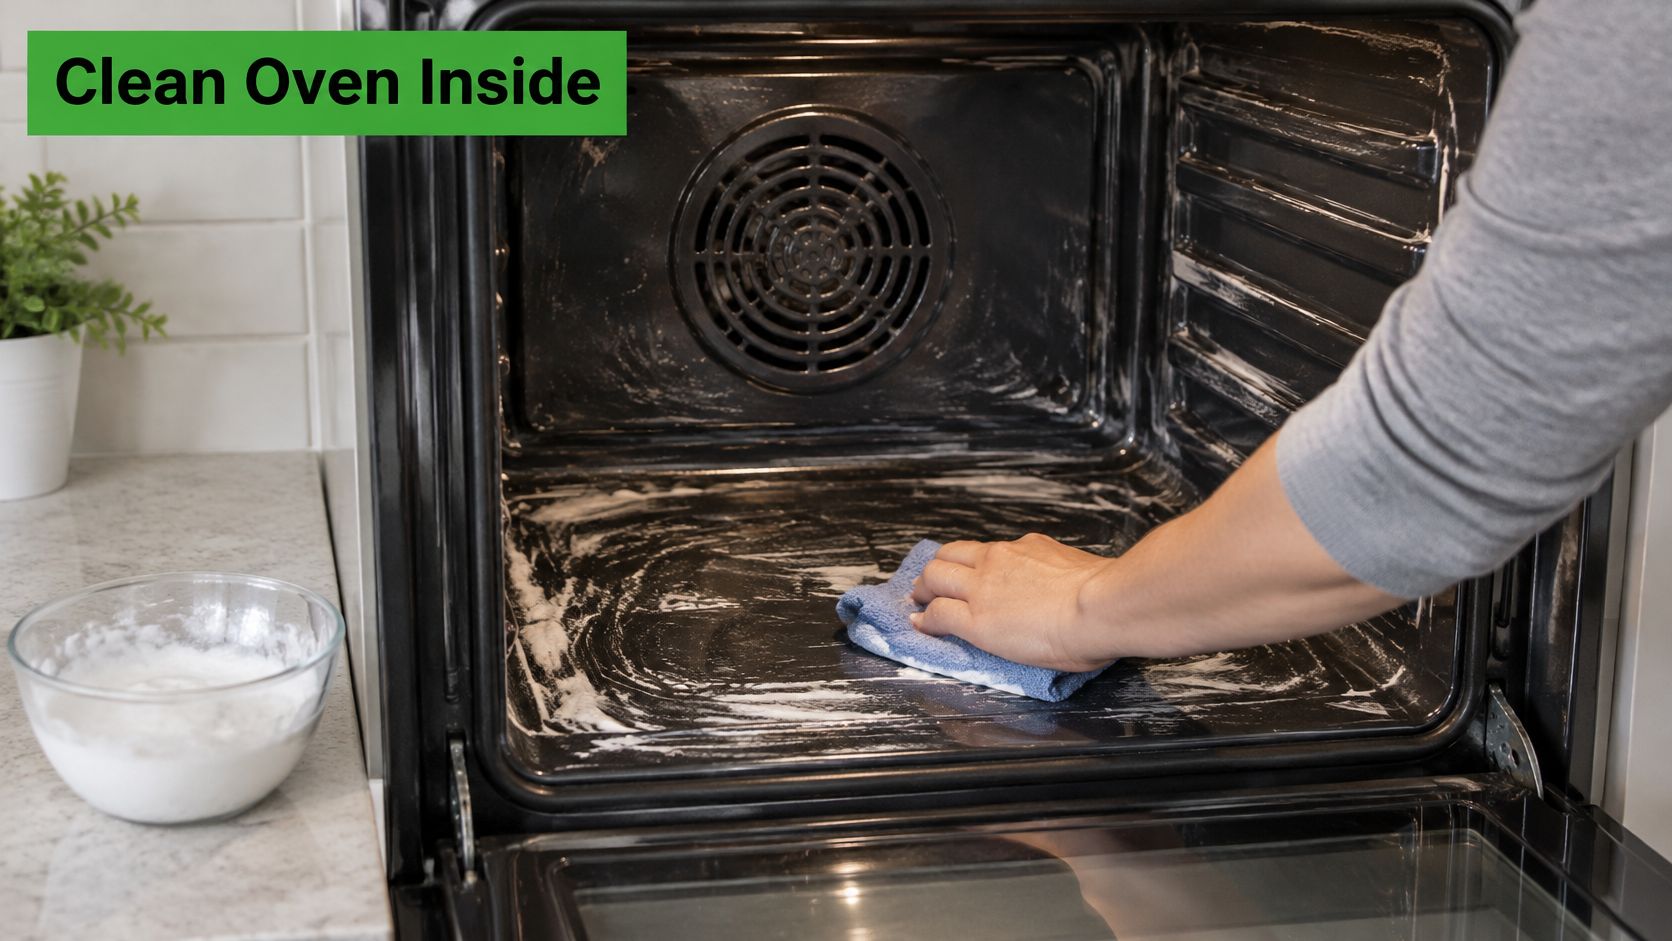
Check the manual before applying baking soda or any degreaser. Some self-cleaning liners and specialty finishes need a different approach, and abrasive scrubbing can damage them.
Loosen Spills Instead of Scraping Harder
For a compatible enamel interior, spread a baking-soda-and-water paste over baked-on food, avoiding heating elements, fans, openings, and seals. Let it soften the residue, then lift it with a damp cloth and plastic scraper.
Soak compatible racks in warm water with fragrance-free dish soap. For stubborn greasy patches, use an oven-compatible, fragrance-free plant-derived degreaser and remove the residue thoroughly before cooking again.
If a holiday casserole overflowed, concentrate on that spill rather than coating every surface with cleaner. Wash the door glass gently, but don't saturate or pull at the door gasket.
Gmaids includes oven interiors in move-in/move-out cleaning. For a deep-cleaning appointment, confirm interior appliance work when booking so the crew can plan for the buildup.
Keep children and pets away from the open oven and cleaning supplies. Ventilate during the work, and don't combine cleaning products or apply cleaner before running a self-clean cycle.
3. Clean Inside the Refrigerator and Freezer
Start by making somewhere safe for the food to go. Transfer perishables into a cooler with ice packs, and keep frozen food frozen while you work.
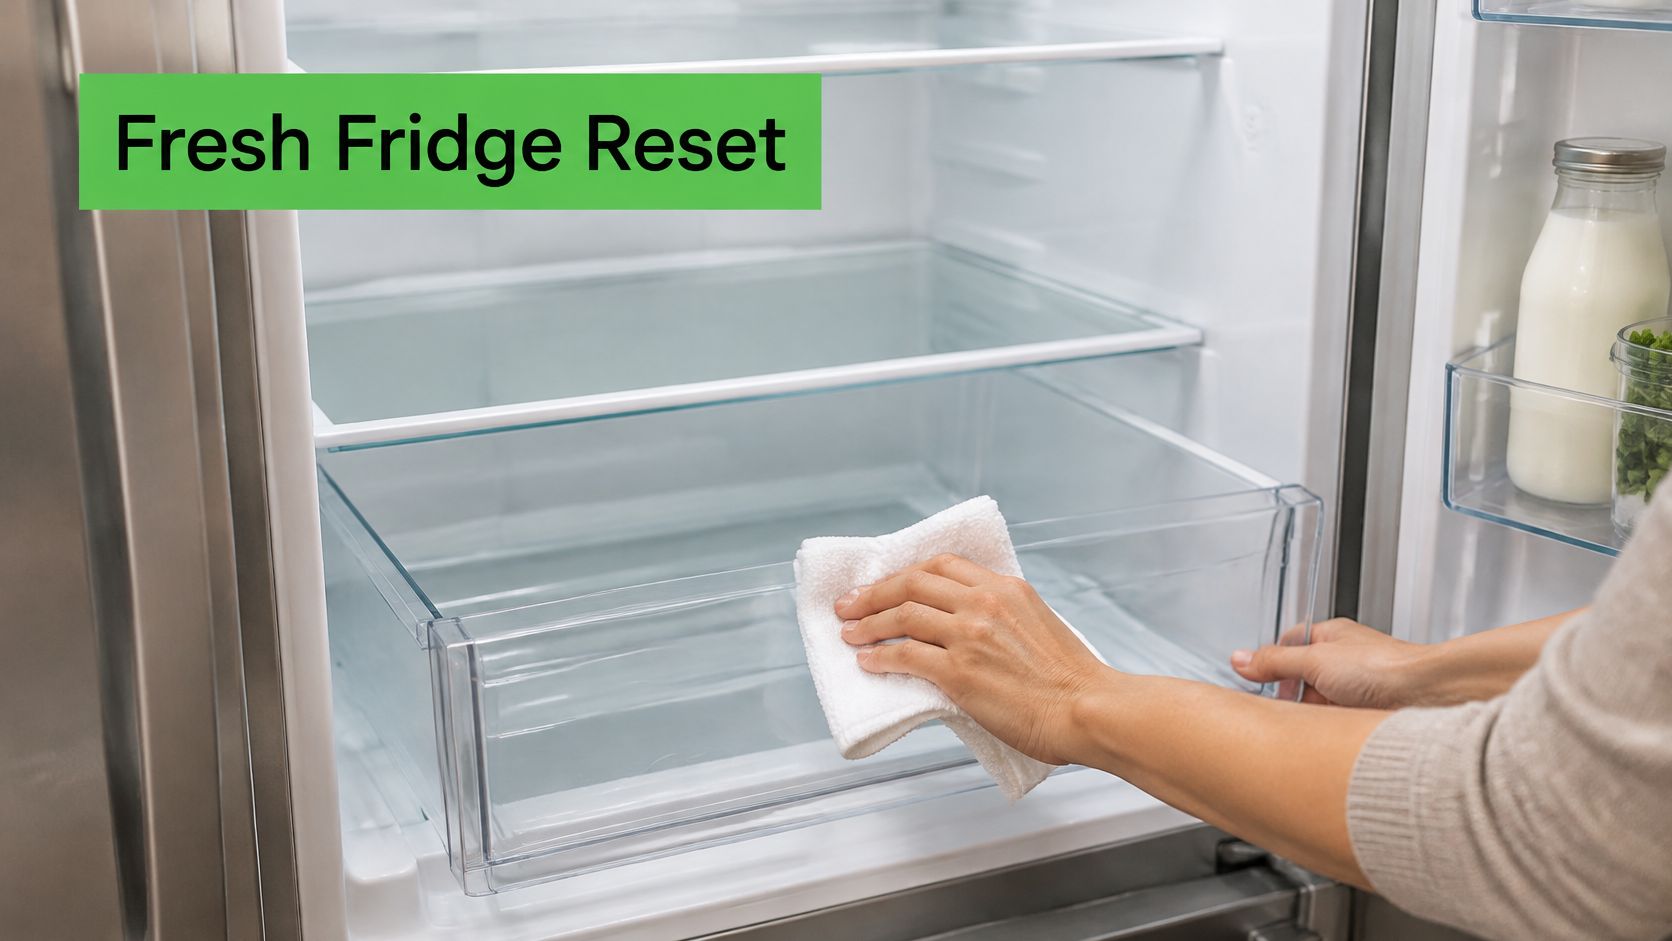
For a full clean or defrost, follow the manufacturer's shutdown instructions. Don't chip away freezer ice with a knife or pour hot water onto cold glass shelves.
- Empty and sort: Check dates, leaking packages, and forgotten leftovers. Wipe sticky containers before putting them back.
- Wash removable parts: Let cold glass approach room temperature before washing it in warm, soapy water. Dry shelves and bins completely.
- Detail the seals: Use a soft cloth with mild soap to reach gasket folds. Avoid sharp tools that could tear the seal.
- Check accessible coils: Vacuum only the areas the manual identifies as homeowner-accessible, with the appliance safely powered down.
A family fridge packed with snack tubs, produce, and opened pet food needs attention beneath the bins, not just on the shelf fronts. Clean handles and door edges too, since those get touched during food preparation.
Use an appliance thermometer and verify settings against current food-storage guidance and the refrigerator manual. Don't judge safe storage by how cold the air feels on your hand.
Gmaids move-in/move-out cleaning includes refrigerator interiors. For an occupied home, agree on food removal and cooler arrangements before the team arrives.
4. Clean Cabinet Fronts, Interiors, and Drawers
Cabinet cleaning is mostly finish protection. Too much water can swell a drawer edge, while aggressive degreaser can dull paint long before the grease disappears.
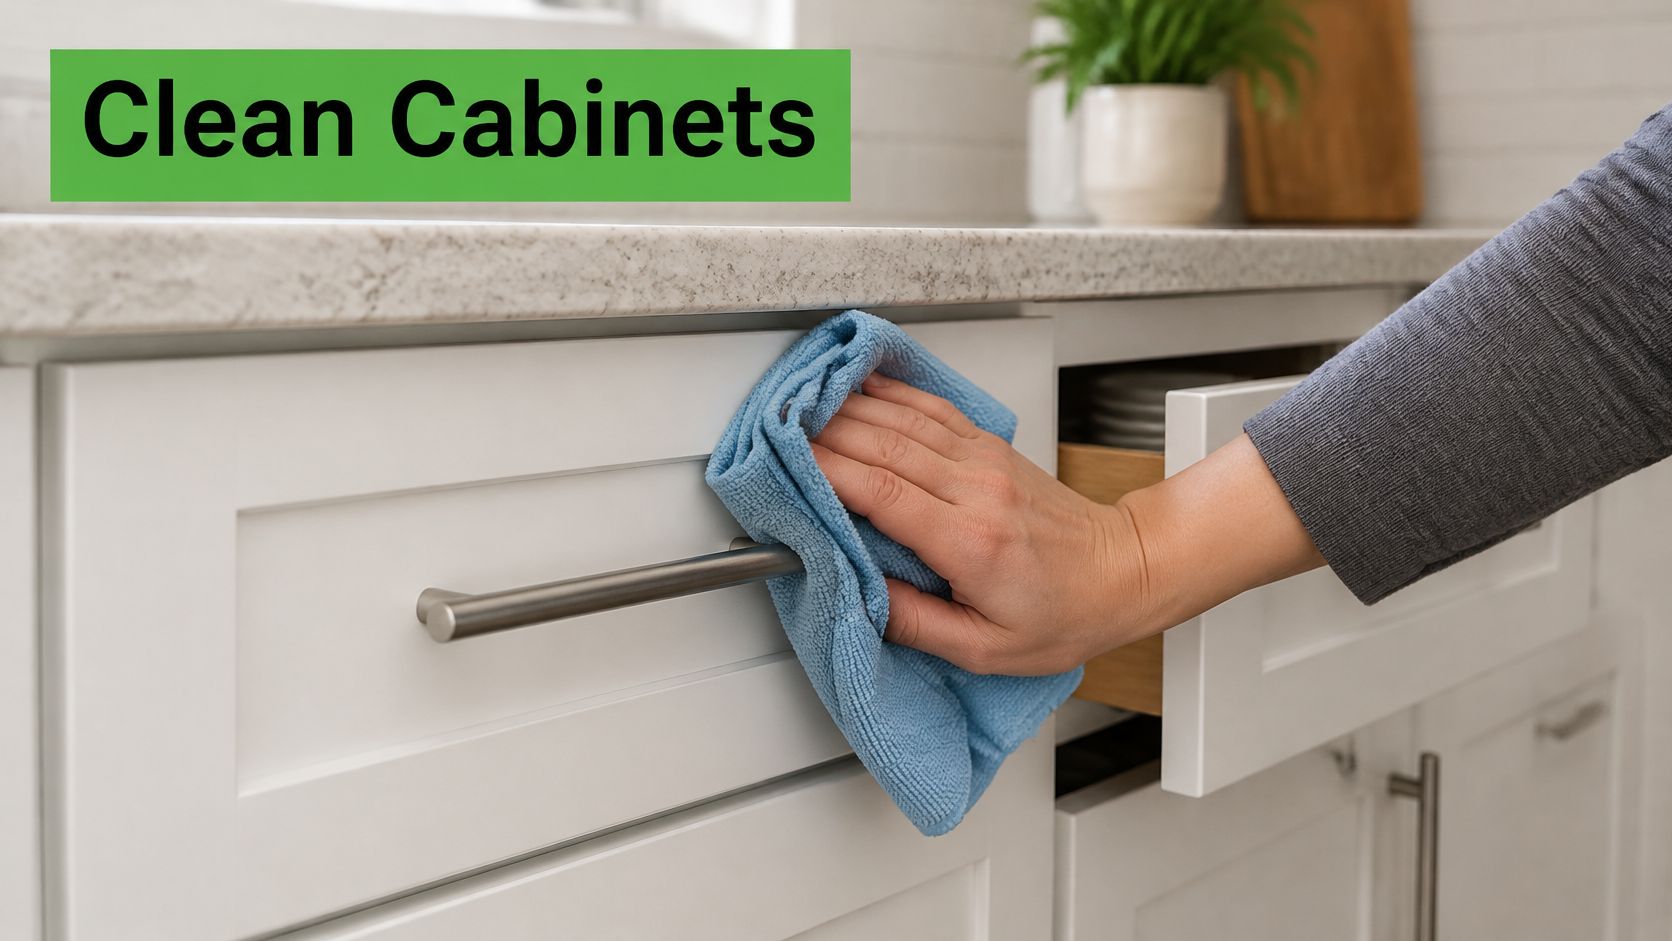
Capture dust from cabinet tops before washing the doors below. Empty a manageable section, vacuum crumbs from corners, then wipe with a barely damp cloth and mild fragrance-free cleaner.
Give Handles and Edges Separate Attention
Use a soft detail brush around pulls and recessed panels, without flooding screw holes or seams. Dry each section immediately, especially around sinks and dishwashers.
- Painted doors: Test the cleaner inside a door first. Stop if color transfers or the finish becomes tacky.
- Wood fronts: Follow the finish manufacturer's instructions and avoid soaking joints.
- Drawers: Let interiors dry fully before replacing liners, utensils, or pantry supplies.
Say the snack drawer contains cracker crumbs and sticky fingerprints. Remove everything, vacuum the corners, wash the handle, and check the underside of the drawer front where little hands grip it.
Protect neighboring worktops while cleaning. Gmaids' guide to cleaning laminate countertops explains how to handle that surface without treating it like stone.
If doors remain patchy after gentle cleaning, the finish may need repair rather than stronger chemicals. This cabinet painting guide for North Shore homes offers refinishing context, but cleaning should come before any decision to repaint.
5. Clean and Sanitize the Dishwasher and Small Appliances
White dishwasher film and greasy food residue aren't the same problem. Mineral deposits need a compatible descaling treatment; trapped food needs removal and washing.
Remove the lower rack and filter only as the manual directs. Rinse the filter, brush away debris, inspect spray-arm openings, and wipe the gasket folds without forcing food deeper into them.
Clean First, Then Use the Right Cycle
Use a manufacturer-approved dishwasher cleaner or descaler. If the manual permits white vinegar, follow its placement and quantity instructions rather than pouring it into the detergent dispenser.
A fragrance-free dishwasher detergent or rinse aid avoids adding scent to dishes. It doesn't excuse blocked filters, overloaded racks, or poor rinsing.
- Microwave: Warm a microwave-safe bowl of plain water until steam loosens splatter. Let it stand before opening, then wipe the cavity and wash the turntable.
- Coffee maker: Run the approved descaling process, followed by clean-water rinse cycles.
- Toaster: Unplug it, cool it, and empty the crumb tray. Never immerse the appliance.
- Air fryer: Wash removable food-contact parts as directed, keeping liquid away from electrical components.
In a busy Frisco kitchen, an air-fryer basket may need more attention than the oven. Prioritize what gets used, not what looks largest.
Cleaning and sanitizing remain separate jobs. The University of Arkansas Extension food-safety guide describes washing and rinsing before applying a suitable food-contact sanitizer.
Use an appliance's designated sanitizing cycle only as directed. Descaling vinegar and ordinary dish soap shouldn't be treated as disinfectants.
6. Clean Backsplash Tile, Grout, and Painted Walls
The wall beside the stove can look dusty when it's really greasy. Start with loose dust, then test a mild cleaner on a hidden patch before washing the visible area.
For glazed tile, use a soft cloth and fragrance-free detergent solution. Work the grout with a soft brush, rinse away loosened residue, and dry the counter below.
Protect Stone and Paint
Baking-soda paste can help on compatible grout, but it needs thorough removal. Don't use vinegar on marble, limestone, or other acid-sensitive stone; choose a pH-neutral, fragrance-free stone cleaner instead.
For painted walls, work in small areas with a well-wrung cloth. Wash from the bottom upward to limit cleaner drips across dry paint, then finish with a gentle wipe and dry cloth.
- Switch plates: Put cleaner on the cloth, never directly onto switches or outlets.
- Grout and caulk: Look for cracks, missing material, or persistent dampness. Cleaning won't repair a failed joint.
- Sealer: Follow the grout and sealer manufacturers' maintenance instructions rather than applying a universal resealing schedule.
Say pasta sauce splashed behind the stove during holiday hosting. Soften and lift it instead of attacking the paint with an abrasive pad that leaves a shiny patch.
Dallas dust and tracked-in oak or cedar pollen can add to surface buildup. A damp microfiber cloth captures that material without a scented finishing spray.
A clean kitchen doesn't need to smell like lemon, pine, or perfume. Remove the residue and the odor source rather than adding another scent.
7. Clean the Sink, Faucet, and Garbage Disposal
Save the sink's final cleaning until the dirty soaking and rinsing are finished. Otherwise, you'll wash greasy filters in a basin you've just sanitized.
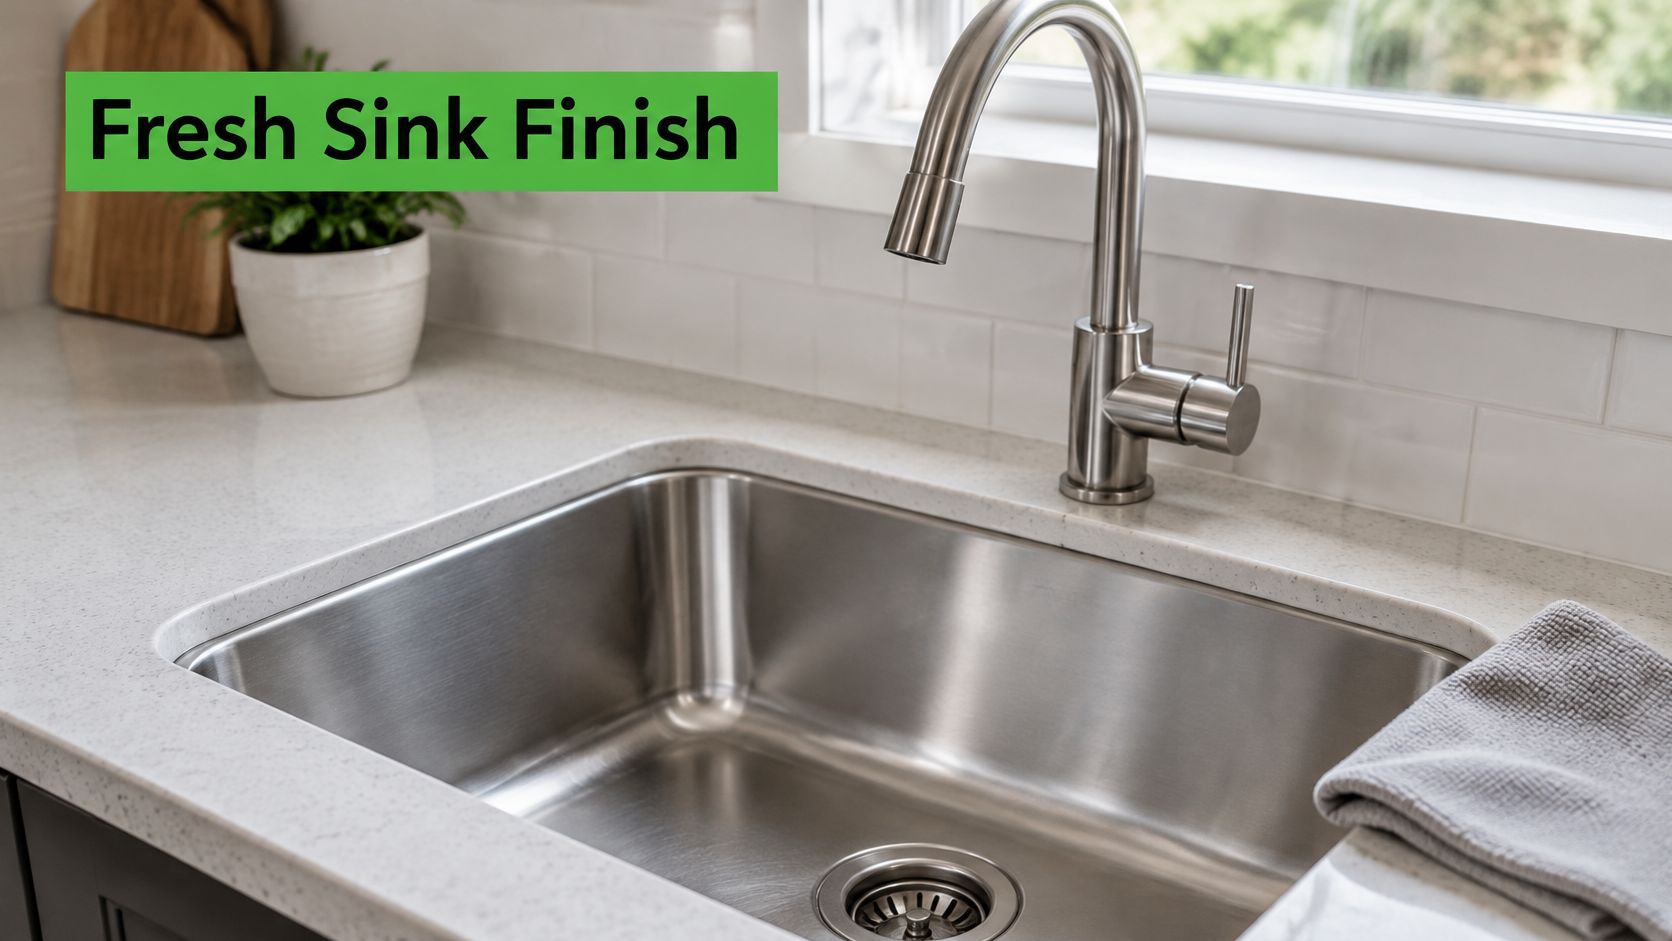
In a USDA meal-preparation study, participants contaminated the kitchen sink in 34% of cases, making it the most frequently contaminated surface tested, according to the USDA kitchen-sink food-safety article. That's a reason to clean beyond visible water spots.
Separate Mineral Removal From Sanitizing
Wash the basin, drain rim, faucet base, and handles with a surface-compatible fragrance-free cleaner. Rinse away soil and detergent before applying a food-contact sanitizer when contamination calls for it.
For a scaled aerator, check the finish instructions before removing it. Soak compatible removable parts in white vinegar, rinse, and reinstall carefully; protect nearby natural stone from splashes.
- Disposal splash guard: Disconnect power before cleaning accessible folds. Never put your hand into the grinding chamber.
- Disposal interior: Use ice and cold water only if the manufacturer recommends that method. Don't rely on citrus peels to conceal persistent odors.
- Final treatment: Keep sanitizer visibly wet for its labeled contact time, then rinse if required.
After preparing raw poultry, use clean tools for the sink and surrounding counter rather than spreading the same dirty cloth across both. Wash or replace contaminated tools before returning them to service.
8. Dust High Surfaces, Light Fixtures, and Vents
Do this task during your opening high-level pass, not after polishing the counters. The numbering keeps the task easy to find, but gravity determines the working order.
Switch off fans and lights, let fixtures cool, and use a stable step stool. Don't climb onto a countertop or stretch across the stove to reach a pendant.
Capture Dust Instead of Scattering It
Use a microfiber duster or lightly damp cloth on cabinet ledges and fixture exteriors. Vacuum accessible vent covers with a soft brush attachment, taking care not to push dirt through the grille.
- Ceiling fans: Support each blade while wiping it. Don't pull down on the blade or motor housing.
- Pendant lights: Check whether shades are removable and washable before loosening fittings.
- HVAC returns: Clean accessible covers and check the system filter against the manufacturer's replacement guidance.
- Ductwork: Leave internal ducts, electrical components, and mechanical servicing to a qualified HVAC professional.
A pet-friendly Preston Hollow kitchen may collect fur on return grilles as well as beneath cabinets. Cleaning only the floor leaves those upper surfaces untouched.
Long AC seasons make vent-cover checks easy to overlook because the system is usually running. Switch it off for accessible cover cleaning and restore everything securely afterward.
For delicate hanging fixtures, consult Gmaids' guide to cleaning a crystal chandelier. Crystal, painted metal, and fabric shades don't all tolerate the same cleaner or amount of moisture.
9. Clean Under and Behind Appliances, Along Baseboards, and Deep Clean Kitchen Floors
The floor comes last, including the edges that a quick mop usually misses. Vacuum crumbs and pet hair beneath toe-kicks, beside the refrigerator, and around the trash area before introducing water.
Move appliances only when it's safe. Don't pull out a built-in dishwasher or strain a refrigerator water line, gas connection, or anti-tip bracket.
Reach What You Can Safely Clean
Use a long crevice attachment for narrow gaps. If moving an appliance requires disconnecting plumbing or gas, arrange qualified help rather than turning a cleaning session into an installation job.
Wipe baseboards and kick plates with a damp cloth and mild fragrance-free cleaner. Clean and dry the trash and recycling bins before replacing bags.
- Tile: Brush dirty grout gently, then remove loosened soil and detergent with clean water.
- Hardwood and laminate: Use a barely damp mop and dry wet patches promptly. Avoid steam unless the flooring manufacturer permits it.
- Pet areas: Lift bowls and beds, vacuum beneath them, and keep pets away until floors are dry and products are stored.
If the floor feels tacky afterward, adding more detergent usually makes it worse. Gmaids' guide to sticky floors after mopping explains how excess cleaner and dirty rinse water leave residue.
For persistent crumbs near cabinet edges, these ant control tips for Scarborough homeowners offer complementary prevention advice. Local pest activity still needs local assessment.
Floor rule: Where babies crawl and pets nap, correct dilution and complete residue removal matter more than a strong-smelling finish.
Which Kitchen Areas Each Deep Clean Task Covers and What to Watch For
| Item | Key Surfaces | Main Caution |
|---|---|---|
| Degrease the Range Hood and Replace or Clean Filters | Hood exterior and underside, light cover, grease filters | Interior and ductwork can be hard to reach; heavy grease may need repeated soaking |
| Clean the Inside of the Oven | Oven cavity, racks, door glass, door gasket | Self-clean cycles produce high heat and fumes; heavy buildup may need several passes |
| Clean Inside the Refrigerator and Freezer | Shelves, drawers, door bins and gaskets, condenser coils | Moving a full refrigerator can be difficult; coils and vents may be hard to access |
| Clean Cabinet Fronts, Interiors, and Drawers | Cabinet fronts and tops, handles, interiors, drawer tracks | Strong cleaners can damage finishes; test products on a hidden spot first |
| Clean and Sanitize the Dishwasher and Small Appliances | Dishwasher filter, spray arms and gasket; microwave, coffee maker, toaster, air fryer | Filters and spray arms can be fragile; check manufacturer guidance before cleaning |
| Clean Backsplash Tile, Grout, and Painted Walls | Tile, grout, painted walls, switch plates | Acidic cleaners can damage natural stone; scrubbing may harm painted or matte finishes |
| Clean the Sink, Faucet, and Garbage Disposal | Sink basin, faucet and aerator, drain, disposal splash guard | Avoid harsh drain cleaners; disposal areas can be difficult to reach |
| Dust High Surfaces, Light Fixtures, and Vents | Fans, light fixtures, vents, cabinet tops, window sills | High work can be unsafe; dust may become airborne during cleaning |
| Clean Under and Behind Appliances, Along Baseboards, and Deep Clean Kitchen Floors | Appliance gaps, baseboards, kick plates, floors, grout and edges | Moving appliances requires care; use floor-safe products and avoid soaking wood or laminate |
Turn the Checklist Into a Routine Your Kitchen Can Keep
A deep clean is easier to maintain when the work follows a clear order: start with the range hood and high surfaces, move through cabinets and appliances, then finish with the floor. Dust and rinse water fall as you clean, so working top to bottom helps keep finished surfaces clean.
Choose a few deeper tasks each month rather than waiting until the whole kitchen needs attention. Pair the refrigerator with grocery day, clean the oven during a quieter cooking weekend, and sort the pantry while wiping cabinet interiors. For Dallas–Fort Worth homes, regular attention to dust and hard-water residue can help keep buildup manageable, especially during long AC seasons.
Keep Maintenance Separate From Sanitizing
For ordinary crumbs and cooking grease, use detergent, water, and physical removal. If food-contact surfaces need sanitizing, clean them first and then use an appropriate sanitizer. Other situations may call for a surface-compatible disinfectant.
CDC's household cleaning guidance explains the difference between cleaning, sanitizing, and disinfecting, and advises following product directions. A plant-derived ingredient list or a natural claim alone does not establish antimicrobial performance.
Keep clean cloths separate from those used around raw meat, drains, or floors. A counter can look clean and still pick up residue from a dirty sponge.
Choose Products for the People Who Live There
Fragrance-free, plant-derived, or mineral-based products may suit households with sensitivities when they are appropriate for the surface and used as directed. This can matter around kids, pets, and family members with allergies, asthma, or chemical sensitivities. Check the label, ventilate as directed, wear gloves when required, and store cleaning supplies out of reach. Botanical products are not automatically harmless.
Gmaids provides residential and commercial cleaning across Dallas–Fort Worth, including deep cleaning and recurring maid service. The company describes its products as non-toxic and fragrance-free, without bleach or ammonia. Its trained, background-checked, and insured cleaning teams use eco-friendly products and EPA-approved disinfectants.
Match the Service to the Job
Deep cleaning addresses accumulated buildup. Recurring maid service, available weekly, biweekly, or monthly, helps maintain the result. Move-in/move-out cleaning includes inside the fridge, oven, cabinets and drawers, and closets.
Renovation dust and residue may call for post-construction cleaning rather than ordinary maintenance. Before scheduling, confirm whether appliance interiors are included, discuss access limits, and mention any special finishes that need care.
For a Dallas–Fort Worth kitchen, Gmaids offers deep cleaning and recurring maid service. Call 214-997-6918 to discuss scheduling a kitchen deep clean.


Ready for a healthier, cleaner home?