

Move in Cleaning Checklist: 10 Steps for DFW Homes
Your first night in your new Dallas home should feel comfortable. The fridge is humming, the kids are exploring, and the dog has already chosen a spot on the floor. With the windows closed against oak pollen or summer dust, whatever the previous occupants left behind is sharing the space with you.
A move in cleaning checklist helps you deal with the less obvious leftovers before furniture and boxes cover them up. Think sticky refrigerator gaskets, dust along closet shelves, greasy cabinet pulls, and cleaner residue where a baby might crawl. A strong perfume isn't proof that any of those surfaces are clean.
Ingredient choice matters as much as elbow grease. The EPA's indoor-air guidance identifies cleaners, disinfectants, and aerosol sprays as potential sources of volatile organic compounds. Choose fragrance-free products suited to each surface, ventilate when outdoor conditions permit, and keep children and pets away while you work.
Before you start, gather:
- Dust-removal tools. A well-maintained vacuum, soft brush, and clean microfiber cloths.
- Surface-safe cleaners. Mild plant-derived or mineral-based products without bleach, ammonia, or synthetic fragrance.
- Finishing supplies. Dry towels, clean mop pads, and a way to document unfinished repairs.
For broader seasonal chores, the Dallas–Fort Worth spring cleaning guide can help you coordinate outdoor work. Inside, start with the places your food, hands, and belongings will touch.
Table of Contents
- 1. Kitchen Inside the Refrigerator and Freezer
- 2. Kitchen Oven and Range Hood
- 3. Kitchen Cabinets, Drawers, and Pantry Shelves
- 4. Bathrooms Toilets, Tubs, Showers, and Grout
- 5. Bedrooms and Closets
- 6. Windows, Window Tracks, and Blinds
- 7. Air Vents, Ceiling Fans, and Light Fixtures
- 8. Baseboards, Doors, and Light Switches
- 9. Hard Floors, Carpets, and Rugs
- 10. Garage, Entryway, and Exterior Doors
- Move-In Cleaning Areas at a Glance
- Skip the Stress and Get Your Dallas Move-In Clean Done Right
1. Kitchen Inside the Refrigerator and Freezer
An empty refrigerator can look clean while spills remain beneath the drawers and inside the door seals. Before loading groceries, remove every accessible shelf, bin, and drawer according to the appliance manual.
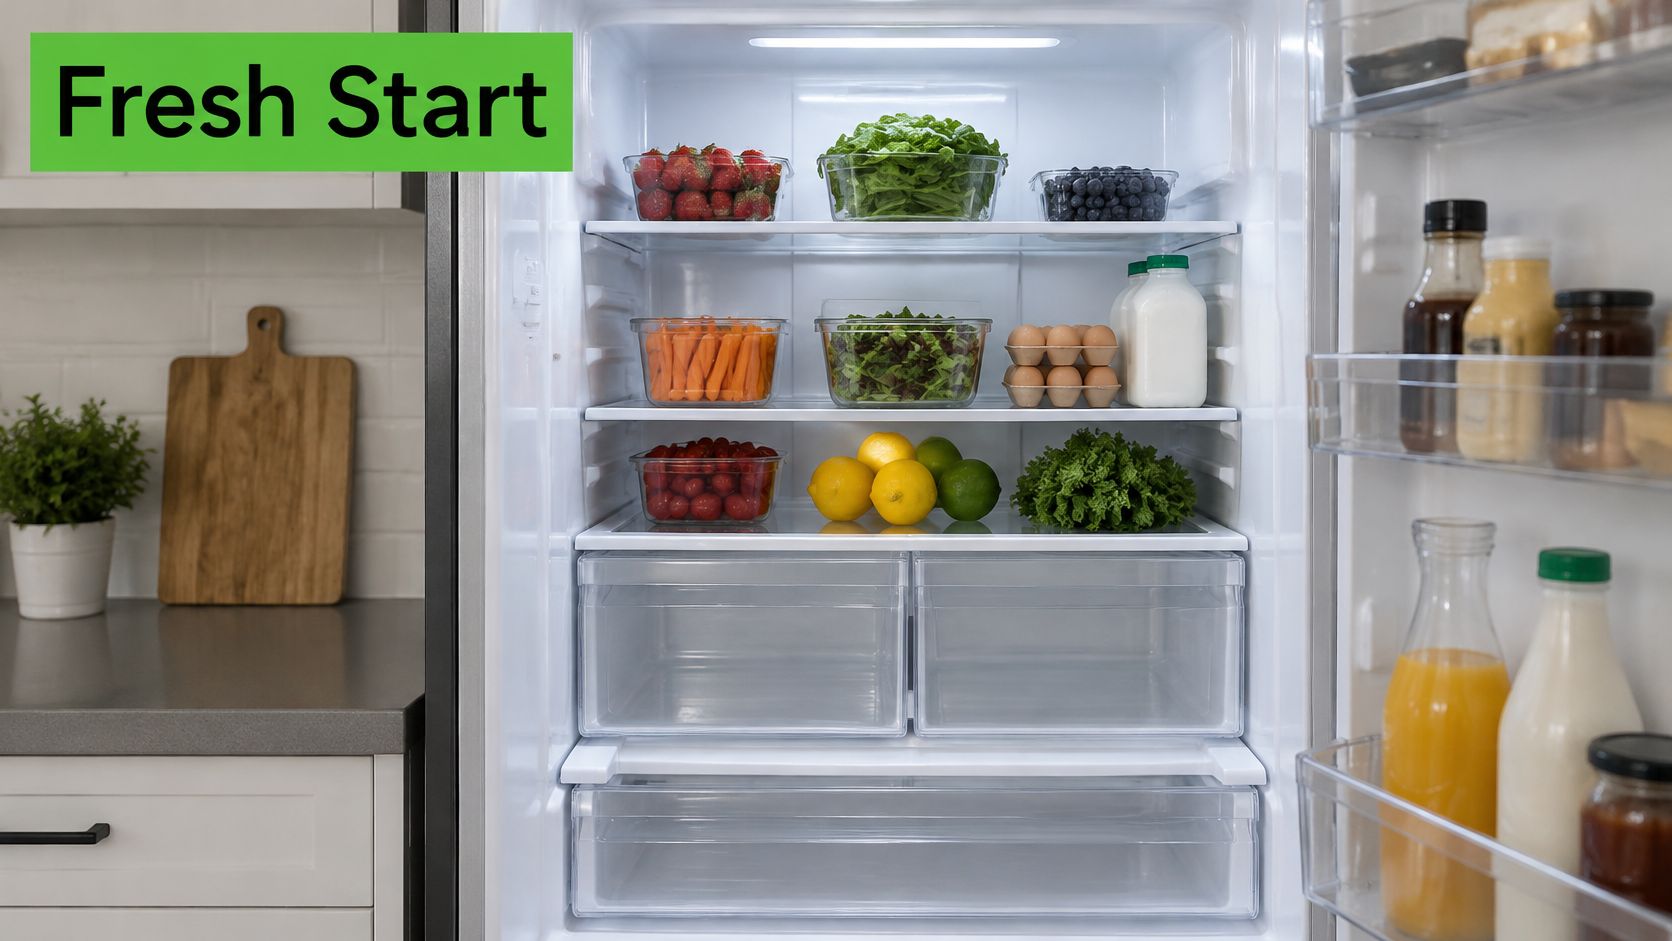
Wash removable parts with mild, fragrance-free dish soap and water, then rinse and dry them. Let cold glass warm gradually before washing it. Sudden temperature changes can damage it.
Clean the Places Food Spills Hide
- Drawer tracks. Lift out crumbs with a soft brush, then wipe away sticky residue.
- Door gaskets. Gently clean inside the folds without pulling the seal loose.
- Interior walls. Use a lightly damp cloth and a product suitable for food-contact surfaces, including any required rinse.
- Exterior handles. Remove fingerprints and grease, including underneath the grip.
For a Plano household arriving with infant bottles and fresh produce, a dry, residue-free shelf is more useful than a refrigerator that smells like lemon perfume. Don't use air fresheners to cover a lingering odor. Locate the spill, check accessible drainage areas as the manual permits, and address the source.
If defrosting is necessary, move food elsewhere and follow the manufacturer's instructions. Never chip ice with a sharp tool. Leave the empty appliance open only while cleaning and drying, then restore power and confirm it's ready for food storage before restocking.
2. Kitchen Oven and Range Hood
Don't discover the previous household's baked-on spills while preheating dinner. Clean the oven when it's cool, and identify its interior finish before choosing a product. Self-cleaning liners and specialty coatings need different treatment from ordinary enamel.
Remove racks if the manual allows it. Soak suitable racks in warm water with a fragrance-free, plant-derived degreaser, then scrub with a non-scratch pad. Keep liquid away from electrical connections, fan openings, and heating elements.
For a Highland Park family preparing to host holiday dinners, the hood deserves as much attention as the oven door. Grease can remain on the filter, underside, and nearby cabinet edges even when the range looks polished.
Remove Cleaner Rather Than Heating It Away
Wipe loosened grease out with clean, damp cloths, changing them as they become dirty. Follow the product's rinse instructions and the appliance manual before using the oven.
Practical rule: Don't run the oven to burn off leftover cleaner. Remove the residue before cooking.
Wash reusable hood filters only as their manufacturer permits. Rinse and dry them completely before reinstalling; replace non-washable filters as specified.
Our guide to deep cleaning an oven explains how to approach stubborn buildup. Skip abrasive shortcuts that scratch glass or coatings, and don't combine degreasers with other cleaning chemicals. More product doesn't compensate for an unsuitable product.
3. Kitchen Cabinets, Drawers, and Pantry Shelves
Say you're moving into a Plano new-build. The cabinet fronts look untouched, but your hand comes away dusty after reaching onto an upper shelf. New doesn't mean ready for dishes.
Open every cabinet and drawer before unpacking. Remove packing scraps and loose debris, then work from the highest shelf downward so you aren't dropping dust onto finished areas.
- Vacuum crevices. Use a soft brush attachment around drawer corners and shelf supports.
- Wipe interiors. Apply a mild, fragrance-free cleaner to the cloth rather than spraying unfinished edges or hardware.
- Degrease fronts. Pay attention to cabinets beside the range, testing the cleaner on an inconspicuous area.
- Dry thoroughly. Leave doors and drawers open until surfaces are dry before adding dishes or liners.
Barely damp cleaning works better than soaking painted wood, laminate seams, or particleboard. If a drawer bottom is swollen or a shelf has a damaged finish, document it rather than scrubbing harder.
The EPA's greener-cleaning guidance supports choosing less hazardous products, following labels, and avoiding unnecessary fragrance. A citrus smell isn't a useful finishing standard for a pantry.
Use shelf liners only if you want them, and choose an unfragranced material that won't conceal dampness or existing damage. Photograph questionable stains before covering them. Your dishes should go onto clean, dry shelves, not onto a new liner laid over old crumbs.
4. Bathrooms Toilets, Tubs, Showers, and Grout
Bathroom cleaning requires soil removal before any necessary disinfection. The CDC's home-cleaning guidance distinguishes routine cleaning from disinfection, which is generally needed in situations such as illness or a recent visit from someone who was sick.
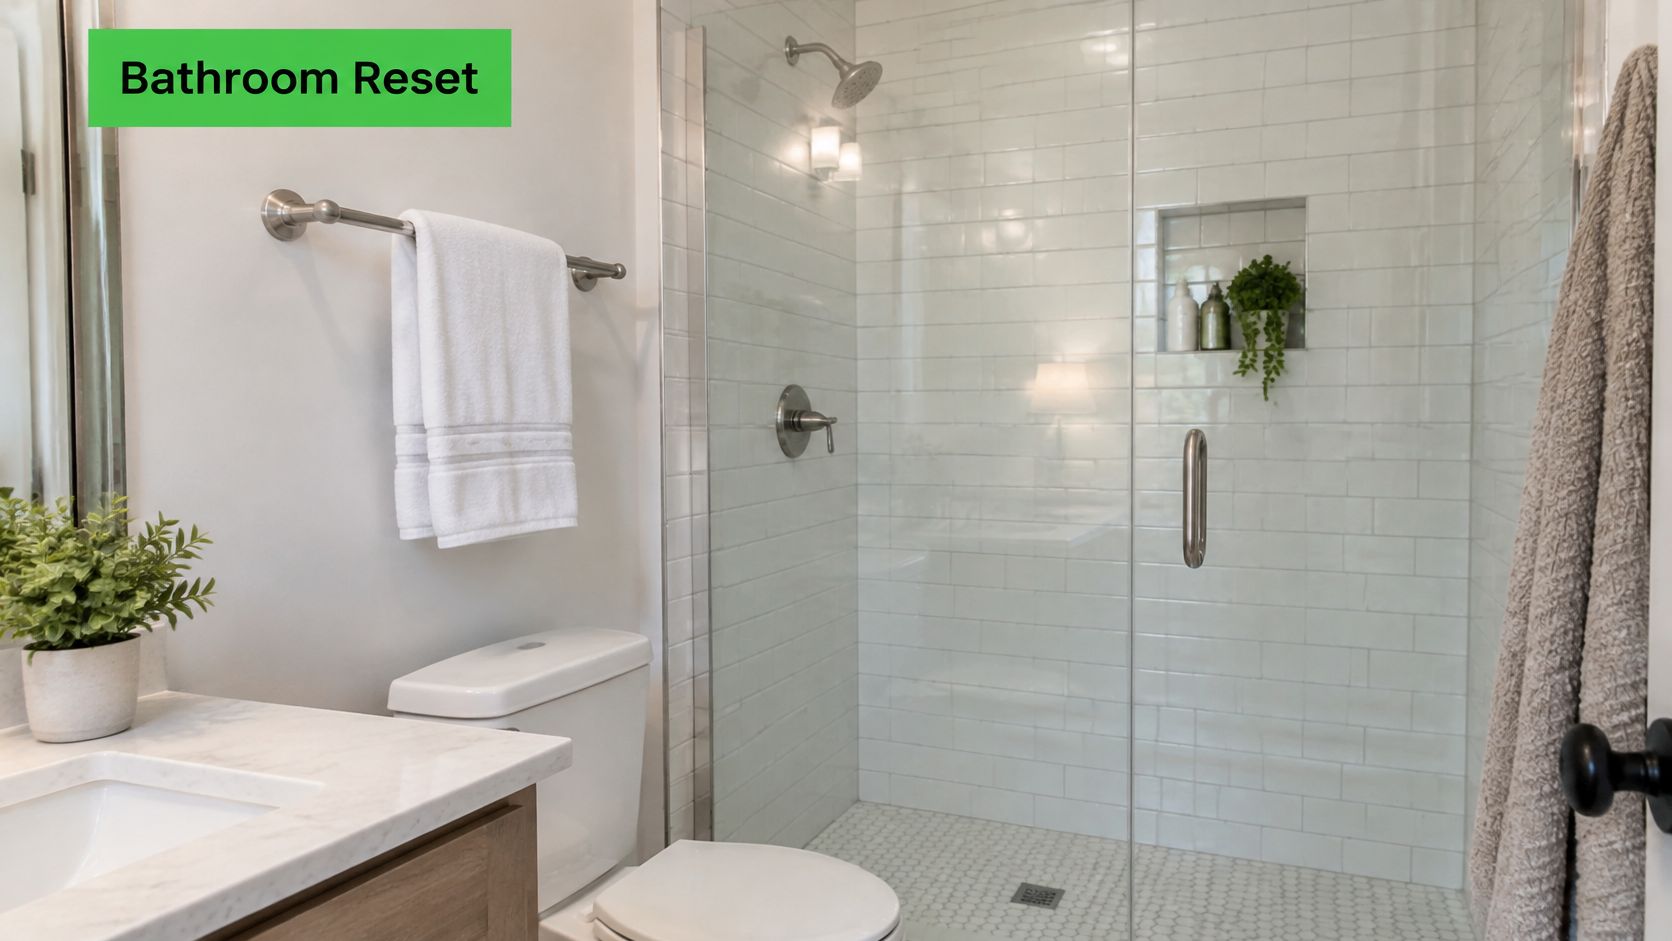
Start with mirrors, vanity surfaces, and the sink, then tackle the tub and shower. Clean the toilet last using separate cloths and tools. Include the seat hinges, exterior bowl, base, and floor behind it.
Match the Product to the Deposit
Soap scum needs a surface-compatible cleaner and enough working time to loosen it. Mineral spots may require a dedicated descaler, but acids can damage natural stone and some finishes. Don't assume vinegar is appropriate everywhere.
For a Frisco family's move-in, clearing shower-glass spots before the children's bath routine is useful. Leaving a strongly scented spray on the tub isn't.
- Ventilate. Run a functioning exhaust fan and open a window only when outdoor conditions permit.
- Rinse contact surfaces. Remove cleaner according to its label, especially from tubs and fixtures.
- Inspect grout and caulk. Report cracks, missing material, or persistent staining rather than masking them.
Our tub-stain cleaning guide can help distinguish stains from removable buildup. Never mix products, and leave grout repair or sealing to the appropriate homeowner or specialist.
5. Bedrooms and Closets
Closets often become the last stop for packing scraps, old hangers, and pet hair. They're also where you'll put clean clothing and children's bedding, so don't settle for a quick floor vacuum.
In a Lakewood home, for example, clean the bedroom closet before bringing in fabric storage bins. Otherwise, dust on the top shelf can fall onto freshly unpacked clothes.
Work High to Low Without Soaking Shelving
Remove loose debris first, then vacuum high ledges and corners with a brush attachment. Wipe shelves, rods, brackets, door edges, and accessible trim with a lightly damp microfiber cloth. Finish by vacuuming the floor and edges after overhead work is complete.
Check these easily missed areas:
- Shelf tops. Dust can remain above eye level even when lower shelves look clean.
- Sliding-door tracks. Remove hair and grit before wiping.
- Closet corners. Inspect for old adhesive, pest evidence, or moisture staining.
- Bedroom trim. Spot-test wall marks rather than rubbing paint aggressively.
Fragrance-free cleaning matters around clothing because you don't need a scented finishing spray transferring onto fabrics. Fragrance-free isn't the same as unscented; an unscented label alone doesn't establish that fragrance ingredients are absent.
Leave closet doors open while damp surfaces dry. If a musty odor persists, investigate moisture instead of adding perfume. Cleaning can remove dust and residue, but it can't repair a leak or restore water-damaged shelving.
6. Windows, Window Tracks, and Blinds
Run a clean cloth through a window track before deciding the windows are finished. Glass may sparkle while the channels underneath still hold grit, pollen, and dead insects.
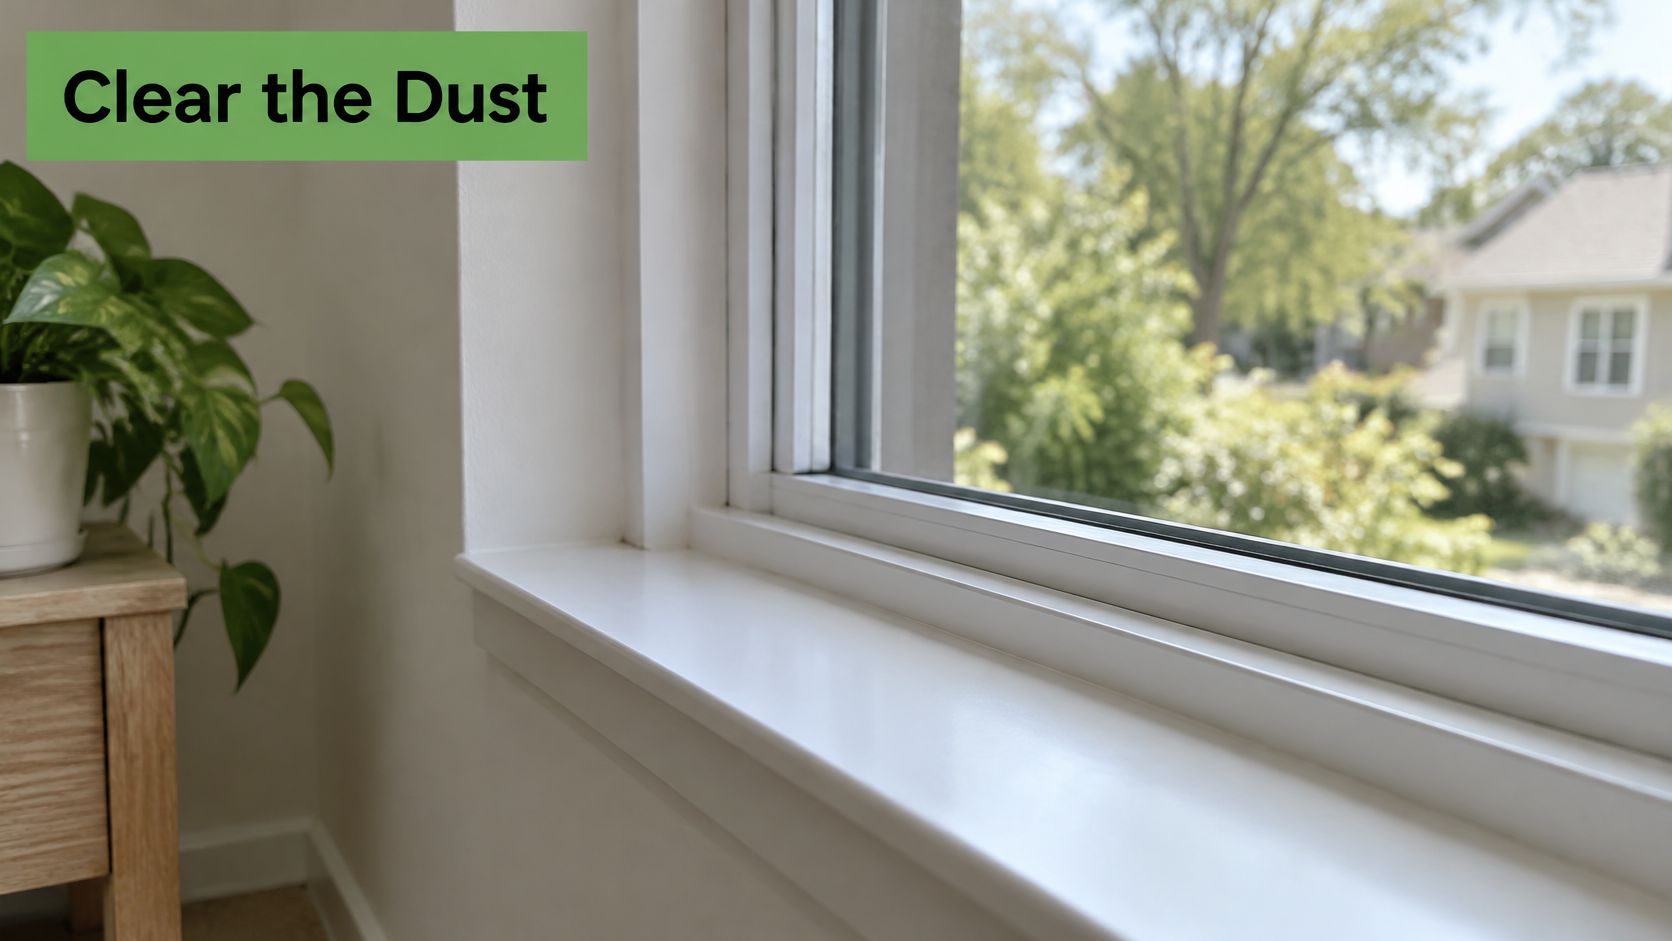
For a Richardson spring move, clean the tracks before opening windows widely. For a Prosper new-build, check frames and ledges for construction residue rather than assuming a builder's glass wipe included the surrounding surfaces.
- Vacuum first. Lift loose material with a crevice tool and soft brush.
- Wipe tracks. Use a damp cloth and detailing brush without flooding the channels.
- Clean glass. Apply fragrance-free glass cleaner to a cloth and finish with a dry microfiber towel.
- Dust blinds carefully. Support each slat and use a method appropriate to its material.
The EPA's particulate-matter guidance notes that cleaning and fragranced products can contribute to indoor particles and recommends ventilation and keeping sensitive people away during product use. Opening windows isn't automatically the best choice during heavy pollen or poor outdoor air conditions.
Clean air doesn't need a finishing scent. Remove the dirt, remove the residue, and choose ventilation conditions thoughtfully.
Clean accessible exterior glass only from a safe position. Don't climb onto counters, lean from windows, or scrape construction deposits with a blade without checking the glass manufacturer's guidance.
7. Air Vents, Ceiling Fans, and Light Fixtures
Texas heat means the air conditioning gets plenty of use. Before settling into a McKinney home during summer, clean accessible vent covers and ceiling fans so your overhead dust isn't left for later.
Turn fans off and let the blades stop completely. Switch lights off, allow bulbs to cool, and use stable equipment rather than balancing on furniture.
Keep Dust Contained
Slip a lightly damp cloth or pillowcase over each fan blade, supporting it gently as you wipe. Vacuum loose dust around vent-grille edges, then wipe the accessible cover without spraying into the duct. Clean removable light shades only when their materials and fittings allow it.
A dusty grille and a contaminated duct system aren't the same job. Have an HVAC professional investigate unusual debris, persistent odors, or system problems. Check the filter's condition and install the correct replacement according to the equipment instructions.
For a Celina home after construction, don't treat recurring fine dust as ordinary housekeeping. An occupational study of indoor renovation tasks identified demolition and debris clearing as high-exposure activities and emphasized source removal and preventing dust resuspension.
Finish dusty trade work before the final clean. Use appropriate HEPA vacuuming and damp wiping, including ledges and cabinet tops, then reinspect. If dust keeps resettling or strong chemical odors remain, resolve the source before treating the home as ready for occupancy.
8. Baseboards, Doors, and Light Switches
Hands find door handles before anyone notices the baseboards. Both belong on the checklist, but they need different techniques: controlled damp wiping for touchpoints and dust removal followed by wiping for trim.
In a Carrollton rental, a family with young children might touch switches, door edges, and cabinet pulls immediately. In a Bishop Arts apartment previously occupied by pets, floor-level trim may need extra attention for hair and grime.
The CDC's high-touch-surface guidance names switches, handles, faucets, and other frequently touched surfaces, and emphasizes cleaning before disinfection and maintaining the disinfectant's stated contact time.
Separate Dusting From Disinfection
- Baseboards. Vacuum or dust first, then wipe with a cloth suitable for the finish.
- Door frames. Clean the upper edge, jambs, and the area around the latch.
- Switch plates. Use a barely damp cloth, keeping moisture away from openings.
- Handles and locks. Clean visible soil, then disinfect only where appropriate using a compatible product.
Never spray cleaner directly onto electrical switches. If a plate is cracked, loose, or discolored, report it instead of attempting an electrical repair.
Use a soft brush for trim corners rather than an abrasive pad. A fragrance-free product leaves these touchpoints without an added scent, while careful dilution and residue removal keep the cleaning practical for kids, pets, and sensitive households. Don't chase every mark until the paint comes off; some marks are finish damage, not dirt.
9. Hard Floors, Carpets, and Rugs
Floors should be the last major interior task, not the first. Dusting fans after mopping puts debris back onto the surface where your baby crawls or your dog naps.
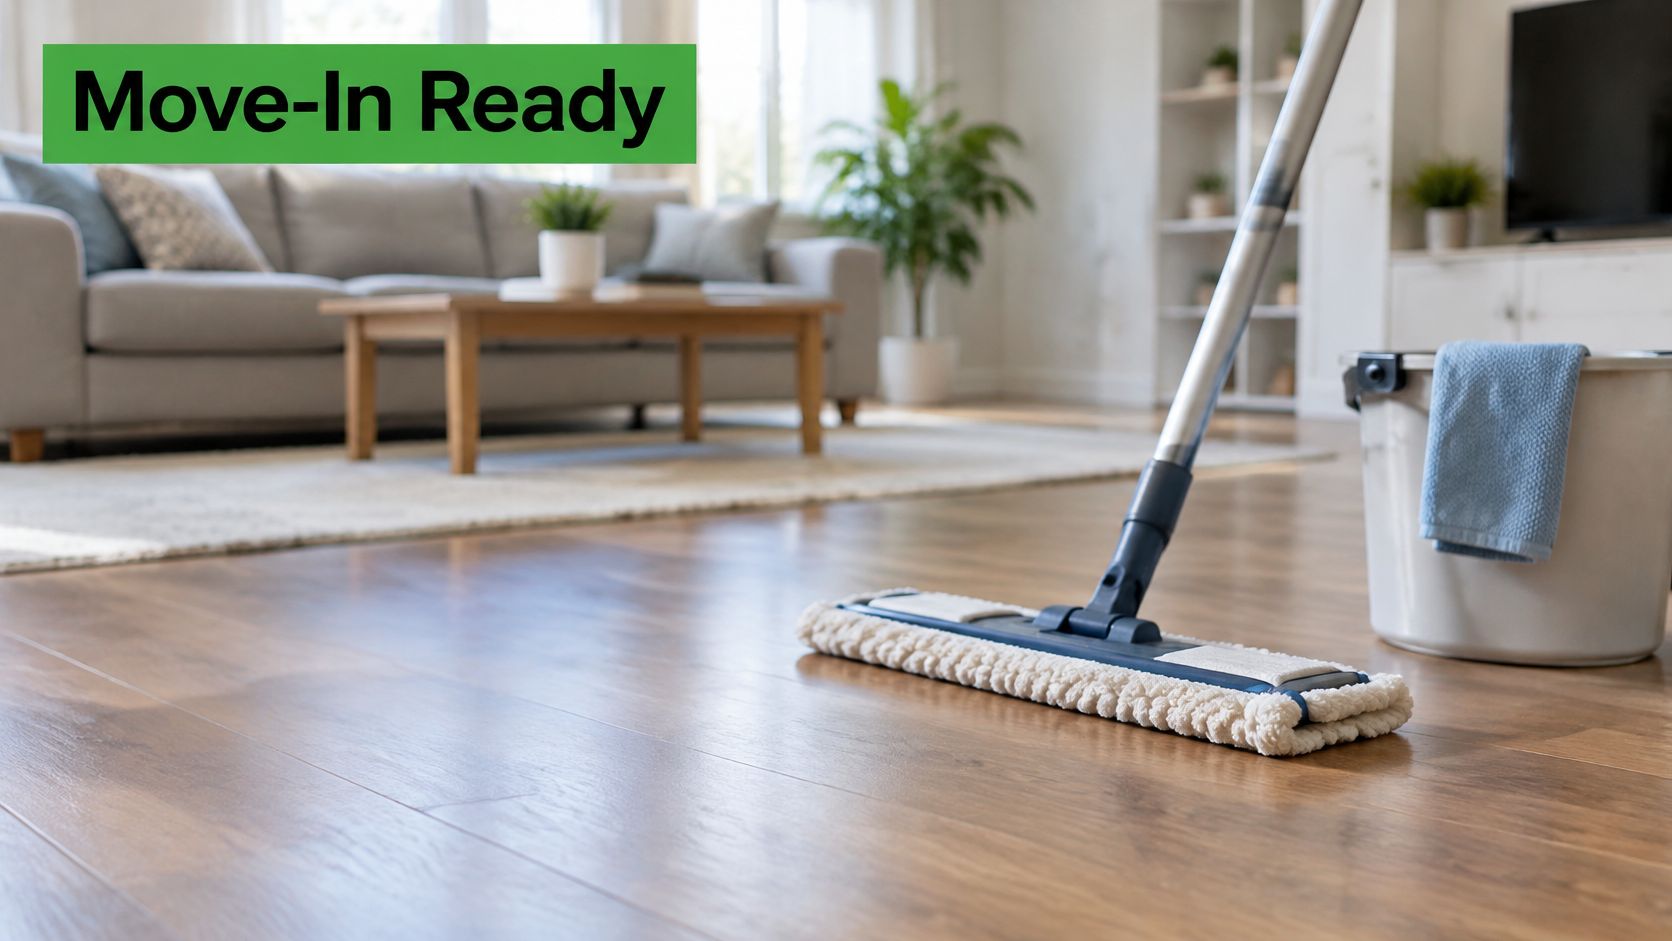
Vacuum thoroughly, including edges and accessible corners, before bringing out the mop. Identify the floor material and finish rather than using the same cleaner throughout the house.
For a Plano family moving onto hardwood, use the manufacturer's recommended cleaner at the correct dilution with a barely damp mop. Change dirty pads instead of spreading cloudy solution from room to room.
- Hardwood and laminate. Avoid standing water and steam unless expressly permitted by the manufacturer.
- Tile and stone. Check cleaner compatibility, particularly with acid-sensitive stone.
- Carpets and rugs. Vacuum slowly and inspect for stains, dampness, and persistent pet odors.
- Stubborn spots. Test treatment in a hidden area before applying it broadly.
Our linoleum-floor cleaning guide explains why identifying the material matters. Linoleum and vinyl aren't interchangeable when choosing a care method.
Floor-level check: Once the surface is dry, look for sticky patches, slippery residue, and remaining grit, not just shine.
In a Grapevine rental with embedded carpet odors, arrange specialist carpet cleaning separately. Don't soak a stain or cover it with fragrance. Allow cleaned flooring to dry fully before children, pets, rugs, or furniture return.
10. Garage, Entryway, and Exterior Doors
The final approach to the house deserves attention before movers start walking through it. Sweep accessible garage areas, clear the entry, and wipe exterior-door handles and frames without tracking the collected dirt back indoors.
For a Flower Mound new-build, ordinary loose dust is different from sharp construction debris or unidentified powder. Leave hazardous materials and substantial trade waste to the appropriate contractor rather than putting them through a household vacuum.
Finish With a Documented Walkthrough
- Entry floors. Vacuum or sweep, then damp-clean according to the surface.
- Exterior hardware. Wipe handles, locks, and push areas with a compatible cleaner.
- Garage edges. Remove accessible loose debris without moving unsafe or heavy stored items.
- Doormats. Place clean mats at entrances to help intercept tracked-in dirt.
- Garage stains. Identify the substance and floor coating before choosing a degreaser; don't wash unknown chemicals into drains.
A Lake Highlands entry cleaned before a spring move will still receive pollen and dust as doors open. Plan a quick final pass after the movers leave, rather than expecting the initial clean to survive every delivery untouched.
Keep cleanliness and property condition separate. The HappyCo rental-inspection guide supports documenting existing damage with written notes and dated photographs. Record scratches, broken fittings, and stains that remain after appropriate cleaning, then retain the record with your move-in paperwork.
Confirm garage sweeping and other optional areas during booking so the scope matches the property. Empty and accessible doesn't always mean automatically included.
Move-In Cleaning Areas at a Glance
| Area | Key Tasks | Why It Matters | Common Challenge |
|---|---|---|---|
| Kitchen: Inside the Refrigerator and Freezer | Clean shelves, drawers, bins, seals, and accessible freezer surfaces; wipe exterior | Prepares food-storage areas and removes residue and odors without fragrance | Running units take longer to clean; heavy mold or grease may need extra attention |
| Kitchen: Oven and Range Hood | Degrease oven interior, racks, and glass; wipe hood, filter, knobs, and controls | Helps prevent smoke, odors, and residue during first use | Neglected ovens may need a second pass; self-cleaning cycles can leave ash |
| Kitchen: Cabinets, Drawers, and Pantry Shelves | Wipe interiors, shelves, dividers, tracks, doors, and handles | Makes storage ready for food and dishes and removes crumbs and grease | Delicate finishes need suitable cleaners; peeling liners may need removal |
| Bathrooms: Toilets, Tubs, Showers, and Grout | Clean toilet, tub, shower, tile, grout, vanity, faucets, and drains | Removes soap scum and mineral buildup while reducing fumes and scented residue | Stubborn hard-water stains may need repeated treatment; damaged grout or caulk needs repair |
| Bedrooms and Closets | Wipe shelves, rods, doors, switches, and baseboards; vacuum floors and corners | Removes dust and pet hair before clothing and bedding are stored | Water damage or mold needs repair; built-in organizers can limit access |
| Windows, Window Tracks, and Blinds | Clean accessible glass and frames; vacuum and wipe tracks and sills; dust blinds | Reduces dust and pollen and improves light and room appearance | Upper-floor exterior windows may need separate equipment; heavily soiled blinds need deeper cleaning |
| Air Vents, Ceiling Fans, and Light Fixtures | Wipe vent covers and grilles; dust fan blades; clean fixtures | Removes surface dust before occupancy and helps rooms look brighter | Duct cleaning requires a specialist; high fans may need ladders or extension tools |
| Baseboards, Doors, and Light Switches | Wipe baseboards, doors, frames, switches, and outlet covers; clear cobwebs | Removes fingerprints and dust from touchpoints and gives rooms a finished look | Painted surfaces need gentle cleaning; scuffs and paint damage require touch-ups |
| Hard Floors, Carpets, and Rugs | Sweep, vacuum, and mop hard floors; vacuum carpets and rugs; clean tile edges | Removes debris before move-in and reduces residue where children and pets spend time | Deep stains and odors may need professional extraction; excess water can damage hardwood |
| Garage, Entryway, and Exterior Doors | Sweep and mop entry floors; wipe handles, locks, and frames; sweep accessible garage floors | Reduces tracked-in dirt and pollen and improves the first impression | Oil-stained garage floors may need specialty treatment; patios may require separate pressure washing |
Skip the Stress and Get Your Dallas Move-In Clean Done Right
A thorough move-in clean gives you something practical: clean storage for your belongings, prepared appliances for your first meals, and floors you can inspect before furniture covers them. In a region where dust and pollen ride in on every open door, that baseline matters. For children, pets, pregnant moms, and anyone with allergies, asthma, or chemical sensitivities, fewer harsh chemicals and no added synthetic fragrance belong at the top of the priority list.
You do not need to disinfect every surface or make the home smell aggressively clean. You need the right product for the material, enough dwell time to loosen soil, clean cloths, appropriate rinsing, and a final inspection. Plant-derived and mineral-based ingredients still deserve label reading; their origin does not make every formulation right for every surface.
Make the Handoff Easy to Verify
Confirm utilities are on and the property is accessible before the appointment. Share details about delicate finishes, recent renovation work, pets, and ingredient sensitivities, and keep packing and deliveries out of the cleaning window. Gmaids sends a reminder email three days before a cleaning and a reminder text the day before, which is the last chance to add notes for the team or share entry instructions.
For a smooth handoff, prioritize:
- Clear scope. Identify appliance interiors, storage spaces, optional window work, and garage areas before the visit.
- Accurate condition notes. Separate removable soil from damaged finishes or maintenance problems.
- Useful access instructions. Share entry details and any restrictions before the team arrives.
- A final inspection. Check hidden shelves, appliance seals, floor edges, and damp areas before unpacking.
The Recepta.ai cleaning booking playbook offers additional booking-process context. Keep your own appointment notes specific to the home; a general request to clean everything leaves too much open to interpretation.
Gmaids has cleaned Dallas–Fort Worth homes and businesses since 2004, using non-toxic, fragrance-free products with no bleach or ammonia. Its Certified Cleaning Teams® are trained, background-checked, and insured, and every visit follows a 50+ point Green Cleaning Checklist. Move-In/Move-Out Cleaning covers a full deep clean of the empty property plus a final touch-up, including the inside of the refrigerator, oven, cabinets, drawers, and closets. Before leaving, the lead cleaner completes a walkthrough of the home.
One-time move-in/move-out cleaning starts at $520.94. Request a quote at Gmaids, and the team can have your home ready before the boxes arrive.


Ready for a healthier, cleaner home?


