Cleaning a Marble Shower Without Etching It

Vinegar is popular shower-cleaning advice, but it's the wrong starting point for marble. In a Dallas primary bath after a week of hot showers, cloudy walls might need a gentle wash, careful mineral treatment, or an assessment of damaged polish. Those aren't interchangeable jobs.
The safest approach to cleaning a marble shower starts with identifying what's on the surface before choosing what's in the spray bottle. You don't need harder scrubbing. You need the right cleaner, a soft cloth, and a clear stopping point.
Table of Contents
- Safe Cleaners for a Marble Shower
- Scale, Stains, and Dull Etch Marks
- Wash Steps and the Mistakes That Undo Them
- How Often to Wash and Reseal
- How to Seal Marble Without Trapping Dirt
- Book a Fragrance-Free Marble Shower Clean
Safe Cleaners for a Marble Shower
Choose a neutral cleaner specifically labeled for marble. Marble contains calcite, a calcium-carbonate mineral that reacts with acids. A product that works beautifully on ceramic tile can leave natural stone looking permanently cloudy.
The U.S. National Park Service's masonry-cleaning guidance identifies polished and unpolished marble as acid-sensitive materials and recommends a neutral, non-ionic cleaner where appropriate, with neutral meaning pH 7, gentle tools, and small test patches. It also warns against strong acids and bases. For a home shower, that means a marble-compatible product, not the strongest bathroom cleaner available.
What to use and what to skip on marble
| Job | Safe choice | Never use | Why |
|---|---|---|---|
| Soap film and light soil | Neutral stone cleaner near pH 7, or a few drops of fragrance-free mild dish soap in warm water | Vinegar, lemon, citrus bathroom sprays | Acids dissolve calcite and dull the polish |
| Stuck soap film | Soft microfiber or nonabrasive pad, light pressure, then rinse | Scouring powder, wire brush, melamine eraser | Abrasives scratch and haze a polished face |
| Hygiene wipe-down | Marble-safe label, the required short dwell, full rinse, ventilation | Bleach, ammonia, synthetic fragrance | Harsh chemistry and fumes don't belong in this gentle stone-care routine |
Read beyond the front label. Look for explicit permission to use the product on marble or calcareous natural stone, plus dilution, rinsing, and application instructions. Plant-derived ingredients don't automatically make a formula stone-safe, and a mineral-based product can still be abrasive.
Leave vinegar, lemon, citrus cleaners, acidic descalers, bleach, ammonia, and synthetic fragrance out of your marble-cleaning kit. Choose fragrance-free, meaning synthetic scents are left out entirely, rather than assuming an unscented product meets the same standard. A perfume-free routine also avoids covering lingering bathroom odors with another smell.
For sanitizing, the label must permit both the surface and the intended use. Keep the application limited, but never shorten a disinfectant's required contact time to protect the stone. If its directions aren't compatible with marble, choose another product rather than improvising.
Test before treating the whole shower
Remove loose grit, then dab the diluted cleaner onto a hidden corner using a clean microfiber cloth. Let it remain only as directed, rinse thoroughly, and dry. Compare the test area with the surrounding finish under angled light before continuing.
Practical rule: New dulling, roughness, or a change in sheen means stop, not scrub harder.
This matters in a new-construction Frisco shower, too. Remove fine construction dust before wiping, because dragging grit across a fresh polish can scratch it.
If you're comparing advice for a stubborn discoloration, Melbourne Tiling Services P/L's guide to removing stains from marble tiles offers additional context. Keep your stone manufacturer's compatibility requirements in charge of any treatment you consider.
Scale, Stains, and Dull Etch Marks
Gently draw a clean fingernail across the edge of a white mark without scraping. Raised crust suggests material sitting on the stone; a level, pale patch suggests a changed finish. This isn't a laboratory diagnosis, but it's a useful way to avoid treating every white mark as dirt.
Hard water contains dissolved calcium and magnesium that can leave deposits as droplets dry. The U.S. Geological Survey groundwater table classifies hardness, measured as calcium carbonate, as soft at 60 mg/L or less, moderately hard at 61–120 mg/L, hard at 121–180 mg/L, and very hard above 180 mg/L. Don't assign one hardness number to every Dallas home; check your own water supplier's information if deposits keep returning.
What the mark is and what to do
| What you see and feel | Likely cause | Safe next step |
|---|---|---|
| Raised white or gray crust that catches a nail | Mineral scale from hard water | Test a non-acidic stone-safe scale product, then rinse; call a professional if it stays thick |
| Flat pale dull patch, smooth with the polish | Acid etch from vinegar, citrus, or a descaler | Stop cleaning that spot; seek an assessment for honing or repolishing |
| Yellow, pink, or sticky film | Soap, body oil, or residue in nearby grout | Neutral wash and dry; treat grout only with a product labeled safe beside marble |
| Rust-colored speck or streak | Metal residue or damage associated with an acidic rust product | Skip acid rust remover; consult a stone professional if a neutral wash doesn't lift it |
| Dark wet-looking ring that remains after surrounding areas dry | Possible moisture absorption through open pores | Let it dry fully and assess sealing needs; never seal over soil |
Color alone won't identify the problem. Pink or yellow material may be surface residue or growth around a damp joint, rather than a stain inside the marble. If the grout stays discolored, the Gmaids guide to dealing with mildew in a shower provides useful maintenance context, but any treatment beside marble still needs stone compatibility.
Separate cleaning from restoration
Scale removal and etch repair are different jobs. A non-acidic, marble-safe scale treatment may help with deposits, but a neutral wash won't rebuild polish that an acid has altered. Vinegar can be harsher on calcite than the mineral film you wanted to remove.
For suspected scale, treat a hidden spot without aggressive pressure, rinse, dry, and compare. Thick crust, widespread dulling, or an unchanged mark after a compatible test calls for a stone professional, not another round of stronger chemistry.
An absorbed oil stain may need a poultice, an absorbent paste selected for that stain and stone. It isn't a vinegar paste, and it won't repair an etch. Persistent darkening also deserves assessment rather than an automatic assumption that more sealer will solve it.
A clean shower can still have an etched finish. Cleaning success and restored shine aren't the same promise.
Natural variations can complicate comparisons, especially when you're deciding whether a pale area belongs to the stone. The marble selection insights from Jennifer Gilmer, from Jennifer Gilmer Kitchen & Bath, provide context for understanding marble choices. Compare suspected damage with the same tile's surrounding sheen, not just another slab's appearance.
Wash Steps and the Mistakes That Undo Them
A good wash removes residue without turning the cloth into a sanding pad. Start with loose material, use a modest amount of cleaner, and keep rinsing water moving toward the drain.
The Natural Stone Institute's care guidance supports mild stone cleaners or diluted mild liquid dish detergent, soft cleaning materials, thorough rinsing, and drying. It also cautions against acidic products and abrasive tools on calcareous stone.
Follow the water from top to bottom
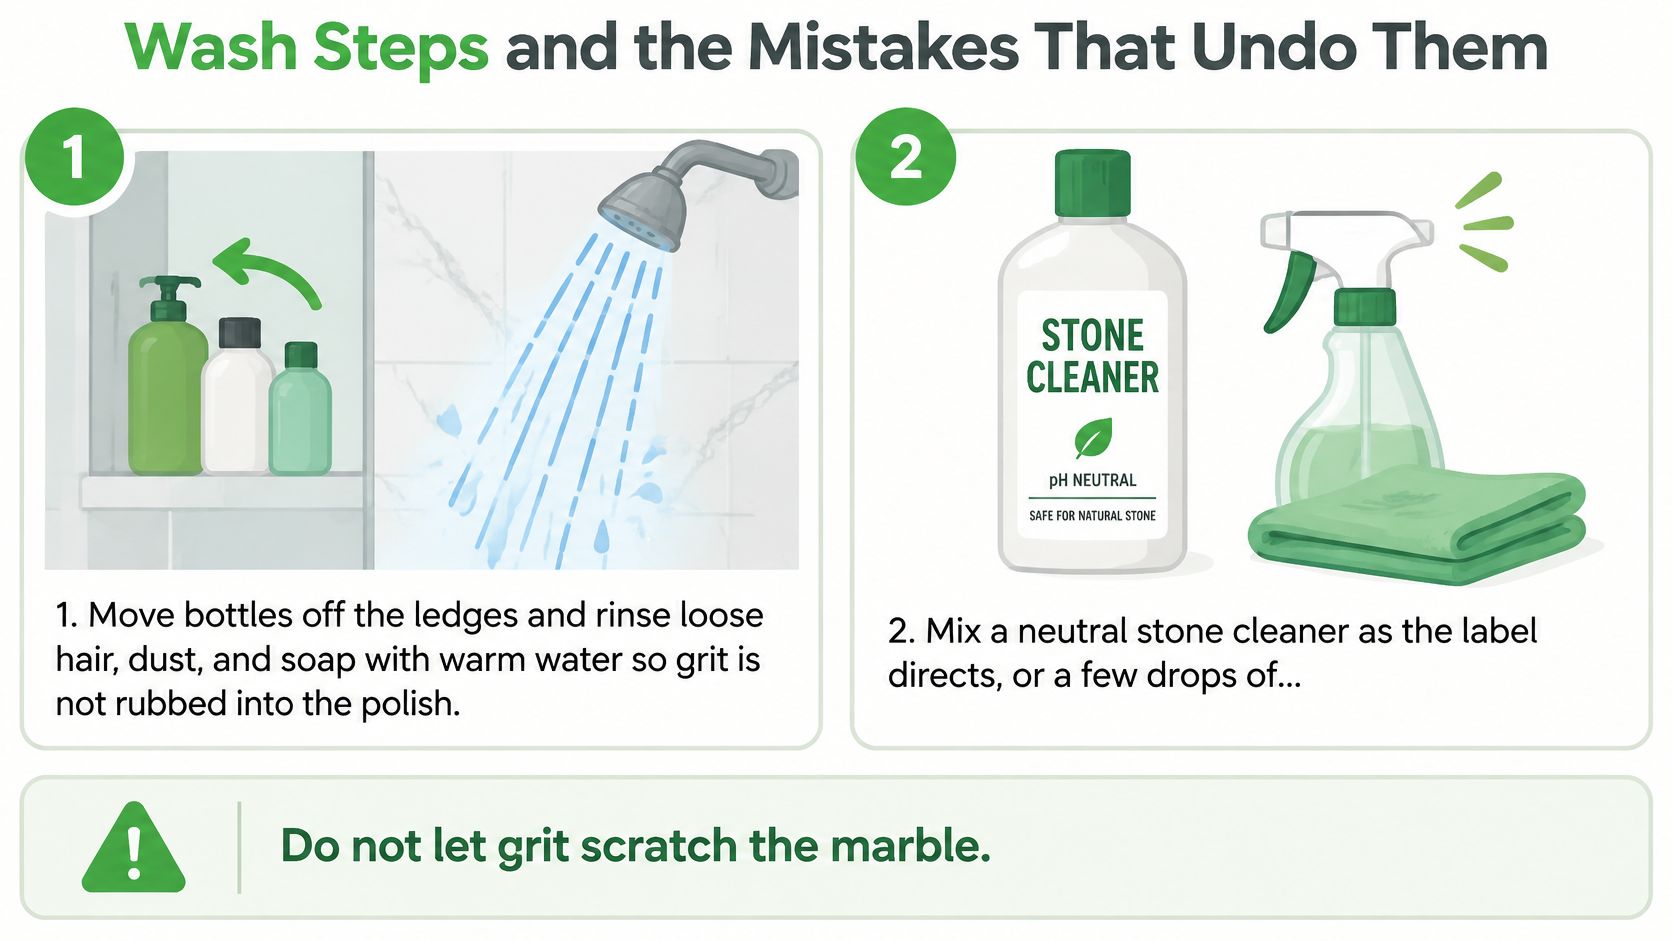
Clear the ledges and rinse loose debris. Move bottles, razors, and baskets out of the shower. Use warm water to rinse away loose hair, dust, and soap before a cloth touches the polish. Lift any remaining gritty material gently rather than dragging it.
Mix your neutral stone cleaner at its labeled dilution, or add a few drops of fragrance-free mild dish soap to warm water. More detergent isn't better. An overly soapy mixture takes longer to remove and can leave the shower feeling slippery.
Wash the upper walls first. Apply the solution with a soft microfiber cloth, working downward in manageable areas. Finish with the bench and floor so dirty runoff doesn't cross a panel you've already dried.
Where film clings, use a soft nylon brush or nonabrasive pad with very light pressure. Keep the area wet with the compatible solution while working, but don't extend the labeled dwell. If you notice new haze or roughness, stop and rinse.
Rinse away the cleaner completely. Pay attention to grout lines, the underside of shelves, and the bench edge. Continue until no detergent film remains and the surface no longer feels slippery from cleaning solution.
Squeegee the walls and floor, then dry niches, edges, and the curb with a clean towel. Don't leave a puddle beneath the shampoo bottles when you put them back.
Help the enclosure dry. Run the bathroom exhaust fan and leave the shower door open when practical. A tightly closed, damp enclosure makes it harder to keep corners and joints clean between washes.
Avoid the habits that undo a careful wash
A bottle marked natural, bathroom-safe, or grout cleaner hasn't necessarily been formulated for marble. Grout treatment can run onto adjacent stone, so don't judge compatibility by the narrow joint you're trying to clean.
- Don't chase haze with pressure. If the ordinary film has lifted but a dull patch remains, additional rubbing can make the finish less even.
- Keep tools clean. Rinse your microfiber cloth during the wash, and clean and dry the squeegee blade before storing it.
- Separate metal and stone care. A fixture cleaner can drip onto a marble shelf or curb even when you aim carefully.
Door tracks deserve attention because they collect water and residue. Use the Gmaids guide to cleaning shower door tracks for access and maintenance ideas, while keeping any adjacent marble protected from incompatible chemistry.
If you're planning a renovation, examine how you'll reach hinges, channels, and fittings before selecting them. SanCub's architectural fixtures for residential bathrooms are a reference for considering those fixture details alongside your cleaning access.
A gradually softened sheen can reflect ordinary wear. A sudden dull splash shaped like a bottle drip deserves a damage assessment, not a more forceful version of the weekly wash.
How Often to Wash and Reseal
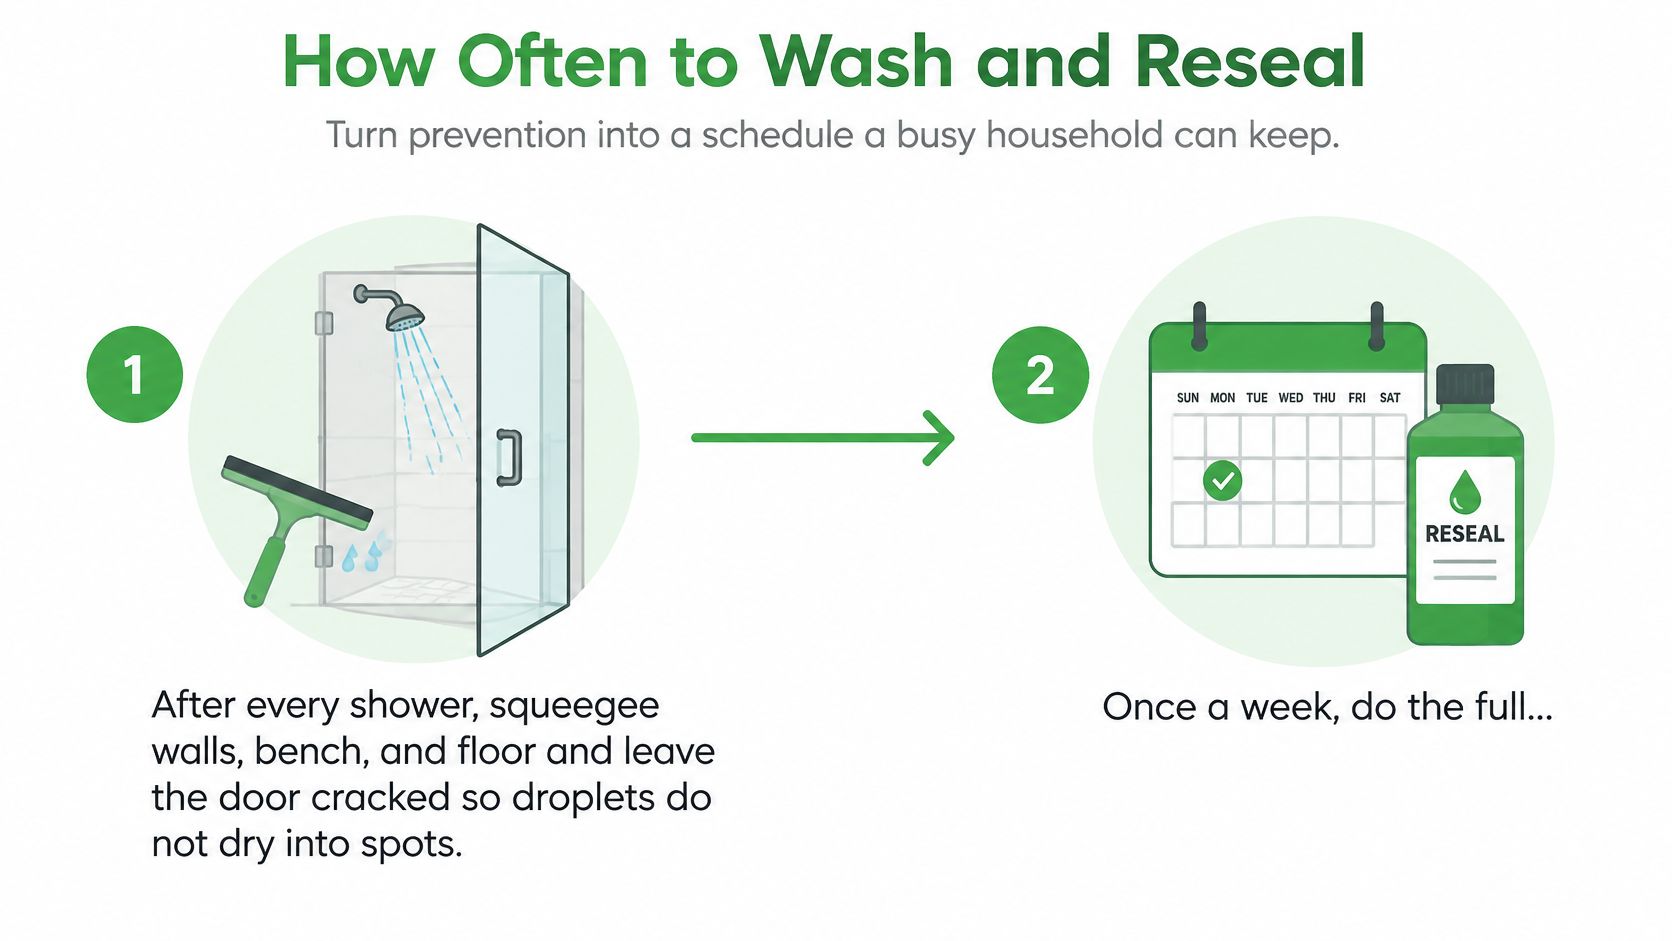
A marble shower stays in good shape through small, repeatable tasks, not an occasional aggressive scrub. Sealer works like a raincoat: it sheds water until it wears thin, and the only way to know it still performs is to test it. The calendar below is a practical household schedule, with the sealing decision tied to that test rather than a fixed date.
Marble shower care calendar
| When | Task | Done when |
|---|---|---|
| After every shower | Squeegee walls, bench, and floor; crack the door | No droplets remain to dry into spots |
| Weekly | Neutral wash from the top down, rinse, towel-dry edges | Film is gone and the stone is dry |
| Monthly | Check corners, drain, curb, and metal trim | New crust is caught while it's still thin |
| Every 6–12 months, the typical renewal window described by Dush Products | Water-drop test, then reseal only if absorption and the product instructions indicate it's needed | Drops bead on clean, dry marble |
Treat the calendar as a starting point. Shower use, stone characteristics, and the existing treatment all shift what the surface needs, so keep the sealer name and application instructions with your home-maintenance records rather than guessing at compatibility later.
Weekly care means washing. Sealing follows the conditional schedule above, triggered by what the water-drop test shows rather than the date on the calendar.
Read the water-drop test carefully
Start with clean, fully dry marble. Sprinkle a few drops onto a discreet area and watch whether they bead on the surface or soak in and darken the stone. Beading suggests the existing treatment still works. Absorption is the signal to check the sealer's maintenance directions.
Treat the result as a screen, not proof that every joint and tile is protected. Check more than one spot, since the floor and curb see more standing water than the upper walls, and give any persistent damp patch near a joint a closer look before anything goes over it.
Use the monthly check to sort what you're seeing. A white crust with a rough, gritty feel is mineral scale sitting on the stone, and it responds to the gentle weekly wash. A pale patch that feels smooth under your finger may be etch, where acid has already changed the polish. Washing won't remove it, and harder scrubbing can widen the damage.
Maintenance reminder: Sealer helps resist absorption. It doesn't restore missing polish or make marble acid-proof.
For busy Plano or McKinney households, keep a clean squeegee within reach from the first week a new shower is used. During spring oak pollen and winter cedar season, remove tracked-in dust from bathroom floors instead of letting it collect around the curb.
Before holiday hosting, complete the ordinary wash ahead of guests rather than experimenting with a descaler that morning. Texas heat and long air-conditioning seasons don't replace bathroom ventilation, so keep using the exhaust fan even when the house feels cool.
How to Seal Marble Without Trapping Dirt
Seal only clean, fully dry stone that needs treatment. Applying sealer over soap film or body oil doesn't turn that residue into a clean surface. It can leave an uneven result and make troubleshooting more difficult.
Set aside the shower for the full application and curing process. Don't begin just before someone needs to bathe, and don't choose a product whose ventilation or handling requirements you can't meet.
A careful sealing sequence
Check whether sealing is needed. Use the water-drop test on dry marble. If water remains beaded and the existing sealer's guidance doesn't call for renewal, you may not need another application.
Inspect for soap film, oil, grout residue, and lingering moisture. Clean any affected area, rinse thoroughly, and let the stone dry completely again. Pay particular attention to the floor, where moisture can outlast the drying on walls.
Select a compatible sealer. Choose a product explicitly labeled for marble in wet areas. Check compatibility with any existing treatment and your maintenance cleaner rather than assuming all stone sealers work together.
Test an inconspicuous corner. Follow the label's application and dwell instructions, remove excess as directed, and assess the finished appearance before treating the whole enclosure.
Apply a thin, even coat. Use the label-approved applicator, such as a clean lint-free cloth, and work from the upper walls downward. Keep the application controlled around fixtures and glass.
Remove excess before it dries on the surface. Buff lightly with a fresh dry cloth if the directions require it, checking under angled light for streaks or leftover material.
Respect the full cure time. Keep the shower out of use until the manufacturer permits water exposure. Resume gentle routine washing only when the treatment is ready.
Know when sealing isn't the answer
Don't add another coat to hide an unexplained dull area. A restoration specialist can determine whether the surface needs honing, polishing, stain treatment, or no intervention at all.
- Uneven glossy residue: Stop applying product and consult the sealer manufacturer's removal guidance.
- Persistent dark moisture: Investigate why the area remains wet before closing it beneath another treatment.
- Existing etch marks: Arrange a finish assessment rather than trying to fill them with sealer.
A successful application should support ordinary maintenance without leaving a visible coating or slippery residue. If the result looks different from the tested corner, pause before treating more stone.
Book a Fragrance-Free Marble Shower Clean
Keep the routine at home if ordinary film lifts easily and you're comfortable maintaining the shower. Bring in cleaning help when residue keeps returning, grout needs careful attention beside intact marble, renovation dust fills the niches, or family schedules leave little room for bathroom upkeep. For widespread etching or thick mineral crust, a stone-restoration professional is the appropriate next step.
A white mark is not one problem. Mineral scale sits on the surface and may loosen with patient, marble-safe cleaning; dull etch means the polish has already changed, so vinegar and harder scrubbing can create more damage than the deposit did. That distinction matters when you book help, because the goal is controlled cleaning, not forcing stone to look different.
Gmaids is a non-toxic, fragrance-free house cleaning and maid service established in 2004, serving Dallas and surrounding cities across Dallas-Fort Worth with trained, insured technicians.
Match the help to the surface
Basic Cleaning fits light maintenance and getting back on track, while Deep Cleaning is the more detailed service for built-up dirt and grime. Recurring maid service can run weekly, biweekly, or monthly for predictable upkeep. Post-construction cleaning addresses renovation residue, and move-in/move-out cleaning includes appliance interiors plus cabinets, drawers, and closets when a bathroom is part of a larger handoff.
For showers, the useful bathroom add-ons are inside cabinets and drawers and a detail grout scrub. Gmaids cleans only with non-toxic, fragrance-free products, with no bleach and no ammonia. Its general supplies include Bon Ami Powder Cleanser, a fragrance-free, dye-free mineral scrubber with no chlorine, for tubs, sinks, showers, and cooktops. That product fact does not give permission to use powder on polished marble; compatible neutral cleaning is the safer route, and scrubbing should stop before a haze becomes a bigger repair.
Make sensitive-household preferences clear
Our fragrance-free cleaning approach leaves synthetic scents out rather than using fragrance to mask odors. It suits households that want fewer irritants around children, pets, allergies, asthma, or chemical sensitivities, without promising a medical outcome.
- Qualified teams: Gmaids Certified Cleaning Teams® are trained, background-checked, and insured.
- Product preferences: Tell us in advance about specific products, or leave them by the kitchen countertop with a note for the cleaning technicians.
- Bathroom setup: Gmaids technicians do not carry a toilet brush, so keep one in each bathroom for the cleaners to use.
- Finish expectations: Point out existing dull marks before cleaning, and the lead cleaner does a full walkthrough of the home before leaving.
Gmaids offers fragrance-free bathroom cleaning and recurring home care for Dallas-Fort Worth households that want fewer harsh chemicals and thoughtful attention to marble. Visit Gmaids for an instant, flat-rate quote online, or call 214-997-6918 and tell us about your shower's stone, buildup, and existing dull marks.


Ready for a healthier, cleaner home?