How to Deep Clean Bathroom Without Harsh Chemicals

You know the smell. It meets you at the door on a Sunday morning: warm, damp, faintly lemon from the spray you grabbed in a hurry, with something underneath that no spray has ever fixed. There's a mineral ring in the toilet bowl, a gray haze on the shower glass, and a dark hairline along the caulk behind the faucet that you've been meaning to deal with since spring.
So you buy the strongest bottle on the shelf, the one that stings your eyes, and you spray everything and wipe. A week later the haze is back and the grout looks worse. Effort isn't the missing piece. Order, moisture and contact time are, and a harsh product can't reach through a layer of soap scum to do the job you bought it for.
A real deep clean of a bathroom is mostly sequencing: dry before wet, high before low, clean before disinfect, floor last, air moving the whole time. Do it in that order and the room holds for weeks. Do it in the wrong order and you'll scrub the same tile twice.
Table of Contents
- The Deep Clean Order at a Glance
- Prepare the Room and Ventilate Before You Start
- How to Scrub the Shower, Tub, Tile and Grout
- How to Clean the Toilet, Sink and Hidden Corners
- How to Mop the Floor and Finish the Room
- How to Disinfect High-Touch Points Safely
- Keep Moisture Low Between Deep Cleans
- Decide Whether to DIY or Book a Deep Clean
The Deep Clean Order at a Glance
| Step | Zone | Main task | Why it goes here |
|---|---|---|---|
| 1 | Room prep | Clear counters and floor, remove bath mats, open a window or run the fan | Keeps dust and cleaner off items you will reuse |
| 2 | Ceiling, vents and fan cover | Dust high points and wipe the exhaust fan cover | Falling dust would land on surfaces cleaned later |
| 3 | Walls and mirrors | Wipe tile walls and mirrors from top to bottom | Drips from above get cleaned at the bottom later |
| 4 | Shower and tub | Scrub soap scum and mineral film, then rinse | Loosened grime drops to the floor, so it is handled before the toilet |
| 5 | Toilet | Clean bowl, seat, hinges, base and tank exterior | The splash zone is cleaned before the floor |
| 6 | Sink and vanity | Scrub basin, faucet base, vanity front and drawer pulls | Keeps residue from reaching the floor |
| 7 | Grout and corners | Scrub grout lines, caulk seams and corners | Detail work is done before the final rinse and floor |
| 8 | Floor | Vacuum edges and corners, then mop from the far wall toward the door | The floor is last, so nothing drips onto it |
| 9 | High-touch points | Disinfect handles, switches and the flush lever after rinsing | Disinfectant needs a wet contact time and must not be wiped too early |
Nine stops, one afternoon. The order exists because dust falls, water runs downhill, and cleaner travels with both. A fan cover or a ceiling corner sheds grit onto everything below it, so those surfaces get handled while the room is still empty and dry. The shower and tub drip onto the toilet and vanity, which is why they come before the sink. The floor closes the physical clean, because every step above it drops something.
The shortcut that saves the most time: when you lose your place, look up. Whatever is higher in the room still needs doing before whatever is lower.
A deliberate order also matches how people feel about this room. In 2024, 34% of surveyed U.S. adults identified the bathroom as the most challenging room to clean, according to a Microban 24-commissioned survey of 2,000 adults. That's rarely a scrubbing problem. It's a planning problem: small room, awkward surfaces, and one missed step that means redoing a surface you just finished.
In Dallas, the mess arrives in layers. Oak and cedar pollen ride in on spring and winter breezes and settle on the vent cover where the fan pulls air. Long air-conditioning seasons keep doors shut and bathrooms humid, so soap scum softens, redries, and turns into film. Homes in Uptown and Plano with two showers and a busy family schedule reach that point fastest.
Pick one free afternoon, keep this table where you can see it, and work one zone at a time. Finishing a zone matters more than starting the next one.
Prepare the Room and Ventilate Before You Start
You walk in with a full caddy and the first spray hits a bottle of shampoo. That residue runs down the tile, and you scrub the same wall twice. Clear the room first so the clean has a dry surface to land on and stay on.
Take shampoo caddies, bottles, toothbrush holders and soap dishes out of the shower and off the vanity. Pull the bath mats and carry the trash can to the door. Wash the mats in the laundry, not where they sit. A wet mat on a wet floor puts the dirt straight back.
Start the exhaust fan or open a window before the first spray, and keep air moving the whole session. In a Dallas summer, a running fan usually beats an open window. The fan pushes moisture and fumes outside instead of letting hot air settle back into the room. If the only window opens onto a screened porch with no cross-breeze, trust the fan. Leave it running after the last rinse so grout and floor dry instead of staying damp overnight. Damp is what turns a finished clean into film by the next weekend.
Set the chemical rule once, for the entire clean. Use one product at a time, rinse and dry between products, and never mix them. Health guidance advises against mixing cleaning products unless the label explicitly permits it, and it calls for ventilation with windows, doors or an exhaust fan. The EPA also points out that mixing chlorine bleach with ammonia-containing products can produce toxic fumes. That rule covers most of the combinations people reach for when a surface will not budge. Sequence the products the same way: one cleaner, a full rinse, a dry cloth, then the next product. Overlap on a wet surface is how fumes and residue both linger.
What to have within reach:
- Two microfiber cloths, one for fixtures and one for glass and mirrors, so grime from the toilet does not land on the mirror.
- A soft grout brush and a non-scratch scrub sponge, because abrasives scratch chrome permanently.
- An extension duster for the fan cover, light fixtures and the gap behind the toilet tank.
- A squeegee and a dedicated toilet brush, both cheap, and both doing work no cloth can do. The squeegee pulls standing water off glass before mineral spots set.
- Gloves and a fragrance-free, mineral-based cleaner labeled for the surfaces in your bathroom.
Leave bleach, ammonia and scented sprays out of the caddy. Keep pets out while surfaces are wet (a bath mat is a favorite nap spot) and children out until the floor is dry. Give yourself a few hours. Rushing the dry time is the step people skip, and it decides whether the room still looks clean next week.
How to Scrub the Shower, Tub, Tile and Grout
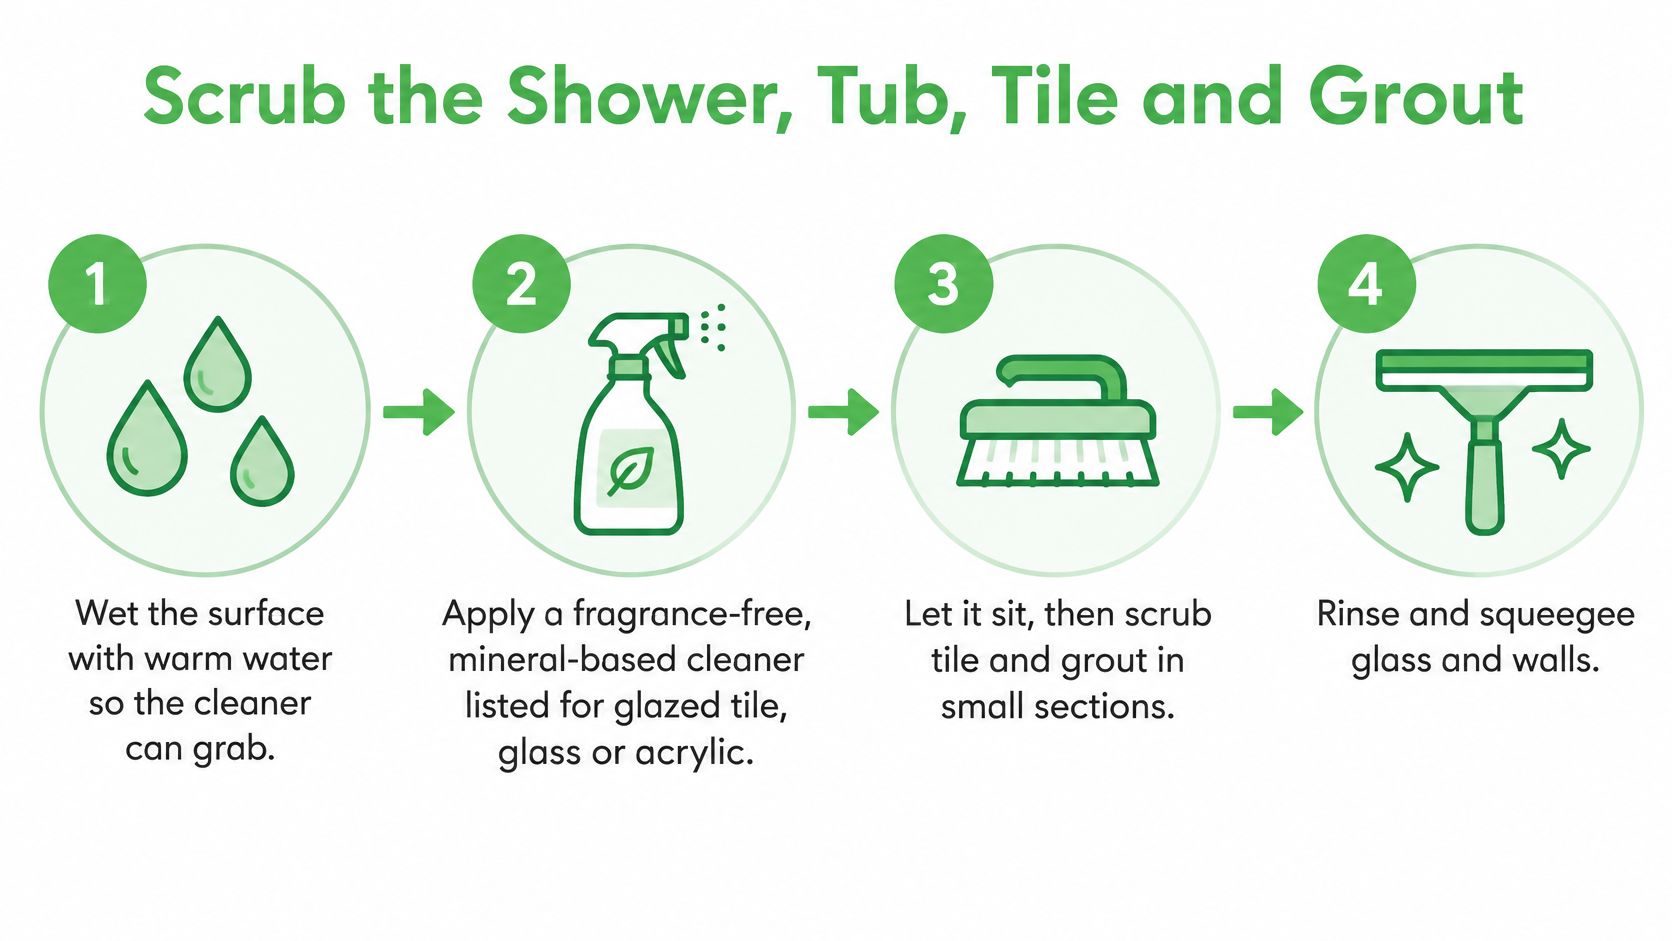
Scale, soap scum, and body-wash residue are physical deposits. They come off with moisture, dwell time, and agitation: wet the area, apply a suitable cleaner, let it dwell, agitate, rinse, and dry. A stronger chemical rarely beats that sequence on a wet wall. The order is the clean. Moisture control is what keeps the film from returning by next week.
- Wet the surface with warm water first. A dry wall fights the cleaner. Warm water softens soap film so the product lifts it instead of sliding over it.
- Apply a fragrance-free, mineral-based cleaner the label lists for your material. Glazed tile, glass, and acrylic each have tolerances. The label is the only place that tells you which one you are holding. Finish one product, rinse, and dry before anything else touches that surface.
- Let it dwell for the label time and don't let it dry out. A product that dries mid-job means re-wetting and restarting the clock. Work in sections you can finish.
- Scrub grout and textured tile with a soft brush, top down, in small circles. Keep the brush wet and rinse it as you go, or you paint dirty water back into the lines. Grout takes longer than the tile around it. People skip the second pass and leave a gray line that looks like a stain.
- Use a non-scratch pad on glass and a cloth on fixtures. Abrasive pads leave scratches that outlast the soap scum by years.
- Rinse from the showerhead down. Dirty water should never cross a wall you have already cleared.
- Dry with a clean microfiber cloth and run a squeegee down the glass. Water left to evaporate puts the mineral spots straight back.
Acids etch and dull acid-sensitive natural stone. Abrasive pads permanently scratch fixtures. Check compatibility before you spray anything on marble, travertine, or sealed stone. If you are weighing a homemade paste against a store-bought gel, compare DIY and commercial grout cleaners before you commit an afternoon to one method.
The bottom track of a glass door collects hair, soap, and standing water that no mop reaches. Finish there with a dedicated method to clean shower door tracks, then dry the track so it does not stay wet overnight.
Stand in the doorway under strong light. Look for film, hair, scale, or pooled water, then touch the fixtures. They should feel dry, not tacky.
How to Clean the Toilet, Sink and Hidden Corners
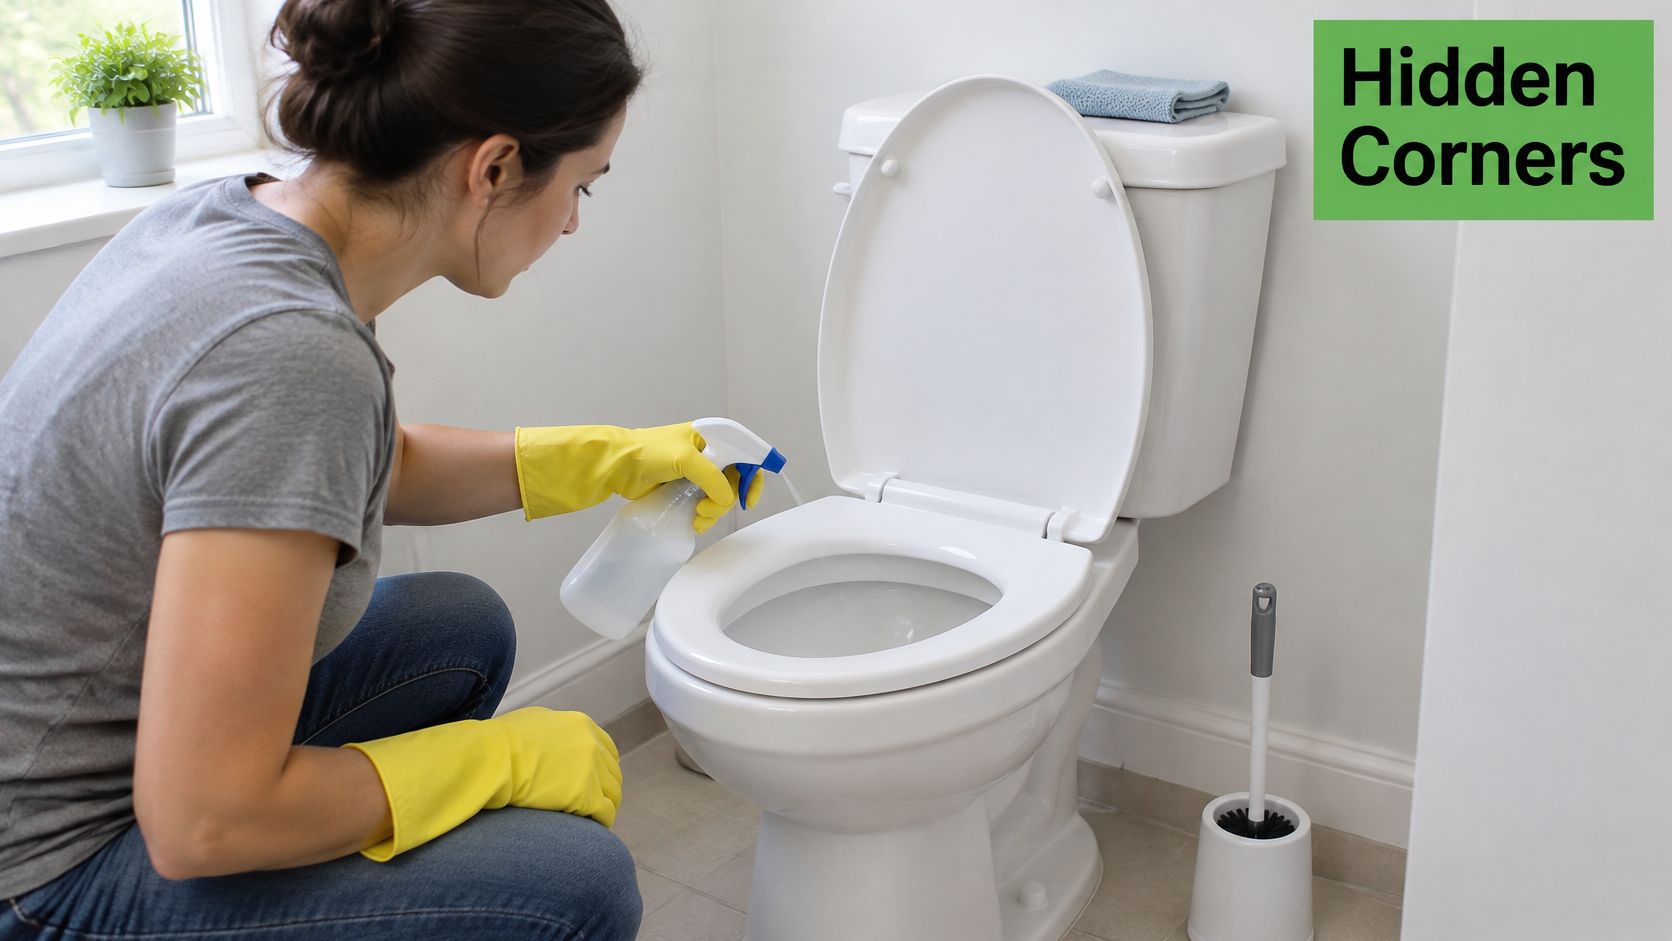
Start with the toilet because it's the hardest zone, and finishing it early makes the rest of the room feel quick.
- Flush, then apply cleaner under the rim and let it sit while you work on the exterior. The rim is where mineral buildup and staining concentrate.
- Wipe the lid, seat, hinges, bowl exterior, base and tank from the top down. Use a separate cloth for the base and the floor seam, and get into the hinge gap with a small brush if the seat doesn't pop off.
- Scrub the bowl with the dedicated brush, rinse by flushing, and check under the rim again before you move on.
- Clean the sink basin, faucet base, handles, then the vanity front and drawer pulls. Dried toothpaste and soap residue soften with a short dwell and lift with a damp cloth; scraping dry takes longer and scratches.
- Reach the forgotten spots: the wall and floor behind the tank, the baseboard line, the vanity corners and the outside edges of the tub.
- Pull the exhaust fan cover, wipe or soak it, and let it dry completely before reinstalling. A dust-clogged cover moves less air, and less air means more moisture in the room.
Never share this one: the toilet brush stays with its toilet. It does not touch a sink, a tub or a floor cloth, and it gets rinsed and set back in its holder, not tucked behind the door.
Those hidden spots matter more than they look. Dust and hair collect along baseboards and behind the tank, hold a little moisture, and raise the grime load for the whole room. Check your work at the end: clean seat and base, no streaks on chrome, and a fan cover that is clean and dry.
How to Mop the Floor and Finish the Room
The floor comes last on purpose. Anything you do above it drops onto it, so mopping early means mopping twice.
- Vacuum the edges, corners and the floor under the vanity, and run the extension duster along the baseboards to knock down what's clinging.
- Wipe the baseboards with a damp microfiber cloth, top down, so dust falls to a floor you're about to wash.
- Mix a fragrance-free mineral cleaner at the strength the label lists for sealed tile or vinyl, and fill a second bucket with clean water for rinsing.
- Mop from the far wall toward the door so you never step across a wet section.
- Rinse the mop often and change the water when it turns gray. Dirty water spreads grime rather than removing it.
- Check the corners and the base of the toilet for hair and dust you pushed aside earlier.
Then leave the room alone. Keep the exhaust fan running until the floor and walls are dry, and keep pets and children off the tile until it is. That last habit does more for the next two weeks than any extra product would.
How to Disinfect High-Touch Points Safely
You wiped the faucet, the flush lever, and the light switch, then dried them in the same pass. The metal looked finished. A disinfectant only does the job it was tested for when that surface stays wet for the full time on the label.
Clean and rinse first. Visible soil and organic matter interfere with how a disinfectant performs, which is why the EPA's guidance on registered disinfectants treats cleaning and disinfecting as two separate jobs. The EPA defines a disinfectant as a substance that destroys or irreversibly inactivates bacteria, fungi, and viruses on inanimate surfaces, though it may not destroy bacterial spores.
Use it on the surfaces hands touch: the flush lever, faucet handles, door hardware, light switches, shower controls, and the toilet seat. Soil on walls and floors is a cleaning job. After illness in the home, widen the list to anything a sick person handled.
Apply the disinfectant directly to the surface until it is visibly wet, and leave it wet for the full labeled contact time. If the film starts to dry early, re-wet the surface. A cloth you only misted often leaves too little liquid on metal and plastic to hold that wet time, so spraying the cloth instead of the fixture is not a substitute.
| Surface or use | Application | Wet contact time |
|---|---|---|
| Bath-and-tile disinfectant, general disinfection | Keep walls, floors, tubs and showers visibly wet | 5 minutes |
| Same bath-and-tile disinfectant, specified organism | Keep surfaces visibly wet for the full period | 10 minutes |
| Toilet seat and fixtures, one EPA-listed label | Spray from 6-8 inches until thoroughly wet | Minimum 10 minutes before wiping |
| Flush handle, faucet handles, door hardware, switches | Apply after cleaning and rinsing | Follow the label; many bathroom labels list 5 or 10 minutes |
| Porous surfaces or natural stone | Do not use unless the label lists the surface | Not applicable |
Those times are typical of registered bathroom labels, and the label still decides the result. Different formulations list different organisms, surfaces, dilutions, and contact times. When you are choosing a spray, how disinfectant cleaning products differ by organism, surface, and contact time matters more than the front of the bottle. Never mix products. Skip bleach and ammonia. Keep disinfectant off unsealed grout, painted surfaces, and stone unless the label names them.
After the contact time, wipe off the residue and dry the hardware. Extra liquid running into the drain or pooling at the toilet base does not add kill time, and it wets a floor you already finished. The sequence is the control: soil off, rinse, a full wet film for the labeled minutes, then dry.
Keep Moisture Low Between Deep Cleans
Mold in a bathroom is usually a moisture problem before it's a cleaning problem, and that changes what you do after the deep clean. The EPA recommends drying wet or water-damaged areas within 24 to 48 hours, fixing leaks promptly, and keeping indoor relative humidity below 60%, with an ideal target around 30 to 50%, as laid out in the EPA's brief guide to mold, moisture and your home. A cheap hygrometer in the hallway tells you more than your nose does.
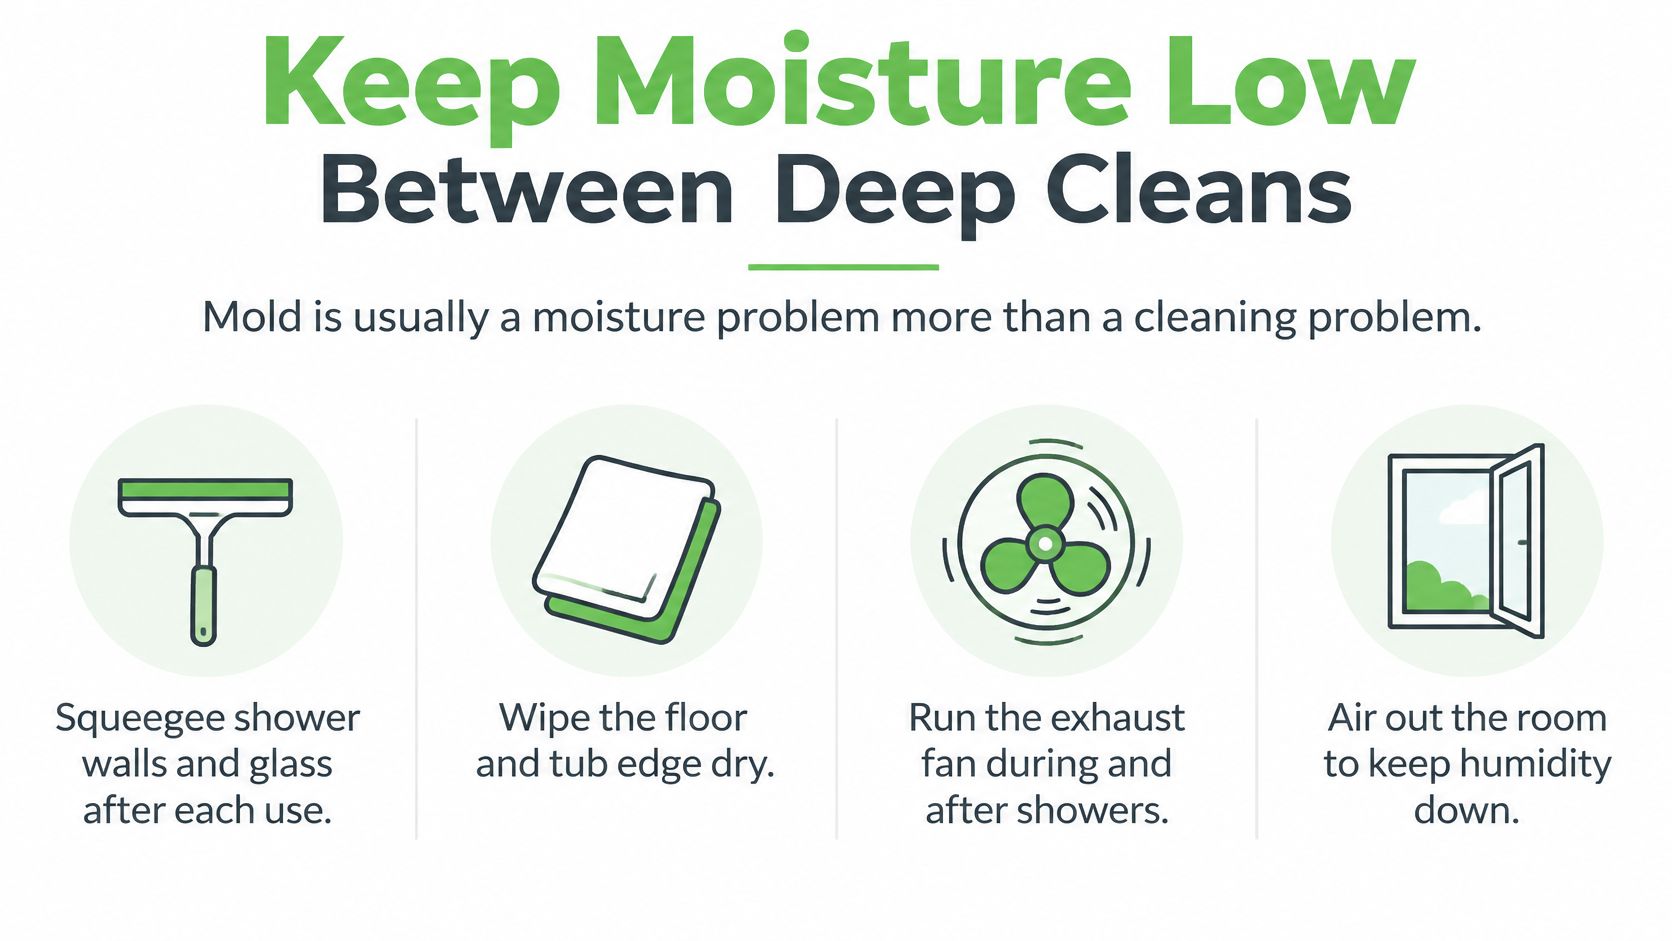
Four habits carry the week between deep cleans:
- Squeegee the walls and glass after the last shower of the night, when nothing will splash them again.
- Wipe the floor and the tub edge dry with a towel you're about to launder anyway.
- Run the exhaust fan during and after showers until the mirror clears and the walls feel dry to the touch.
- Air the room out when the weather allows, especially in older homes with small windows.
Check where the fan sends that air. The Consumer Product Safety Commission's guidance on biological pollutants is clear that bathroom exhaust should vent outdoors, not into an attic, and that every bathroom needs either an exhaust fan or a window.
Mold on hard surfaces can usually be scrubbed with detergent and water and then dried thoroughly. The EPA puts roughly 10 square feet, about a 3-by-3-foot patch, as the threshold below which a homeowner can generally handle cleanup alone; larger growth or extensive water damage calls for professional remediation.
A two-minute dry-down after every shower prevents more damage than any stronger cleaner you can buy.
In Dallas, Plano and Frisco, the air conditioning runs for most of the year, which keeps bathrooms closed and slows drying. That's precisely why the moisture routine matters more here than the product aisle does.
Decide Whether to DIY or Book a Deep Clean
A bathroom that already gets a weekly wipe-down, with grout that still looks like grout, is a DIY job. Set aside a few hours. Read every label before anything goes on the tile, then work top to bottom so dirty water never runs over a surface you just finished. The order is the clean: scrub, rinse, then dry the room before you leave, or the film is back within a week.
| Factor | Do it yourself | Book a Gmaids deep clean |
|---|---|---|
| Best fit | Regular clean with sound grout | First deep clean, seasonal reset, move-out |
| Products | Your own, with every label read first | Fragrance-free, with no bleach or ammonia |
| Who does the work | You, over several hours | Gmaids Certified Cleaning Teams®, trained, background-checked and insured |
| Good fit for | Owners with time and a steady routine | Busy families, pet owners and households with young children |
Book the job when this is the first real pass on a home you just bought or rented, when a seasonal reset is due after spring oak pollen or winter dust, or when years of film have moved into the grout, hinges and fan cover. A move-in or move-out with a tight handoff pushes the same way. So does a house where someone reacts to fumes, or where a crawling baby and a pet that sleeps on the bath mat make a lingering cleaner a bad trade.
What gets skipped on a DIY afternoon is the slow part. Grout lines, hinge screws and the fan cover take longer than the tub, and stopping while the walls are still wet undoes the scrub. Gmaids scrubs tubs, sinks and showers with Bon Ami Powder Cleanser, a fragrance-free, dye-free mineral scrubber with no chlorine, and the rest of the visit stays fragrance-free, with no bleach or ammonia. That residential deep cleaning service is built for first-time cleanings, seasonal resets and homes that have not been professionally cleaned recently. The company has cleaned homes across Dallas and surrounding cities since 2004.
I would hand the bathroom over once the grout has gone gray and the calendar has no free afternoon. One-time deep cleaning starts at $412.69. Contact Gmaids for a quote at gmaids.com.


Ready for a healthier, cleaner home?