Post Construction Cleaning Checklist: 8 Steps for 2026

You walk into your newly finished home in Frisco or Plano. The floors look clean, but drywall dust coats the ceiling fan, vent covers, and tops of the kitchen cabinets. Turn on the fan, and those clean floors need attention again.
The order matters more than the mop. This post construction cleaning checklist follows the sequence a Gmaids Certified Cleaning Team® uses: control the dust, clean from high surfaces downward, handle stubborn residue, and finish with a careful walkthrough. Floors get an early debris-removal pass, but their final clean waits until the overhead and detail work is finished.
For a Dallas household, that sequence matters beyond appearances. Kids crawl along baseboards, dogs nap beside air returns, and spring oak pollen or winter cedar pollen can already make sensitive households uncomfortable. Construction residue doesn't need to join the mix.
Before starting, confirm that construction work has stopped and the contractor has removed bulk waste. Keep children, pets, food, and bedding outside the work zone. Suspected lead, asbestos, or uncontrolled silica contamination needs qualified assessment, not more aggressive scrubbing.
Choose fragrance-free, plant-derived and mineral-based products that suit each surface. If you'd rather hand off the work, get an instant, flat-rate quote online or call 214-997-6918.
Table of Contents
1. Top-Down Dust Removal from Ceilings, Vents, and High Surfaces
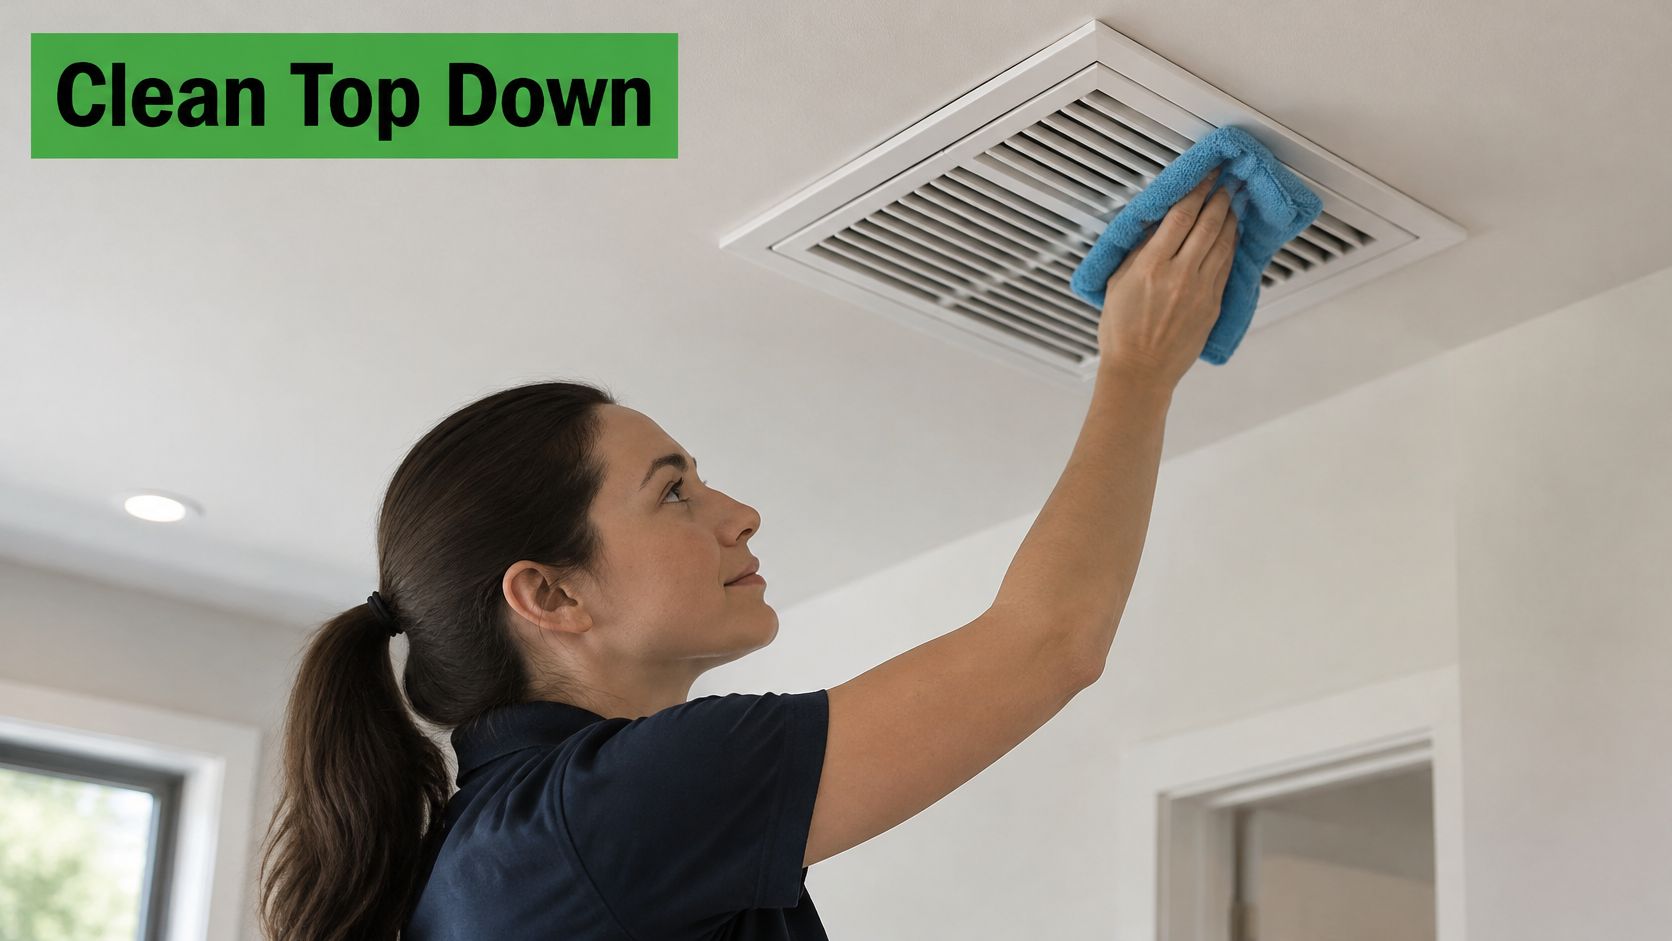
Start above eye level. Ceiling fan blades, crown molding, door tops, light fixtures, and cabinet tops collect dust that falls onto everything below when disturbed.
In a newly finished Frisco home, the fan can look clean from underneath while its blades hold drywall powder. Clean that fan before wiping the counters beneath it, not after. Switch it off, let bulbs cool, and use a stable platform rather than stretching from furniture.
Capture Dust Before Wiping
Use a sealed HEPA vacuum with a soft brush attachment. Check the hose, filter seating, and collection bag before starting. A leaking vacuum can send fine particles back into the room.
- Start high: Vacuum ceiling edges, fan blades, fixture exteriors, molding, and door frames.
- Work downward: Move to walls and trim, using light pressure on newly painted surfaces.
- Damp-wipe carefully: Follow with microfiber lightly dampened with water or a compatible fragrance-free cleaner. Don't saturate drywall or electrical fixtures.
- Protect airflow openings: Keep construction barriers in place until dusty work is finished. Coordinate register protection with the contractor or HVAC professional.
OSHA's construction silica guidance calls for exposure-minimizing methods such as wet sweeping or HEPA-filtered vacuuming where feasible, rather than dust-raising cleanup.
For parents and pet owners, capturing dust beats moving it onto toys, beds, and floors. Gmaids' explanation of what post-construction cleaning includes also helps distinguish this work from routine dusting.
2. Fine Dust and Debris Removal from Floors
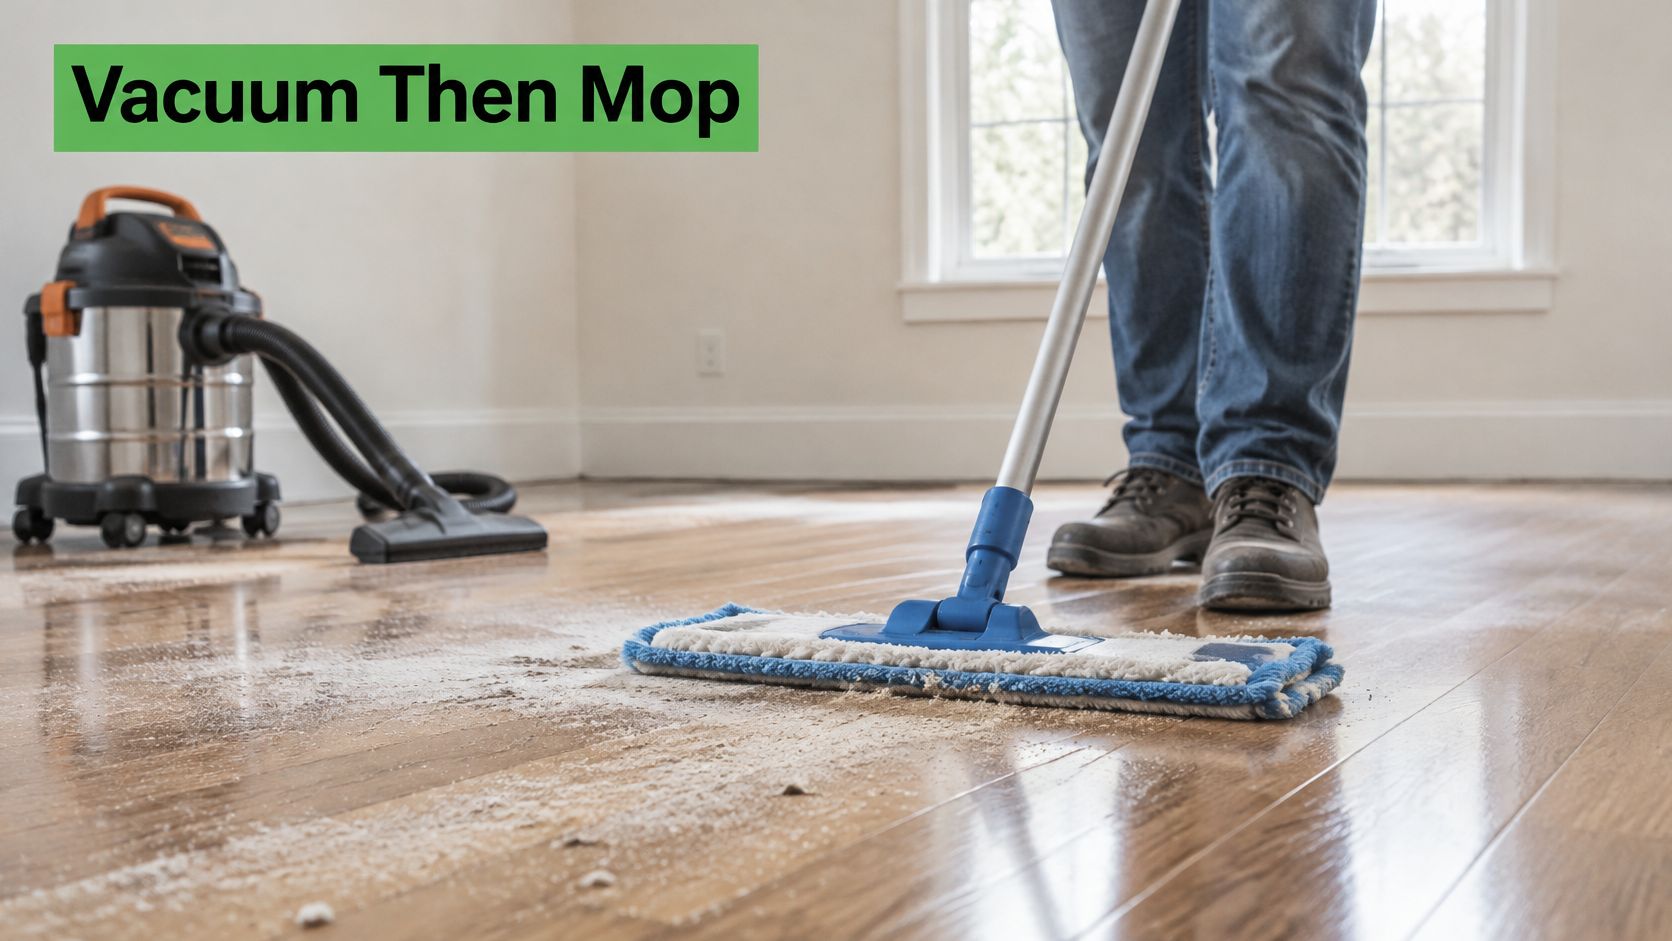
Don't start by pushing a wet mop through drywall powder. Water turns loose dust into a film, while grit trapped beneath the mop can scratch a new finish.
This is the early floor pass: remove hazards and loose material so the crew can work without tracking debris. Save the final damp mop until cabinets, windows, fixtures, and wet-area surfaces are finished.
Separate Pickup From Finish Cleaning
Collect nails, screws, sharp fragments, and large scraps with suitable gloves and tools. Don't expect a household vacuum to handle sharp construction waste safely. OSHA's construction housekeeping rule requires clear work areas and passageways, safe debris removal, and appropriate waste containers.
Then use the HEPA vacuum on floor edges, seams, corners, and open areas. Change your direction on the return pass so the floor head approaches joints from another angle.
Crew rule: A floor isn't ready for a mop while loose grit still moves under your shoes.
Say a McKinney new build has engineered wood with white dust along the plank joints. Vacuum those joints gently, then use a barely damp microfiber pad with a finish-compatible cleaner. Flooding the floor won't clean the seams better; it can introduce moisture where it doesn't belong.
Replace dirty pads and rinse water instead of redistributing residue. If the dried floor feels tacky, troubleshoot the cause with this guide to floors that stay sticky after mopping.
Let the surface dry before children, pets, or rugs return. Grout haze and hardened compound need separate treatment, not harder mopping.
3. Window, Glass, and Mirror Cleaning After Construction
Look at a newly installed window from an angle. Texas sunlight can reveal paint specks, adhesive shadows, and a dusty film that disappear when you look straight through the glass.
Start with the frame and upper edges, then vacuum the tracks before wetting them. Otherwise, sawdust and drywall powder turn into paste in the corners.
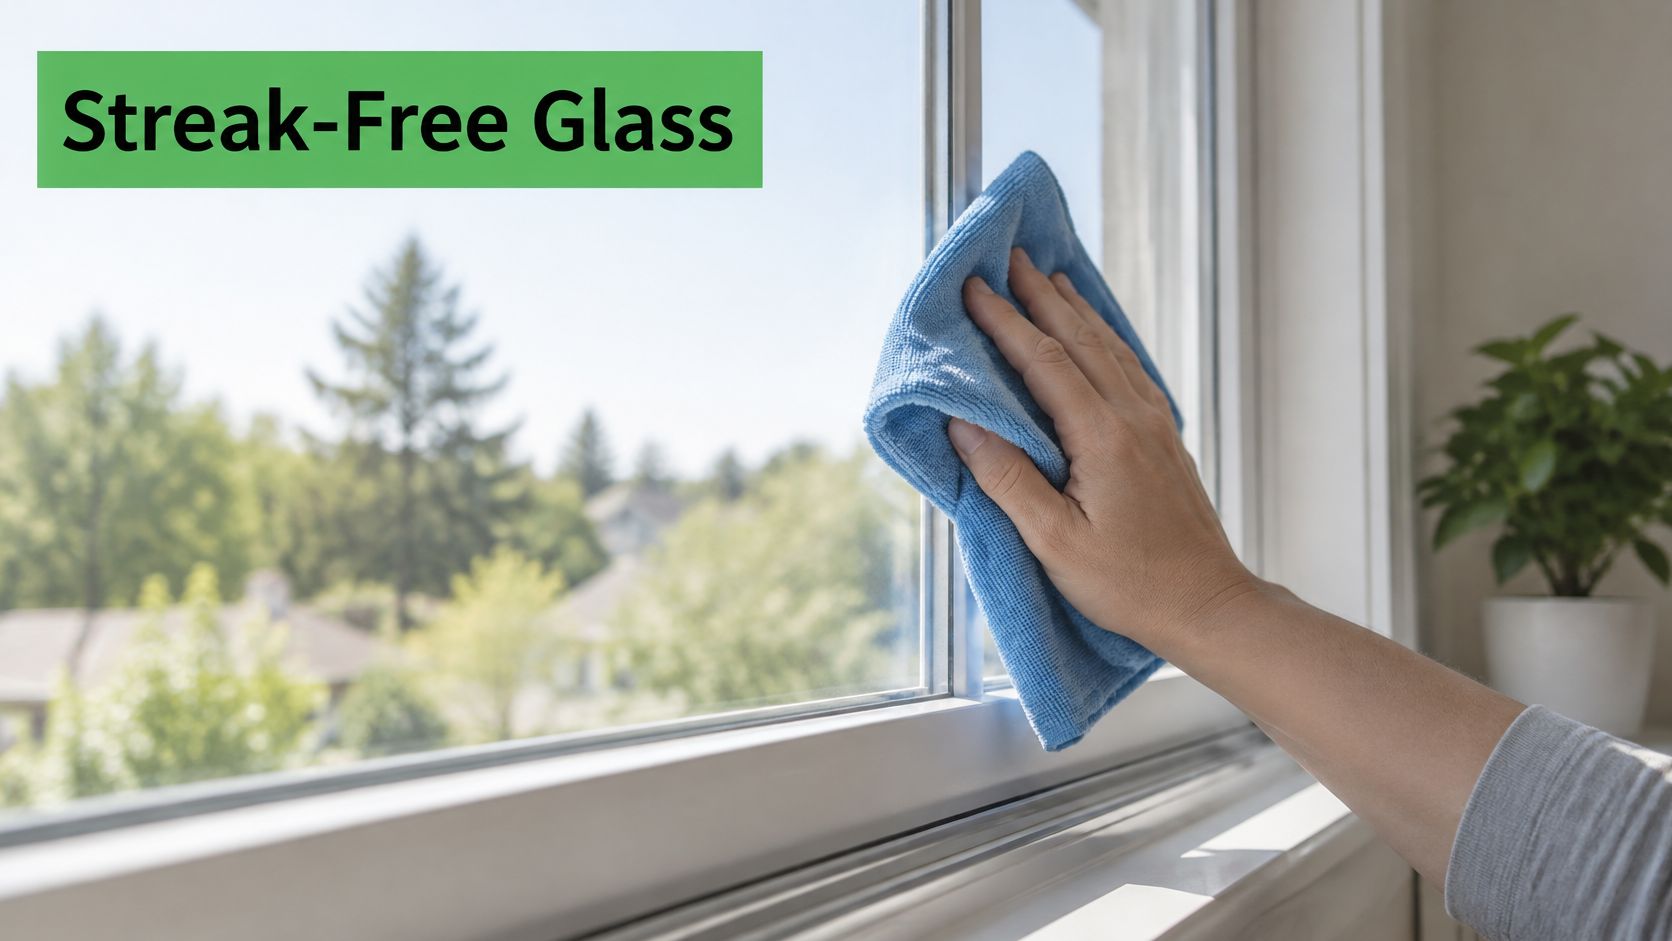
For a Plano kitchen window beside a new backsplash, remove loose grit before treating paint or adhesive. Don't rub a dry cloth across the specks. Even a soft cloth can drag hard particles across glass.
- Check the glass: Identify coatings, tint, protective films, and manufacturer restrictions before scraping.
- Soften residue: Apply a compatible fragrance-free glass cleaner and allow the residue to loosen.
- Use plastic cautiously: A clean plastic scraper may help on approved glass, but it isn't automatically scratch-proof. Stop if grit catches underneath.
- Separate washing and buffing: Use a damp microfiber cloth for cleaning and a fresh, dry cloth for the final finish.
- Keep edges controlled: Avoid soaking mirror edges, wood frames, and nearby outlets.
Fragrance-Free Isn't the Same as Unscented
An unscented product can contain fragrance ingredients that mask another smell. Fragrance-free means synthetic scents are left out entirely. Check the ingredient information rather than choosing by the smell at the bottle opening.
That distinction matters around bedroom windows, pet perches, and glass doors children touch. A clear pane doesn't need a lingering scent to prove it's clean.
Leave exterior glass beyond safe reach to a properly equipped professional.
4. Interior Cabinet, Drawer, and Closet Cleaning
Closed cabinet doors don't guarantee clean interiors. Installers open them repeatedly, and dust collects around drawer runners, shelf-pin holes, hinges, and unfinished edges.
Say you're preparing a Celina closet before unpacking clothes. Wiping only the visible shelf tops leaves debris on hanging rods and upper ledges, ready to fall onto freshly washed clothing.
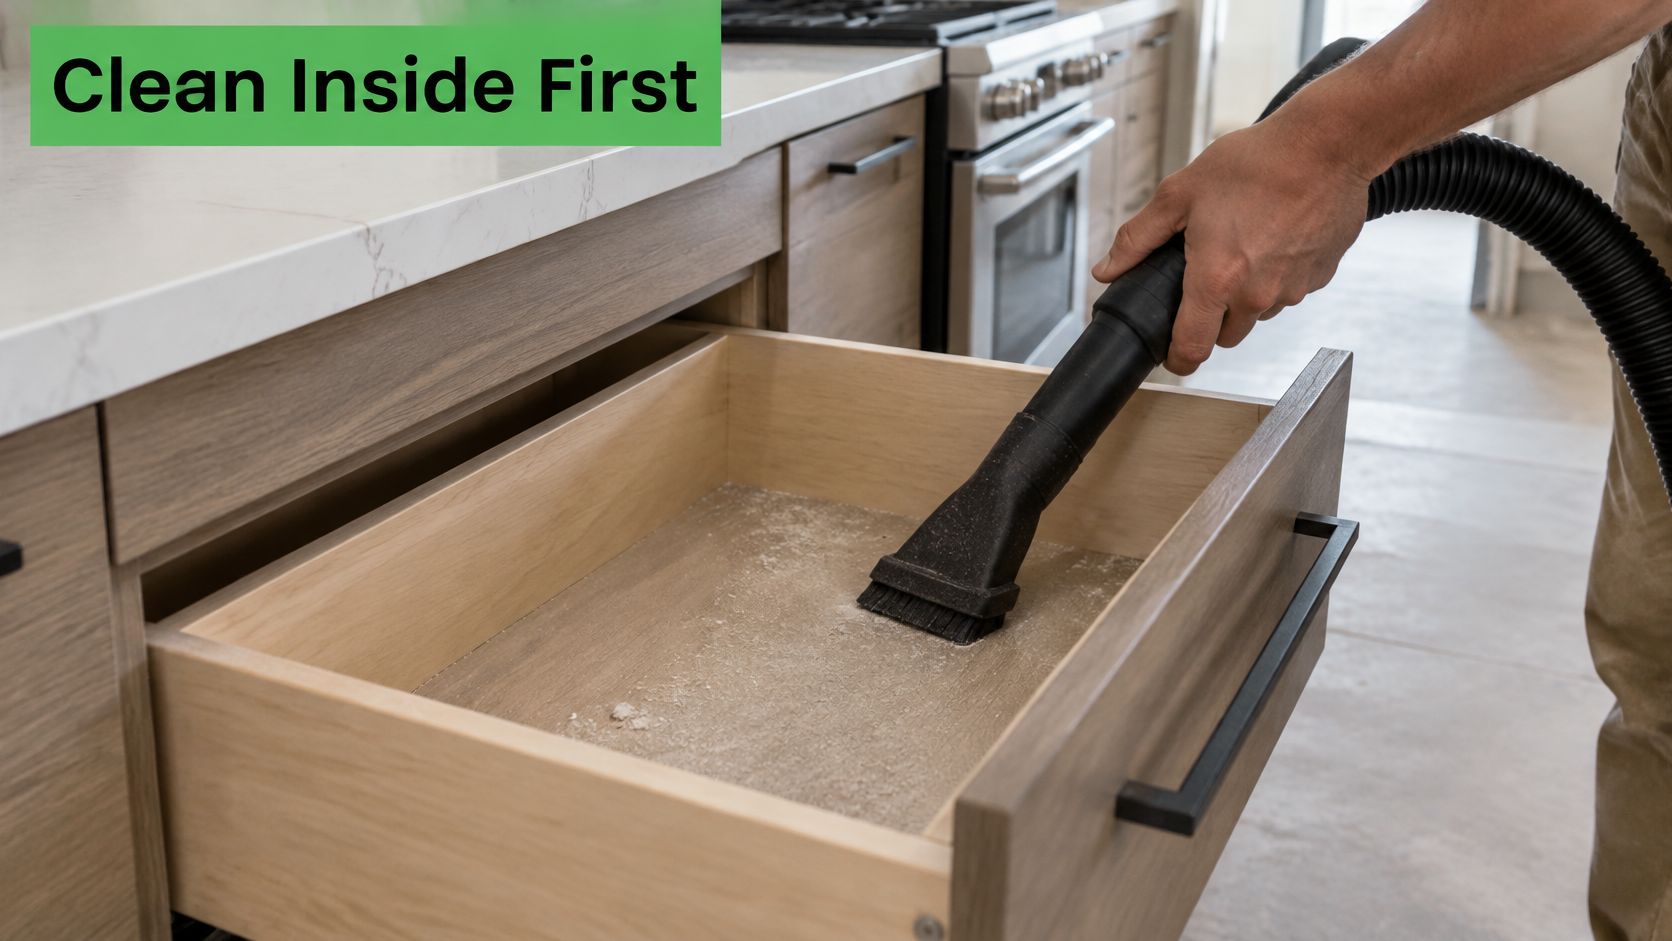
Empty, Vacuum, Wipe, Then Dry
Work through each storage unit completely before moving to the next. Gmaids Certified Cleaning Teams® use a standardized checklist so an open pantry doesn't receive attention while a closed bathroom drawer gets missed.
- Remove loose contents: Take out packaging and removable shelves where the installation allows it. Photograph unfamiliar drawer fittings before disassembly.
- Vacuum the recesses: Use a crevice tool along corners and runners without pulling away lubricants or damaging soft-close hardware.
- Wipe sparingly: Apply a compatible fragrance-free, plant-derived cleaner to the cloth, not directly into the cabinet.
- Dry the edges: Follow with a dry cloth, especially along particleboard seams and shelf edges.
- Delay loading: Leave doors and drawers open until the interiors are dry. Install clean, fragrance-free shelf liners afterward.
A drawer that smells strongly of cleaner isn't better prepared for utensils. Use enough product to lift residue, then remove the remaining film as the label directs.
For a family kitchen, check the underside of shelves and the spaces beside drawer boxes before putting away lunch containers or baby-feeding supplies. In closets, clean rods before hanging clothes. This keeps the items you're unpacking from becoming the next dust-transfer surface.
5. Removing Paint, Adhesive, and Stickers from Hardware and Fixtures
The most expensive mistake here is treating every stubborn mark like ordinary dirt. Paint, adhesive, grout, and caulk need different approaches, and a stronger product can damage the finish before it removes the mark.
In a Lake Highlands remodel, for example, a paint drip on a brushed-nickel faucet calls for gentle, localized treatment. Scrubbing the entire faucet with an abrasive pad can leave a permanent change in sheen.
Remove the residue, not the factory finish. If gentle treatment isn't working, pause before escalating.
Match the Method to the Material
Start with a soft cloth and a mild, surface-compatible cleaner. If the mark doesn't release, identify both the residue and the fixture finish before choosing another product.
- Test out of sight: Check the underside or another concealed area and inspect it after drying.
- Soften adhesive: Put a manufacturer-approved, fragrance-free adhesive remover on a cloth. Give it the label's contact time without letting it dry onto the surface.
- Choose gentle tools: Use microfiber or a non-scratch nylon pad approved for the finish. Never use steel wool on finished hardware.
- Protect electrical parts: Wipe switch plates with a barely damp cloth. Don't spray switches or outlets.
- Leave installation materials alone: Don't peel away intended caulk joints, identification labels, or protective components without checking with the installer.
Plant-derived doesn't mean universally compatible or harmless if swallowed. Keep bottles and used cloths away from children and pets, and ventilate as the product label requires.
Gmaids' approach excludes bleach, ammonia, and synthetic fragrance. For delicate matte-black hardware or an unidentified coating, referral to the installer is better than an irreversible cleaning experiment.
6. HVAC Vent, Register, and Filter Cleaning
A clean grille isn't proof of a clean air-handling system. It is, however, an important place to inspect before normal operation resumes.
Dallas homes depend on air conditioning through long stretches of Texas heat. If construction dust remains around returns and registers, switching the system on can redistribute it into rooms you've already cleaned.
Finish the Airflow Check Before the Final Floor Pass
The EPA's guidance on residential air ducts advises sealing supply and return registers during dusty renovation work and avoiding HVAC operation until the dust has been cleaned up. Coordinate any shutdown with the contractor or HVAC technician, especially during hot weather.
With the system off, vacuum accessible register exteriors with a HEPA-equipped machine and soft brush. Remove covers only where they can be safely detached, then clean and dry them before reinstalling. Don't push vacuum tools deep into concealed ductwork.
- Inspect the filter: Replace a construction-contaminated filter with the size and type approved for the equipment.
- Check nearby surfaces: Wipe the wall or ceiling around each grille so residue doesn't remain at the edges.
- Flag concealed contamination: Visible debris inside ducts, damaged insulation, moisture, or recurring dust deserves HVAC assessment.
- Recheck after use: Inspect the replacement filter after the system has resumed normal operation.
For a Southlake remodel, the cleaner might handle accessible grille surfaces while an HVAC professional evaluates suspected contamination farther inside. Full duct cleaning is separate work, not an automatic add-on to every renovation.
This division matters for households managing allergies. Surface cleaning helps remove settled material, but it doesn't certify indoor air quality or replace equipment maintenance.
7. Bathroom and Kitchen Surface Restoration
A new countertop can look dull because it holds dust, cleaner film, or installation residue. Don't assume every cloudy patch needs an acidic cleaner or an abrasive sponge.
Take a Preston Hollow bathroom with haze on newly installed tile. First identify the tile, grout, and cure requirements. A product suitable for ceramic tile may damage nearby natural stone or metal trim.
Clean by Surface, Not by Room
Vacuum or lift loose dust before wet cleaning. Then treat residue locally, working from backsplashes and shower walls down to counters, fixtures, and lower surfaces.
- Stone and quartz: Use the manufacturer's approved cleaner. Don't improvise with vinegar or aggressive mineral removers.
- Tile and grout: Identify whether the haze comes from cement-based grout, epoxy grout, or ordinary dust before selecting a remover.
- Sinks and tubs: Use soft tools that won't scratch acrylic, enamel, or coated metal.
- Food-preparation areas: Remove cleaner film with clean water where the product and surface instructions permit, then dry.
- Fresh installations: Respect cure times for grout, sealants, coatings, and caulk before scrubbing or soaking.
For laminate, Gmaids' guide to cleaning laminate countertops explains finish-conscious maintenance. Additional guidance on laminate cleaning with The Cabinet Coach can help you avoid treating laminate like stone.
For sensitive households: A pleasant scent isn't evidence that residue is gone. Check the surface, remove product film, and leave fragrance out.
In a Bishop Arts kitchen after backsplash installation, clean the cabinet tops before restoring the counters below. Keep food, pet bowls, and children's cups away until the surfaces are clean and dry.
Use fragrance-free, plant-derived or mineral-based products suited to the material. Neither botanical ingredients nor a green label replaces compatibility checks.
8. Final Detail Wipe-Down, Touch-Point Sanitizing, and Walkthrough
Make the final pass after dusting, floor work, and surface restoration. Walk the home as someone who will use it. Open closets and drawers, look behind doors, and check the switches you reach when entering. This catches dust or residue before furniture and belongings cover the area.
In a Richardson rental, the property manager and cleaning lead can follow the same route before tenant handoff. Record cleaning misses separately from construction defects so each goes to the right person.
Clean First, Sanitize Where Appropriate
Use fresh microfiber on door handles, switch plates, baseboards, door edges, and other remaining touch points. Keep separate cloths for bathrooms and kitchens to avoid carrying residue between rooms.
Remove visible dust before sanitizing. If a touch point needs sanitizing, choose a fragrance-free product labeled for that use and safe for the surface. Follow its stated wet contact time. A quick wipe with general cleaner does not sanitize a surface.
- Inspect with angled light: Check ledges, glass, hardware, and corners for dust, streaks, fingerprints, or residue.
- Check hidden spaces: Look inside cabinets and closets, along tracks, and under fixed fittings where access allows.
- Finish the floors: Vacuum debris that fell during the walkthrough, then damp-clean toward the exit.
- Record unresolved issues: Note odors, moisture, recurring dust, inaccessible debris, and unfinished contractor work.
- Confirm responsibility: Assign each issue before furniture and belongings limit access.
Readiness depends on the surfaces being clean and dry, and on unresolved dust or odors being investigated rather than covered with fragrance. For remaining paint-related details, find practical post-painting cleanup advice.
How Each Post Construction Cleaning Step Compares
| Item | Stage | Main Surfaces | Main Challenge |
|---|---|---|---|
| Top-Down Dust Removal from Ceilings, Vents, and High Surfaces | High-to-low dusting | Ceilings, fans, fixtures, vents, door tops, walls | Preventing fine dust from spreading or settling again |
| Fine Dust and Debris Removal from Floors | Floor cleaning | Floors, baseboards, vents, grout, seams, carpet edges | Removing grit without scratching or smearing it |
| Window, Glass, and Mirror Cleaning After Construction | Glass cleaning | Windows, frames, tracks, sills, mirrors | Removing paint and adhesive residue without scratching or streaking |
| Interior Cabinet, Drawer, and Closet Cleaning | Interior cleaning | Cabinets, drawers, closets, pantry shelves | Clearing trapped dust and residue while protecting finishes |
| Removing Paint, Adhesive, and Stickers from Hardware and Fixtures | Detail cleaning | Outlet covers, switches, handles, faucets, cabinet pulls, tile | Removing residue without damaging delicate finishes |
| HVAC Vent, Register, and Filter Cleaning | Air-system surface cleaning | Supply vents, return grilles, registers, air filter | Cleaning visible dust without reaching inside ductwork |
| Bathroom and Kitchen Surface Restoration | Room and surface restoration | Tile, tubs, sinks, countertops, backsplashes, shower glass | Removing hardened residue while choosing surface-safe products |
| Final Detail Wipe-Down, Touch-Point Sanitizing, and Walkthrough | Final inspection and handoff | Baseboards, door frames, switches, handles, high-touch surfaces | Catching missed spots and confirming readiness before handoff |
Hand Off a Home That Looks and Feels Ready
A clean handoff means the home is ready for people, pets, and everyday use. Work from high surfaces downward, and finish the floors only after overhead cleaning, cabinet interiors, fixtures, and wet-area work are complete. This order keeps settled dust from landing on freshly cleaned floors and saves another round of mopping.
Use the final walkthrough to check more than counters. Open storage areas, inspect grilles and low corners, and set aside anything that belongs with the contractor. Flag scratches, leaking fittings, uncured coatings, or persistent odors for follow-up rather than trying to cover them during cleaning.
Make the Handoff Practical
Before children and pets return, put cleaning products away, remove waste, and make sure floors are dry. Keep construction paperwork and surface-care instructions accessible, especially when new finishes need specific products or handling.
- For busy families: Set up clean sleeping and eating areas before unpacking decorative items.
- For pet owners: Return beds, bowls, and toys after cleaning the surrounding surfaces.
- For landlords and property managers: Document unfinished work and agree on access before move-in.
- For offices and commercial spaces: Coordinate cleaning, ventilation checks, and occupancy with the building manager.
A Frisco new build and a Dallas remodel can leave different kinds of residue, so choose cleaning products by their ingredients and compatibility with each surface, not by scent. Fragrance-free products avoid adding synthetic scents. Plant-derived and mineral-based products, used according to their labels, are an option for households concerned about harsh chemicals around babies, pets, pregnant people, or anyone with allergies, asthma, or chemical sensitivities.
Gmaids has served Dallas–Fort Worth since 2004 and uses non-toxic, fragrance-free products (serving Dallas–Fort Worth since 2004). Its Certified Cleaning Teams® are trained, background-checked, and insured. Post-construction cleaning addresses dust, debris, and residue left by renovations or new builds; recurring maid service can help maintain the home afterward.
If you are also moving, confirm the cleaning scope before scheduling. Gmaids move-in/move-out cleaning includes the inside of the fridge, oven, cabinets and drawers, and closets. Agreeing on those tasks in advance helps prepare the home for handoff without assuming a construction clean covers every moving-related job.
Gmaids offers post-construction cleaning with non-toxic, fragrance-free products suited to home surfaces. Visit Gmaids for an instant, flat-rate quote online, or call 214-997-6918 to plan a Dallas–Fort Worth cleanup.


Ready for a healthier, cleaner home?