Apartment Move Out Checklist: 8 Steps to Keep Your Deposit

You're packing the last kitchen box when you notice grease on the oven glass, dust behind the closet door, and a cloudy ring around the bathroom faucet. Your final walkthrough is approaching, and you'd rather be settling into your next home than scrubbing this one.
Start with the end in mind. The property manager may open the fridge, slide open a closet, and check the baseboards. Those details matter, but so do your lease, your move-in condition report, and proof of what you handed back. A clean apartment supports your deposit claim. It doesn't guarantee a full refund.
Before opening a spray bottle, confirm your notice deadline. The Texas State Law Library's security-deposit guidance notes that leases may require 30 or 60 days' advance notice, separate from the deposit-return process.
Start with the paperwork: Save your lease, move-in inspection, notice to vacate, and cleaning receipts together. Keep utilities active through cleaning and the agreed handoff.
This apartment move out checklist follows inspection priorities, with fragrance-free, non-toxic swaps instead of bleach-and-spray shortcuts. From Dallas dust to hard-water marks and spring oak pollen, the approach is straightforward: empty, clean, document, then hand over the keys.
Table of Contents
1. Deep Clean the Refrigerator and Oven
Appliance interiors deserve attention before the easy, visible surfaces. A polished refrigerator door won't hide sticky drawer tracks, and a clean stovetop won't explain baked-on spills behind the oven door.
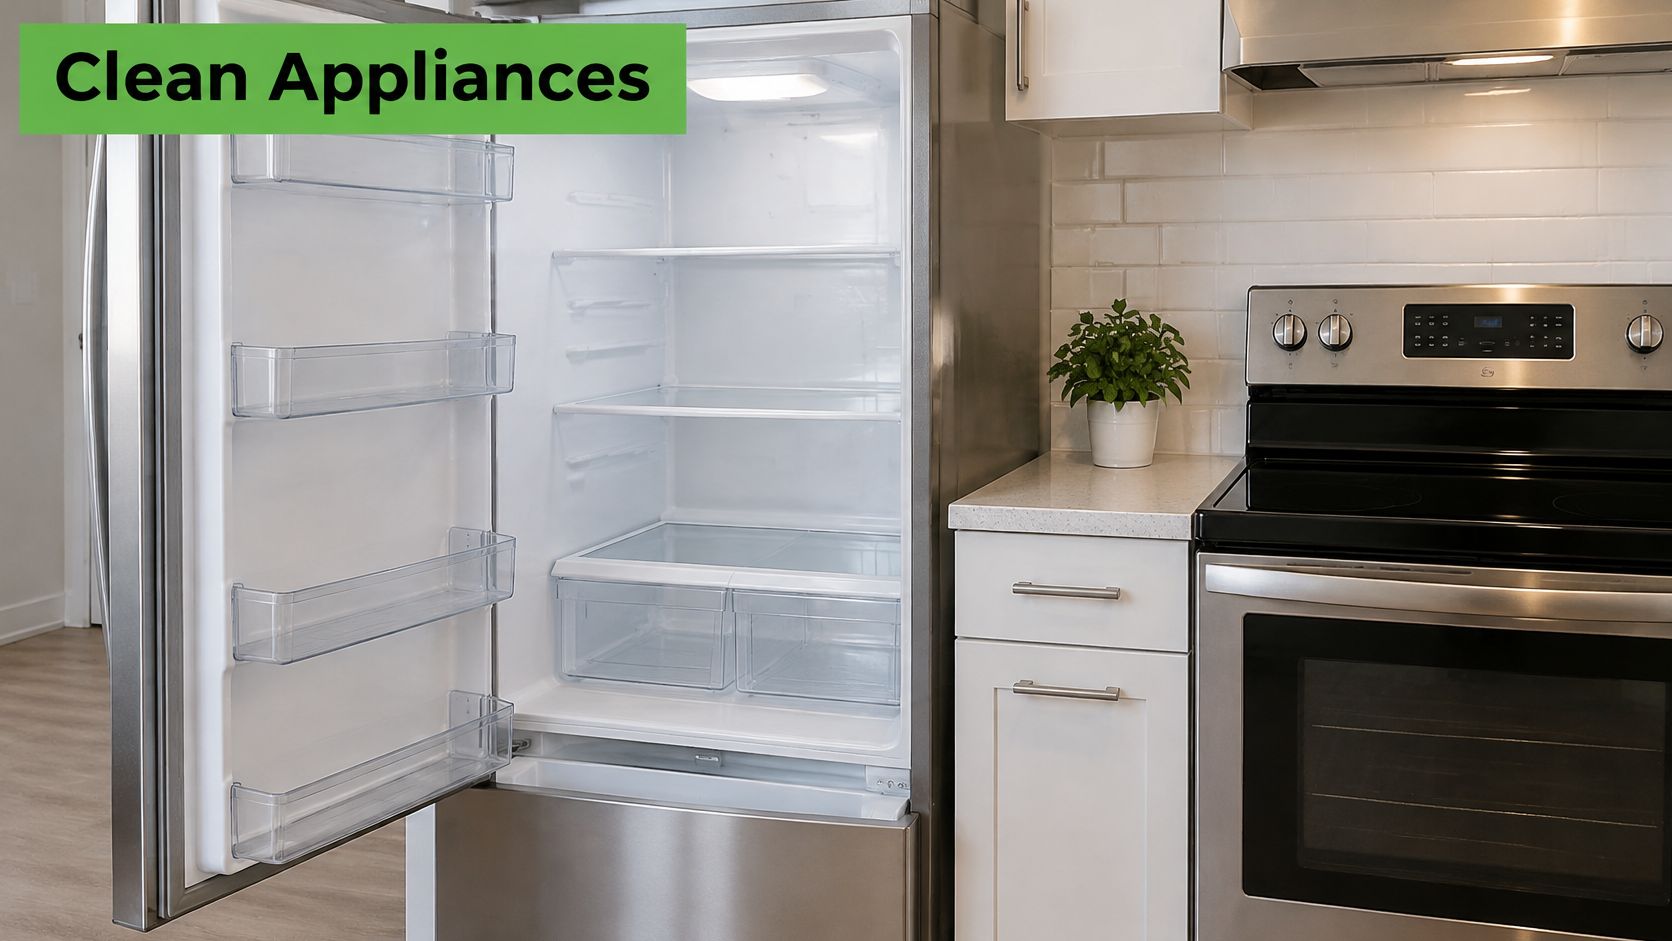
Empty the fridge and freezer ahead of cleaning, transferring perishables to working refrigeration. Let cold glass shelves warm gradually before washing them with lukewarm water. Wipe shelf supports, door bins, crisper drawers, seals, and the underside of handles, then dry everything before reassembly.
For the oven, remove loose crumbs first. Soak removable racks in warm water with fragrance-free dish detergent, protecting the sink or tub from scratches. Use a surface-compatible, fragrance-free plant-derived degreaser inside the oven, keeping liquid away from heating elements, fans, and electrical openings.
Choose dwell time over aggressive scrubbing
- Read the ingredients: Fragrance-free means synthetic scents are left out entirely. It isn't interchangeable with unscented, which may include masking fragrance.
- Protect the finish: Use a non-scratch pad and follow the appliance manual. Abrasive powders can damage coatings.
- Remove residue: Wipe away loosened soil with clean damp cloths, then dry. Never mix cleaning products.
Our oven deep-cleaning guide explains how to approach stubborn buildup without treating every oven surface alike. The Edinhart rental cleaning checklist can also serve as a separate cross-check for overlooked rental surfaces.
Say you're leaving a Plano apartment after regular baking. Photograph the racks, oven floor, and door glass after cleaning, not just the closed appliance. Keep the room ventilated, and skip bleach, ammonia, and scented finishing sprays.
2. Clean Inside and Outside Cabinets and Drawers
An empty cabinet can still feel dirty. Crumbs gather against the back panel, cooking oil sticks around handles, and shelf liners conceal spills.
Start by removing everything, including forgotten bags, adhesive hooks, and removable liners. Sort belongings into keep, donate, and discard groups before cleaning so you're not shifting the same pile around the kitchen. Check above upper cabinets while the step stool is out.
A couple leaving an Uptown apartment might pack pantry goods first and leave a small essentials box on the counter. That gives them uninterrupted access to every shelf and prevents food from going back into a finished cabinet.
Clean dry debris before sticky residue
Use a vacuum crevice tool or soft brush for crumbs, then wipe with a barely damp microfiber cloth. Apply a mild, fragrance-free plant-derived cleaner to the cloth rather than spraying directly into hinges, seams, or unfinished particleboard.
- Shelf edges: Wipe the front lip and back corners, where crumbs remain after a quick pass.
- Drawer interiors: Clean the corners and accessible runners without dismantling hardware you don't know how to reinstall.
- Door fronts: Work gently around handles and greasy areas near the stove.
- Upper ledges: Remove loose dust before tackling the sticky film underneath.
More water isn't more effective. Saturating cabinet edges can swell the material, leaving damage that's harder to address than the original spill. Dry each section and leave doors open while the surfaces finish drying.
Photograph the empty interiors with the doors open. If a shelf is already swollen or a hinge is loose, record that separately rather than trying to disguise it with liner paper or an improvised repair.
3. Clean Closets and Storage Spaces
Say you're moving from a Richardson apartment with dogs. The closet looks empty after the shoes leave, but pet hair remains along the baseboard and inside the sliding-door track. That's the difference between clearing a space and cleaning it.
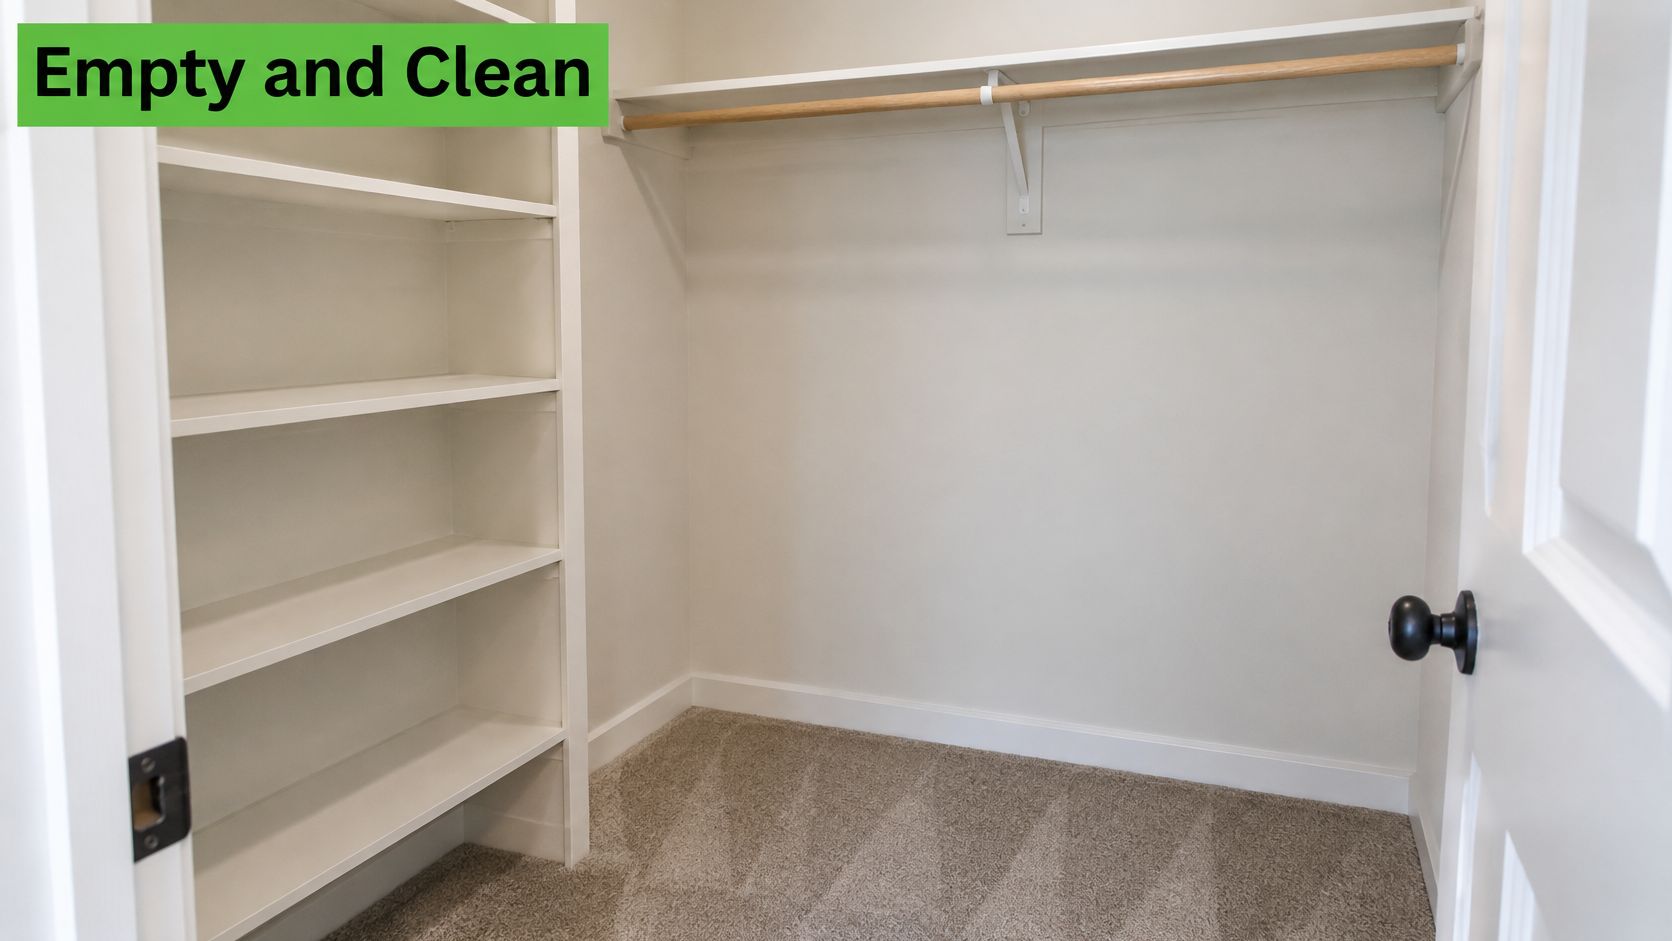
Work from high shelves down to the floor. Remove hangers, loose hooks, shelf liners, and forgotten belongings, checking hall closets, linen storage, pantry closets, and any assigned storage area. Don't remove fixtures or liners that belong to the property.
Check the ledges you can't see standing up
A vacuum with a soft brush attachment handles loose dust without pushing it into corners. Follow with a dry microfiber cloth on rods and shelves, using a lightly dampened cloth and fragrance-free cleaner only where residue remains.
- Built-in shelving: Wipe horizontal ledges and shelf supports, including those above eye level.
- Sliding doors: Brush and vacuum the track before wiping it. Keep cleaning liquid out of concealed hardware.
- Floor edges: Remove pet hair around corners and thresholds before vacuuming the open floor.
- Walls: Photograph scuffs, holes, or moisture marks and compare them with your move-in report.
Newer apartments in Frisco and other north suburbs may have generous built-in storage, which means more small surfaces to check. A quick sweep across the main shelf won't reach them all.
Avoid scented closet sprays, deodorizing beads, or fragrance sachets. Remove the source of an odor rather than covering it. If an empty, cleaned closet still smells damp, report the concern to management instead of soaking the surfaces with cleaner.
4. Wash Walls, Baseboards, and Scuff Marks
Don't turn a washable mark into damaged paint. Flat and matte finishes can lose color or sheen when scrubbed, especially with abrasive pads.
Begin with dry dust removal, working downward with a clean microfiber duster. Then test a mild, fragrance-free plant-derived cleaner in an inconspicuous area. Put the solution on a soft cloth, wring it out well, and use gentle passes rather than repeated rubbing.
A family leaving a Bishop Arts apartment might find crayon near a bedroom doorway. Test the cleaning method first, stop if paint transfers to the cloth, and discuss any remaining mark with management. A conspicuous scrubbed patch isn't an improvement.
A wall doesn't need to smell freshly cleaned. It needs to be free of removable soil without losing its finish.
Separate cleaning from repair
Dust baseboard tops before wiping their faces. Use a soft brush around decorative grooves, then dry the surface so dirty water doesn't settle along the floor edge.
- Touch points: Wipe door handles, door frames, and switch plates with a lightly dampened cloth. Don't spray electrical fittings.
- Kitchen splashes: Use a compatible degreaser sparingly, then remove its residue.
- Scuffs: Try gentle cleaning before reaching for an abrasive melamine sponge.
- Holes and chips: Check the lease and obtain repair instructions before patching or painting.
A tenant leaving Highland Park could document hallway scuffs before cleaning and photograph the same area afterward. That creates a useful record without claiming every mark is tenant-caused damage.
Skip bleach and ammonia on painted surfaces. Don't repaint isolated patches with a guessed color, either. A mismatched repair may be more noticeable than the original wear, and management may have specific requirements for approved materials.
5. Clean Floors and Carpets
Clean floors near the end of each room's work, even though they deserve an early inspection. Dusting blinds or wiping baseboards after mopping puts debris back where you just cleaned.
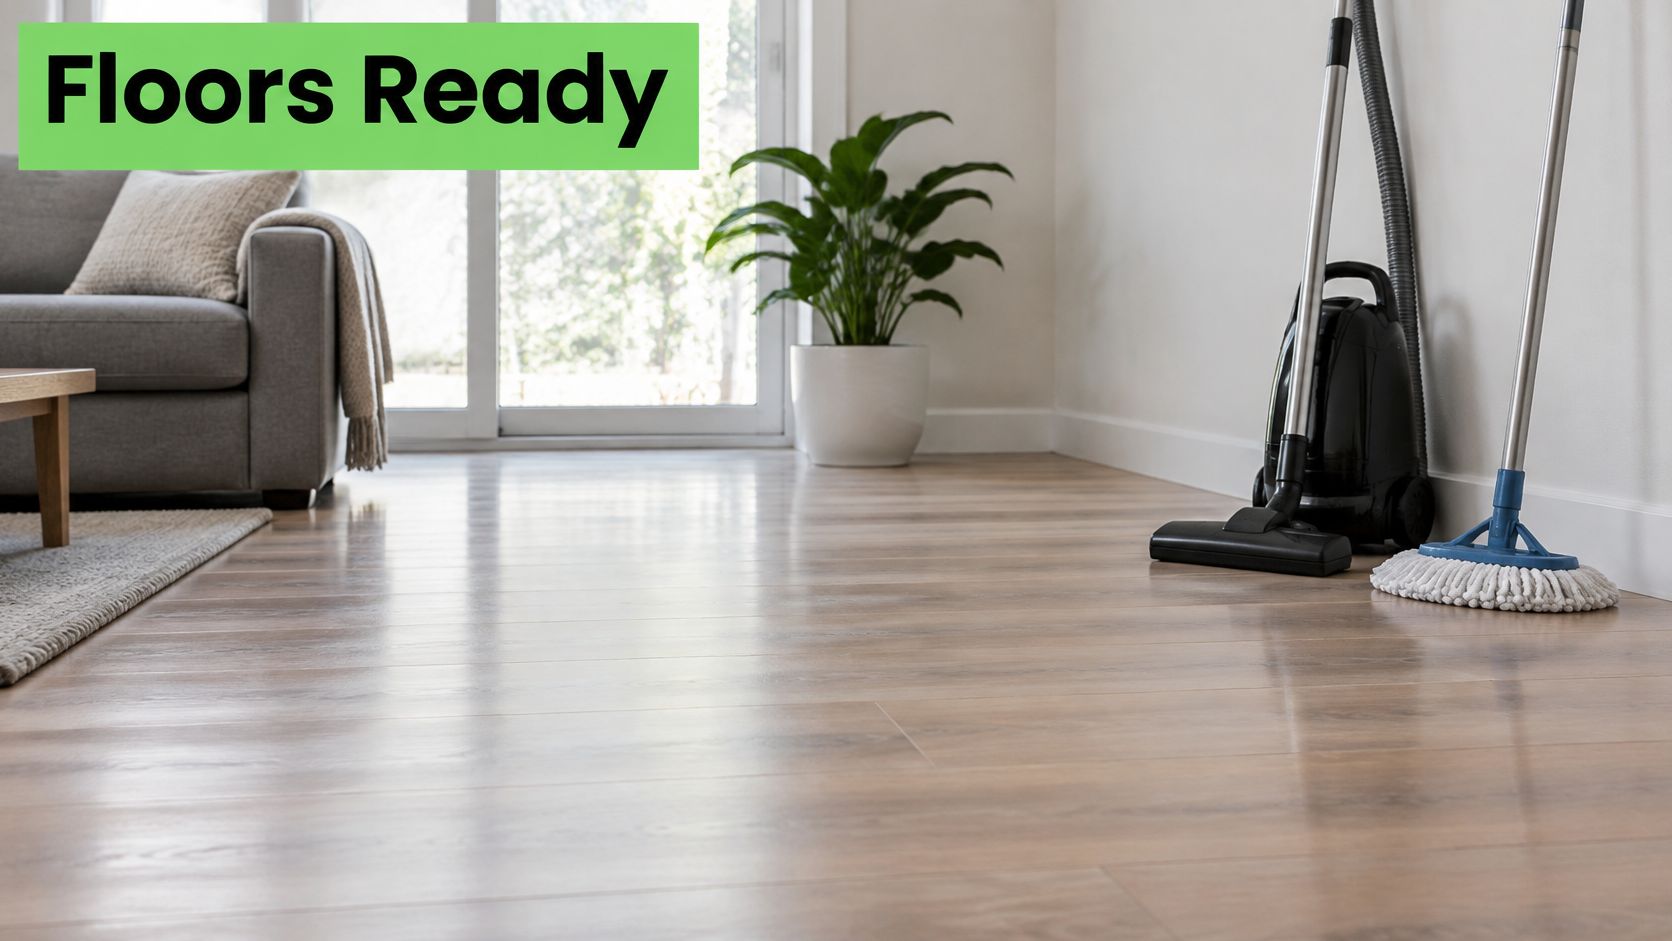
Vacuum edges, thresholds, and the areas where furniture stood before cleaning the open floor. In pet-friendly households, use slow passes along carpet edges rather than relying on a quick run through the middle. Dallas dust and tracked-in pollen call for actual soil removal, not scented carpet powder.
Match the method to the material
- Wood and laminate: Use the manufacturer-approved cleaner with minimal moisture. Don't flood seams or leave puddles.
- Luxury vinyl: Choose a compatible, fragrance-free cleaner and a damp microfiber mop. Avoid unapproved waxes or steam.
- Tile and grout: Lift loose grit first, then use a soft grout brush where needed.
- Carpet: Vacuum thoroughly and check the lease for any professional-cleaning requirement before booking extraction.
For a McKinney household moving after the furniture leaves, carpet extraction may be practical for traffic lanes or persistent soil. Schedule enough drying time before inspection, following the technician's guidance rather than assuming every carpet dries at the same rate.
More detergent often means more residue. Measure the product according to its label, change dirty mop water, and use a clean pad. If the floor feels tacky afterward, our guide to floors that stay sticky after mopping explains what to check.
Photograph worn areas and remaining stains in clear light. Cleaning can remove soil, but it can't reverse worn carpet fibers or scratched flooring, and you shouldn't promise that it will.
6. Deep Clean Bathrooms, Grout, and Fixtures
Bathrooms need targeted cleaning, not a stronger-smelling spray. Soap residue, mineral buildup, and damaged caulk are different problems, and treating them alike wastes effort.
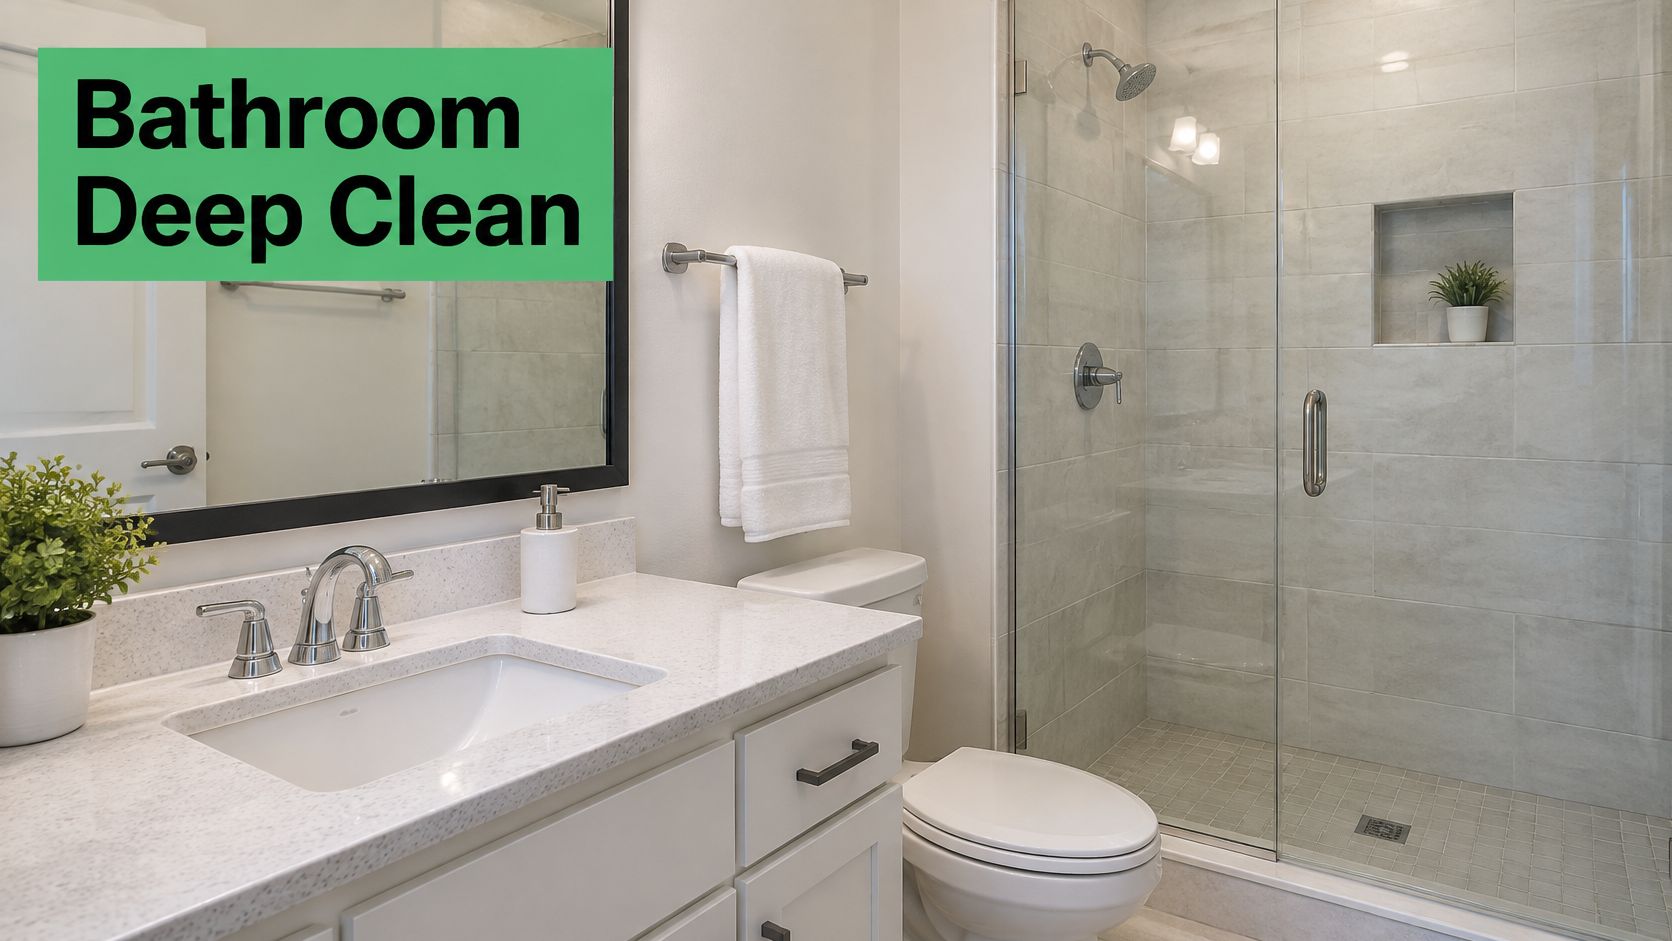
Run the exhaust fan and keep the door open when practical. Use a fragrance-free plant-derived cleaner for general soil, then a surface-compatible mineral-deposit remover where hard water has left marks. Mineral-based products can help with some tasks, but mineral-based doesn't automatically mean safe for every finish.
For an Uptown renter with cloudy shower glass, begin by removing soap residue before assessing what remains. Guidance on how to clean mineral deposits off shower doors can help distinguish targeted treatment from ordinary wiping.
Give hidden edges equal attention
Clean the sink overflow opening, faucet bases, vanity fronts, mirror edges, toilet exterior, and floor around the toilet. Don't overlook the accessible exhaust fan cover; isolate power and follow its removal instructions if taking it down.
- Grout: Use a soft nylon brush, not wire bristles.
- Stone surfaces: Avoid acidic descalers on marble, limestone, and other acid-sensitive materials.
- Toilet areas: Use separate cloths and tools so you don't carry soil onto the vanity.
- Shower channels: Remove loose debris before following our shower-door track cleaning guide.
An Addison family might find cracked caulk while cleaning the tub edge. Photograph it and report it as a maintenance concern rather than scrubbing harder or covering it with fresh caulk.
Leave out bleach, ammonia, and synthetic fragrance. Rinse away cleaner residue, dry fixtures, and capture the finished condition before anyone uses the bathroom again.
7. Clean Windows, Blinds, Tracks, and Screens
A clean pane surrounded by dusty blinds still leaves unfinished work. Inspect the full opening: glass, frame, sill, track, screen, and nearby floor.
In DFW, spring oak pollen and winter cedar pollen can leave material on exposed screens and sills. Keep windows closed while removing indoor dust, especially if you're trying to avoid bringing more outdoor particles into an apartment you've already cleaned.
Work from dustiest to clearest
Start with blinds, using a soft vacuum attachment where suitable, then wipe individual slats with a barely damp microfiber cloth. Support delicate slats as you work. Don't soak fabric shades or use the same method on every window treatment.
- Tracks: Loosen dry debris with a small nylon brush, vacuum it out, then wipe the channel.
- Glass: Apply fragrance-free glass cleaner to a lint-free cloth to limit overspray onto frames.
- Screens: Remove only accessible screens you can safely reinstall, then clean and dry them according to their material.
- Exterior panes: Clean only where safely accessible and permitted. Don't lean out or improvise ladder access.
Say a Lake Highlands renter is leaving after spring pollen season. Cleaning the sliding-door track before mopping avoids dragging grit onto the finished floor. A Coppell renter who finds a torn screen should photograph it, compare the move-in record, and notify management.
Keep the scope clear: Interior windows and hand-wiping blinds or shutters are selectable add-ons with us. Include them at booking if your lease checklist calls for them.
Photograph cracked glass, bent blinds, and damaged screens separately from dirt. Avoid forcefully bending a damaged slat back into place or removing fixed window hardware just to reach a stubborn spot.
8. Final Walkthrough, Documentation, and Handoff
The strongest handoff pairs a clean apartment with an organized condition record. Follow the same room order and camera angles used at move-in, an approach described in Matterport's guidance on reducing security-deposit disputes.
Capture wide room views and close-ups of appliance interiors, cabinets, floors, fixtures, and existing damage. Keep original files with timestamps, identify the apartment and inspection date, and submit the record through a traceable channel.
Close the loop in writing
- Compare condition: Use your move-in report, noting what was already present.
- Record utilities: Photograph accessible meter readings where applicable.
- Check the HVAC filter: Replace it if due and permitted under your lease, using the specified size and type. Texas dust and long cooling seasons make this worth checking.
- Return access devices: List keys, fobs, cards, and remotes, and request written acknowledgment.
- Send your forwarding address: Give management a reliable mailing address in writing and retain proof of delivery.
Texas generally requires the deposit refund or applicable accounting within 30 days after surrender, subject to the written-forwarding-address rule, under the Texas Property Code's residential security-deposit provisions.
A Preston Hollow renter could send the photo folder and signed handoff record to management after the walkthrough. If a cleaning deduction follows, request the itemized explanation, identify the disputed charge, and respond with matching photos and receipts.
For managers, HUD's inspection guidance supports resident participation and linking identified repairs to work orders. Keep those condition records separate from financial planning resources such as a tax planning tool for independent landlords, which doesn't establish cleaning responsibility or justify a deduction.
Move-Out Tasks at a Glance
| Task | Area Covered | Best Timing | Main Deposit Risk Addressed |
|---|---|---|---|
| Deep Clean the Refrigerator and Oven | Appliance interiors, shelves, racks, and glass | After food is removed; before the walkthrough | Food residue, grease, and lingering odors |
| Clean Inside and Outside Cabinets and Drawers | Cabinet and drawer interiors, fronts, tracks, and handles | After emptying them, before the final clean | Crumbs, grease, sticky spills, and forgotten food |
| Clean Closets and Storage Spaces | Shelves, rods, floors, corners, and door tracks | After belongings are removed | Dust, debris, pet hair, and items left behind |
| Wash Walls, Baseboards, and Scuff Marks | Walls, baseboards, door frames, and switch plates | After furniture is removed | Visible marks, scuffs, and dust |
| Clean Floors and Carpets | Hard floors, grout, carpet, edges, and under appliances | After furniture is removed; allow carpet time to dry | Dirt, stains, pet hair, and carpet odors |
| Deep Clean Bathrooms, Grout, and Fixtures | Tub, shower, toilet, vanity, fixtures, grout, and floor | Before the final walkthrough | Soap scum, hard-water deposits, and bathroom grime |
| Clean Windows, Blinds, Tracks, and Screens | Glass, sills, tracks, blinds, frames, and screens | Before the final walkthrough | Dust, pollen, and grime on windows and treatments |
| Final Walkthrough, Documentation, and Handoff | Room condition, photos, utilities, keys, and HVAC filter | After cleaning, on move-out day | Unresolved condition disputes and missing handoff items |
Hand Over the Keys to a Healthier, Deposit-Ready Apartment
A deposit-ready apartment is empty, thoroughly cleaned, and documented. It doesn't need a perfume-like scent, a guessed paint repair, or a last-minute coat of polish hiding residue. It needs careful attention to the areas management can open, touch, and compare with the move-in record.
Work through the cleaning priorities without losing sight of the paperwork. Keep receipts and original photos, save your forwarding-address notice, and retain the key-return confirmation. If management raises a concern, a specific record is more useful than a general assurance that you cleaned everything.
Make the final appointment count
If packing, work, and family responsibilities leave little time for detailed cleaning, hiring help is a practical trade-off. Gmaids's move-in/move-out cleaning covers an empty property, including inside the fridge, oven, cabinets and drawers, and closets, along with kitchen and bathroom cleaning, floors, baseboards, and surfaces. One-time move-in/move-out cleaning starts at $520.94.
Founded by Juan Chaparro and Karen La Spina, Gmaids is Dallas's original non-toxic, green house cleaning and maid service, serving Dallas–Fort Worth since 2004. Our promise is Healthy Homes, Families and Souls. We green clean without toxic chemicals. We use fragrance-free, plant-derived and mineral-based products without bleach, ammonia, or synthetic fragrance.
For families with crawling children, pets that nap on floors, pregnant moms, or people with allergies, asthma, or chemical sensitivities, the ingredients and remaining residues matter. Choosing fewer harsh chemicals and leaving synthetic scents out entirely is a practical preference for sensitive households, not a medical guarantee.
Leave time to verify the work
Our Gmaids Certified Cleaning Teams® are trained, background-checked, and insured, and the lead cleaner completes a full walkthrough before leaving. Plan cleaning after belongings are removed and before your final inspection, ideally the day before so there's room to check the finished space.
We send a reminder email before the appointment and a reminder text the day before. Use that final reminder to share entry instructions or notes for the team, and identify any window or blind add-ons when booking. Keep your camera and handoff paperwork accessible rather than packed away.
The result should be simple to verify: clean appliance interiors, empty storage, residue-free surfaces, and clear evidence of the condition you returned.
Gmaids offers non-toxic, fragrance-free move-in/move-out cleaning for Dallas–Fort Worth apartments, including the appliance interiors and storage spaces that are easy to miss. Get an instant, flat-rate quote online at Gmaids or call 214-997-6918, and schedule your clean before the final walkthrough.


Ready for a healthier, cleaner home?